Car Organization

While traveling for 20 plus hours with kiddos might not sound like your idea of the perfect way to begin your vacation, it can be a the perfect excuse to spend time together as a family.  I mean really, when else are you all going to be stuck in a 4′ x 8′ room for any length of time with your entire family:)  Ha!  I think the key to any road trip with kids is Car Organization!

I have posted about a some of the things we do in the car before.  I love engaging the kids.  Sure we could pop in a few movies or let them play their game systems, but those things are reserved for “emergencies”.  I love my little “captive” audience. Here are a few of our favorite things to keep kids busy in the car.  Click on the red link to find all our Travel Activities for Kids.
Road Trip Activities great for kids

  1. These simple DIY Dry Erase Tiles are the perfect surface to play all kinds of games like Tic-Tac-Toe, Hangman, or just for doodling
  2. My kids love Finger Knitting.  It is the perfect travel craft since all you need is a ball of yarn.  Have your kids see how long they can get it before you reach your destination:)
  3. Get creative with this simple Doodle Drawing Game.  It is easy to play and will have  your kids giggling in no time.
  4. These little Recycled Animal Houses give your kids stuffed animals a perfect home, plus your kids will be proud that they made them.
  5. These little Flower Sun-catchers are the perfect way to brighten your kids window. Encourage your kids to pick a few flowers while they are out stretching your legs add a little contact paper and you are all set.
  6. Why not sneak in a little math lesson with this simple Mirror Symmetry Game.  Your kids won’t even know they are learning.
  7. We love playing Road Trip BINGO.  It is the perfect game to pass the time.  Follow the like to a PDF of 8 different road trip boards.
  8. Bring a roll of Tin Foil on your next road trip, you will be amazed at how long it will keep them busy sculpting and creating.  If you are traveling with younger kids, hand them a sheet to see what they create.  If your kids are up for a bit of a challenge, turn it into a simple sculpting game.  Ask them to create something specific (an animal, a piece of jewelry, a silly hat, a recreation of their favorite toy, the possibilities are endless).  You may want to bring along tape as well.
  9. This simple Road Trip Time Line creates a wonderful visual road map that is easy for kids to follow.  The best part is that they are the ones that create it!  Possibly the end to all the backseat “how much further” questions.

I have received a few questions about what our car looks like when we travel.  For us me, organization is key.  Our kids are 10, 8 and 6 and each time we travel it gets easier.  Each of the kiddos have a bin with their special toys, books, markers, and coloring/activity books.  The girls ride in the backseat and Kaleb sits in one of the middle seats.  We stow the other middle seat to make room for the cooler and snacks.

We eat most of the meals in the car, so a cooler is essential.  That way while Chuck is filling the car with gas, I can make a quick lunch and we can be back on the road.  A clean milk jug filled with water and frozen doubles as an ice block and drinking water as it thaws.  Bringing along a cooler helps us eat healthier, stay with in the budget and lets face it what is a road trip without eating in the car:)
Road Trip Activities great for kids

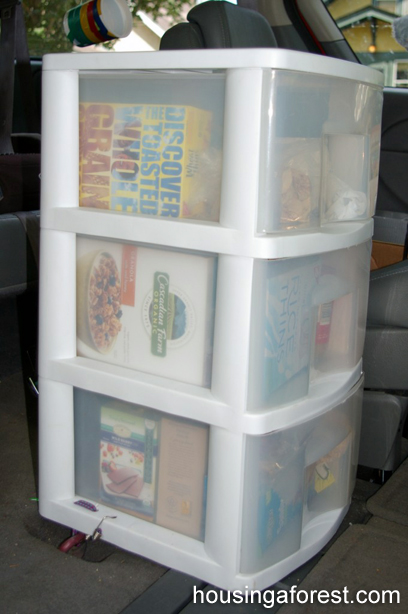
This little system is my key to a smooth trip.  It’s secured with bungees at the bottom and around the arm of the seat.  The drawers are filled with healthy snacks, games and art supplies.  Everything is within reach and organized, not flying all over the car for everyone to trip over.  It also doubled as a table for Kaleb.  With non-slip shelf liner added to the top, his tray stayed perfectly on top.  This is definitely one of my favorite travel tools!
Road Trip Activities great for kids

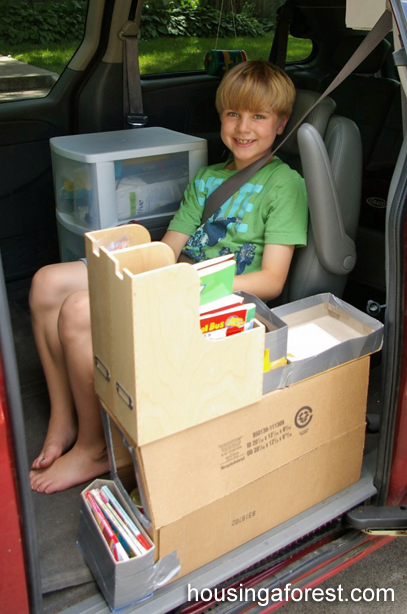
 Kaleb loves his little toy and book organizer.  A couple cardboard boxes, duct tape and a couple of magazine file boxes makes the perfect spot for all his treasures.  The large box stores extra water bottles and caffeinated beverages for the trip.  We don’t use this sliding door when we are traveling, so there is no need to worry about the box and all the toys spilling out of the car.  Love it!

Long road trips go way smoother with a little planning, organization and preparation before be leave.  I would love to hear about the little tricks you use to make your trips go smoother.
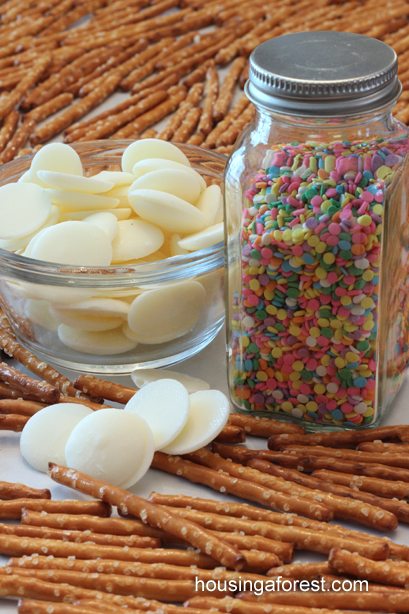
Chocolate Drizzled Pretzels

Kids in the Kitchen ~ Simple Recipe

I love getting Kids in the kitchen and excited about cooking.  This is our go to simple sweet treat recipe.  The best part is the kids can basically make these simple Chocolate Drizzled Pretzels all on their own.    
Kids in the kitchen ~ Simple Chocolate Drizzled Pretzel Recipe
To make Chocolate Drizzled Pretzels, you will need:

  • 1 bag of pretzels ~ I used sticks, but any variety would work.  
  • 12 oz bag of white chocolate melts (I used Wilton White Candy Melts)
  • Ziploc bag (not necessary, but makes the drizzling so easy!)
  • Tall glass
  • Sprinkles 

Kids in the kitchen ~ Simple Chocolate Drizzled Pretzel Recipe

Have your kids spread the pretzels out on wax paper in a single layer.  To make it easy for little fingers, we just place the wax paper right on the table.

Melt your chocolate in a microwave safe bowl according to package directions.  We did ours at 30 second intervals, stirring in between until smooth.  Make sure you help your kids with this step.

Tips for filling your Ziploc bag, and containing the mess:

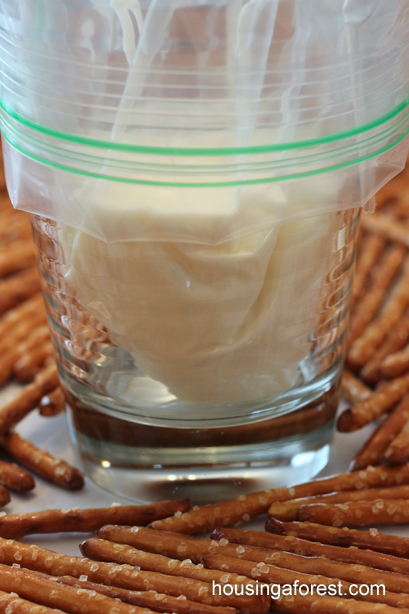
  • Place the Ziploc bag into a tall glass.  Don’t cut the corner just yet!
  • Fold the edges of the bag over the glass.
  • Spoon or pour the melted chocolate into the bag.
  • Take the bag out from the glass.  Remove all the air and seal the Ziploc bag closed.  This will ensure that most of the icing mess stays in the bag when little fingers are squeezing it.
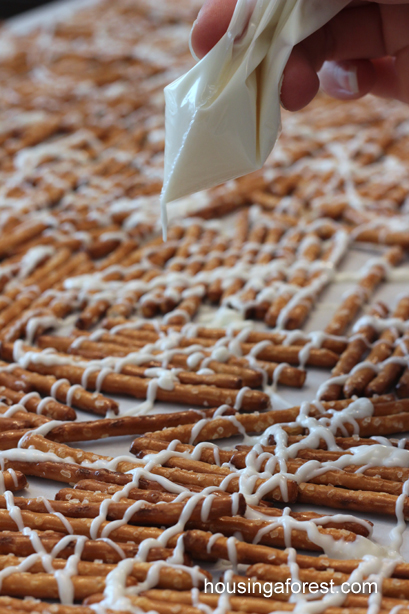
  • Twist the top part of the bag and snip a tiny corner of the Ziploc.

No mess and super easy.  I make one of these little icing bags for each of the kids helping.

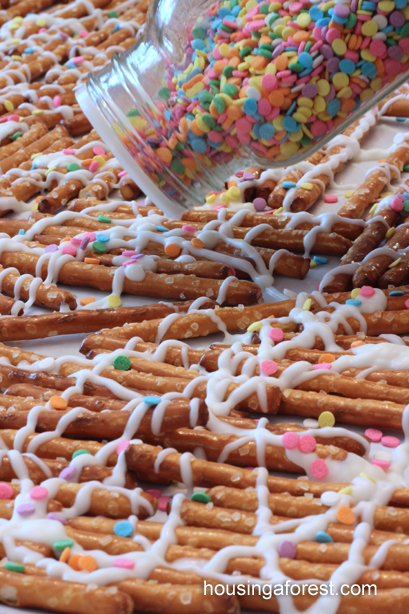
Chocolate Drizzled Pretzel RecipeYour kids will love drizzling the chocolate over the pretzels.  The chocolate hardens quickly, so if adding sprinkles work quickly.

Chocolate Drizzled Pretzel RecipeShake the sprinkles onto the warm chocolate.  

Kids in the kitchen ~ Simple Chocolate Drizzled Pretzel Recipe

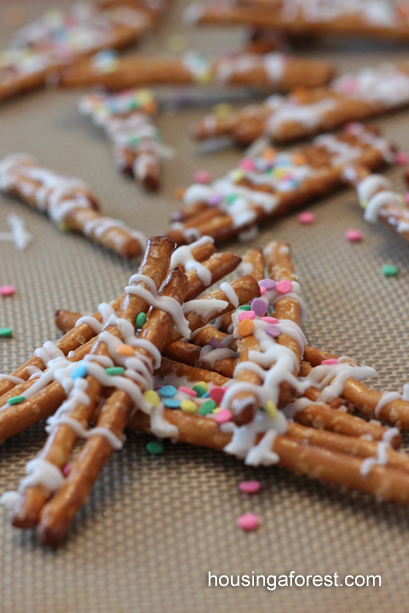
The Perfect combination of sweet, salty and crunchy!Kids in the kitchen ~ Simple Chocolate Drizzled Pretzel Recipe

What is your favorite kid friendly recipe?


Starting Seeds

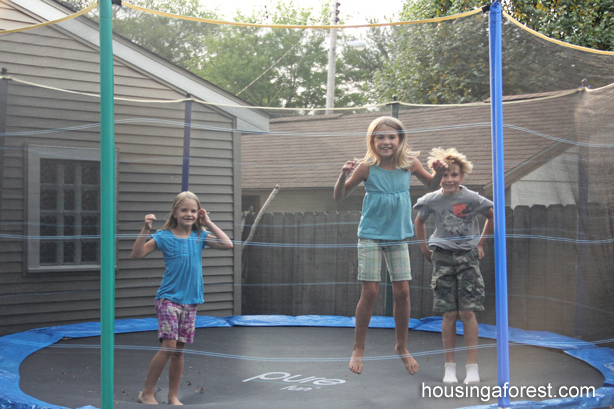
Gardening is the perfect way to get kids excited about digging in the dirt.  There are so many great lessons that kids (and adults too) can learn in the garden.  Everything from how plants grow to patience and perseverance.  Last year the kids decided they wanted to earn some extra money to purchase a trampoline.  After some discussion on what they could do, they decided to try their hand at Starting Seeds and then selling the plants.

As parents we made the decision that we would not simply purchase larger items for our kids, but teach them how to earn the money to buy it on their own.  Teaching kids the value of money is so important.  It sounds crazy that 3 kids 5, 7 and 9 could earn enough money to purchase a trampoline all on their own.  However, with guidance, encouragement and a few frugal ideas they can do it!

Starting Seeds

This step is unnecessary if you are purchasing new seeds.  

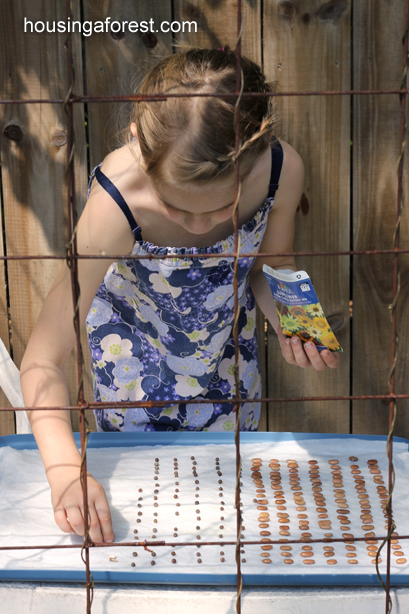
The kids found some seed packets in the basement and asked if they could have them.  Since I didn’t know how old the seed packets were, We decided to see if they would germinate before planting them.  The kids followed the same technique that we used in our Seed Sprouting Prediction experiment.  

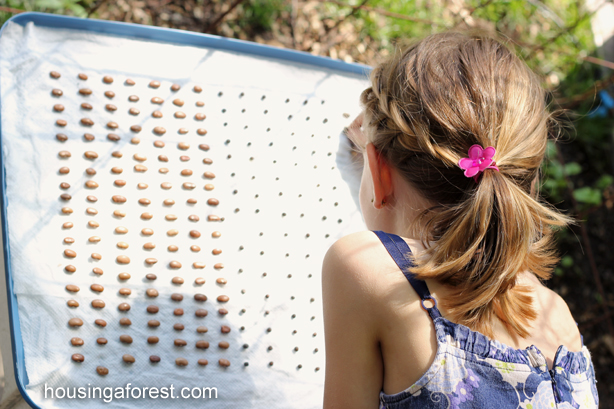
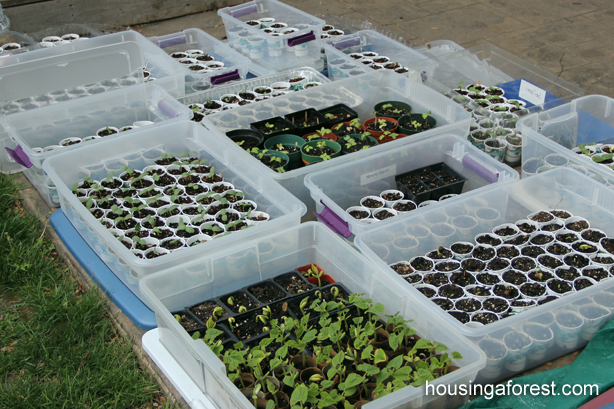
Starting Seeds We lined the lid of a clear plastic bin with moist paper towels and lined up all the seeds on the paper towel.  This was a bit of a slow process, but since the kids were putting more than one type of seeds in a bin we didn’t want a mix up.

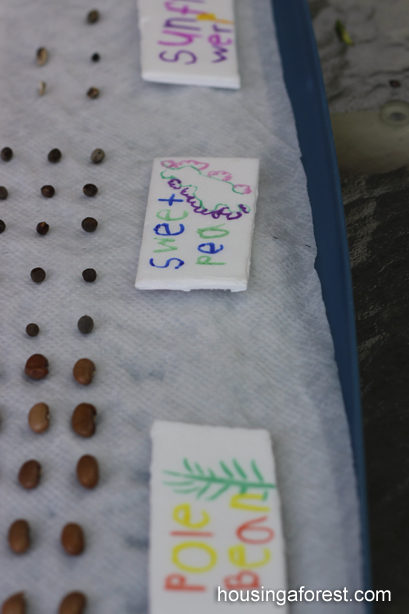
Starting Seeds I love these little decorative seed labels that Annika created, especially her little drawings.  She used permanent sharpie marker on a piece of Styrofoam meat tray.

Starting Seeds Place another moist paper towel over the seeds.  Spray the towel gently with water to keep everything moist.  Place the upturned clear plastic bin onto the lid, creating a mini greenhouse

Regrowing CeleryThe above picture is on our Re-growing Celery post, but our seed greenhouse is constructed in the same way.  I love finding frugal solutions using items that we already have.  These little green houses work great, and I love that we did not have to purchase anything to make them.

Place your little green houses in a warm sunny location.  Make sure you are checking on the seeds often so they don’t dry out.  The kids sprayed them with water in the morning before school and then again when they got home from school.

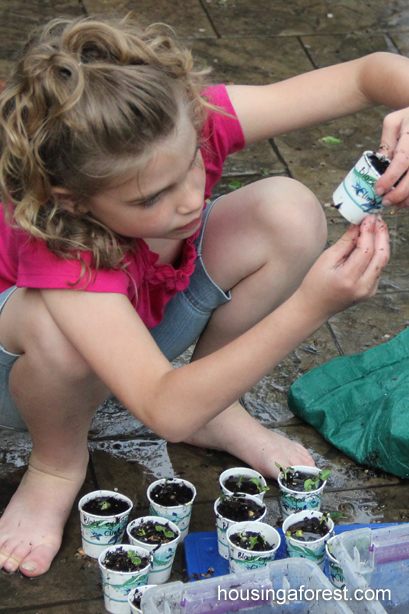
Starting SeedsOnce the seeds started sprouting, the kids placed them into little Dixie cups.   They planted 2 seeds in each cup.  Make sure to poke a hole in the bottom of the cups for water drainage. The kids discovered this the hard way after a huge rain storm.  They were able to rescue all their little plants, but it was a bit of a mess.  Oh well, good lesson to learn for next time:)

Starting Seeds I mentioned this was my kids project to work toward purchasing a trampoline.  I think when counted up they had over 1,000 plants to sell!  They were able to do most of the work, and I was surprised at how well everything grew for them.

Everyone so supportive of the kids.  They sold their plants to neighbors, friends, family and then finally they set up a little table at our garage sale. All the plants sold, which was incredible.

Starting SeedsIn the end after all the plant sold and a few of other money making ventures they were able to purchase the trampoline.  There were so many skills the kids learned along the way that they never would have learned if we would have just bought the trampoline for them.

I would love to hear how you are encouraging your kids to earn money and any tips you have.

For more ways to encourage kids to garden, check out our:

Gourd Surprise

How to Grow Sprouts on a Sponge

27 DIY Garden Markers

Starting Seeds

Regrow Celery

Sorting the Rainbow

Learn about colors and textures ~ Spring Activities for Preschoolers

Spring is almost here, which makes it the perfect time to build a rainbow.  This simple craft has me dreaming of jumping in puddles, seeing the first signs of green poke through the ground and the smell of rain.  Can you tell I am anxious for the snow to melt:)  Sorting the Rainbow may not bring spring on any faster, but looking at it brightens my day.  There is something about the bright colors of the rainbow that just make me smile.

Sorting the Rainbow ~ Fun spring activities for preschoolers. Learn about colors and textures.

This Post contains affiliate links for your convenience.

Materials needed for this rainbow activity:

  • Contact Paper
  • Paper with a large Rainbow drawn on it ~ I just drew mine by hand, but you could print one as well.
  • Tape ~ to secure the contact paper to the work surface.
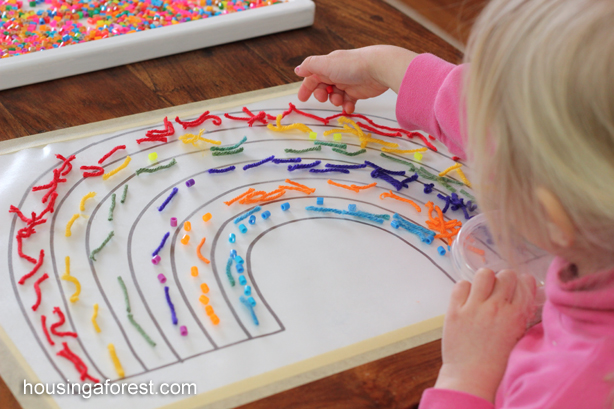
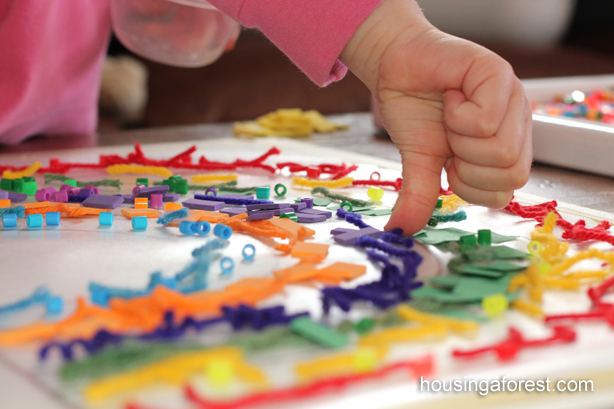
  • Assorted items all the colors of the rainbow.  We used Perler Beads, small pieces of yarn, squares of Craft Foam and paper.  You could also use button, feathers, pompoms, tissue paper, confetti, stickers…and anything else that is tiny and fits on your rainbow.

Sorting the Rainbow ~ Fun spring activities for preschoolers. Learn about colors and textures.

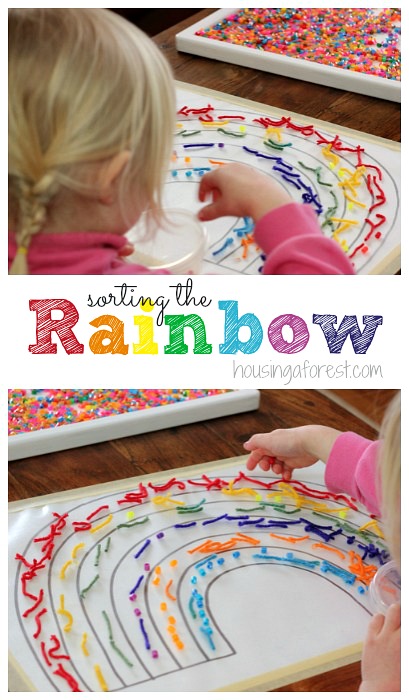
Lay the paper rainbow outline on the table and set the contact paper on top with sticky side facing up.  Tape the contact paper to the table.

Sorting the Rainbow ~ Fun spring activities for preschoolers. Learn about colors and textures.

Encourage your child to sort all the items and group them by color.  The more different shades, hues, shapes and textures you find, the more interesting your rainbow will be.   Once they have the items sorted, have them place the colored objects on the sticky contact paper.

Sorting the Rainbow ~ Fun spring activities for preschoolers. Learn about colors and textures.

For us, this activity was about sorting and recognizing the colors of the rainbow.  I chose not to worry about the Red, Orange, Yellow, Green Blue, Indigo and Violet rainbow order.

Sorting the Rainbow ~ Fun spring activities for preschoolers. Learn about colors and textures.I loved the look of concentration on the kids faces as they were sorting and organizing the colors.
After the kids were finished their rainbows, we placed another sheet of contact paper on top just to seal everything in.  These little rainbows would look great hanging on the fridge or in a window.

Sorting the Rainbow ~ Fun spring activities for preschoolers. Learn about colors and textures.

As an added bonus, the kids colored the paper rainbow template.  2 crafts in one:)

For more Spring Activities for Preschoolers, Check out a few of our favorites:

 Spring Cherry Tree

Spring Oil Pastel and Water Colors 

Lady Bug Paper Plate Craft

Tie Dye Butterfly on a Stick

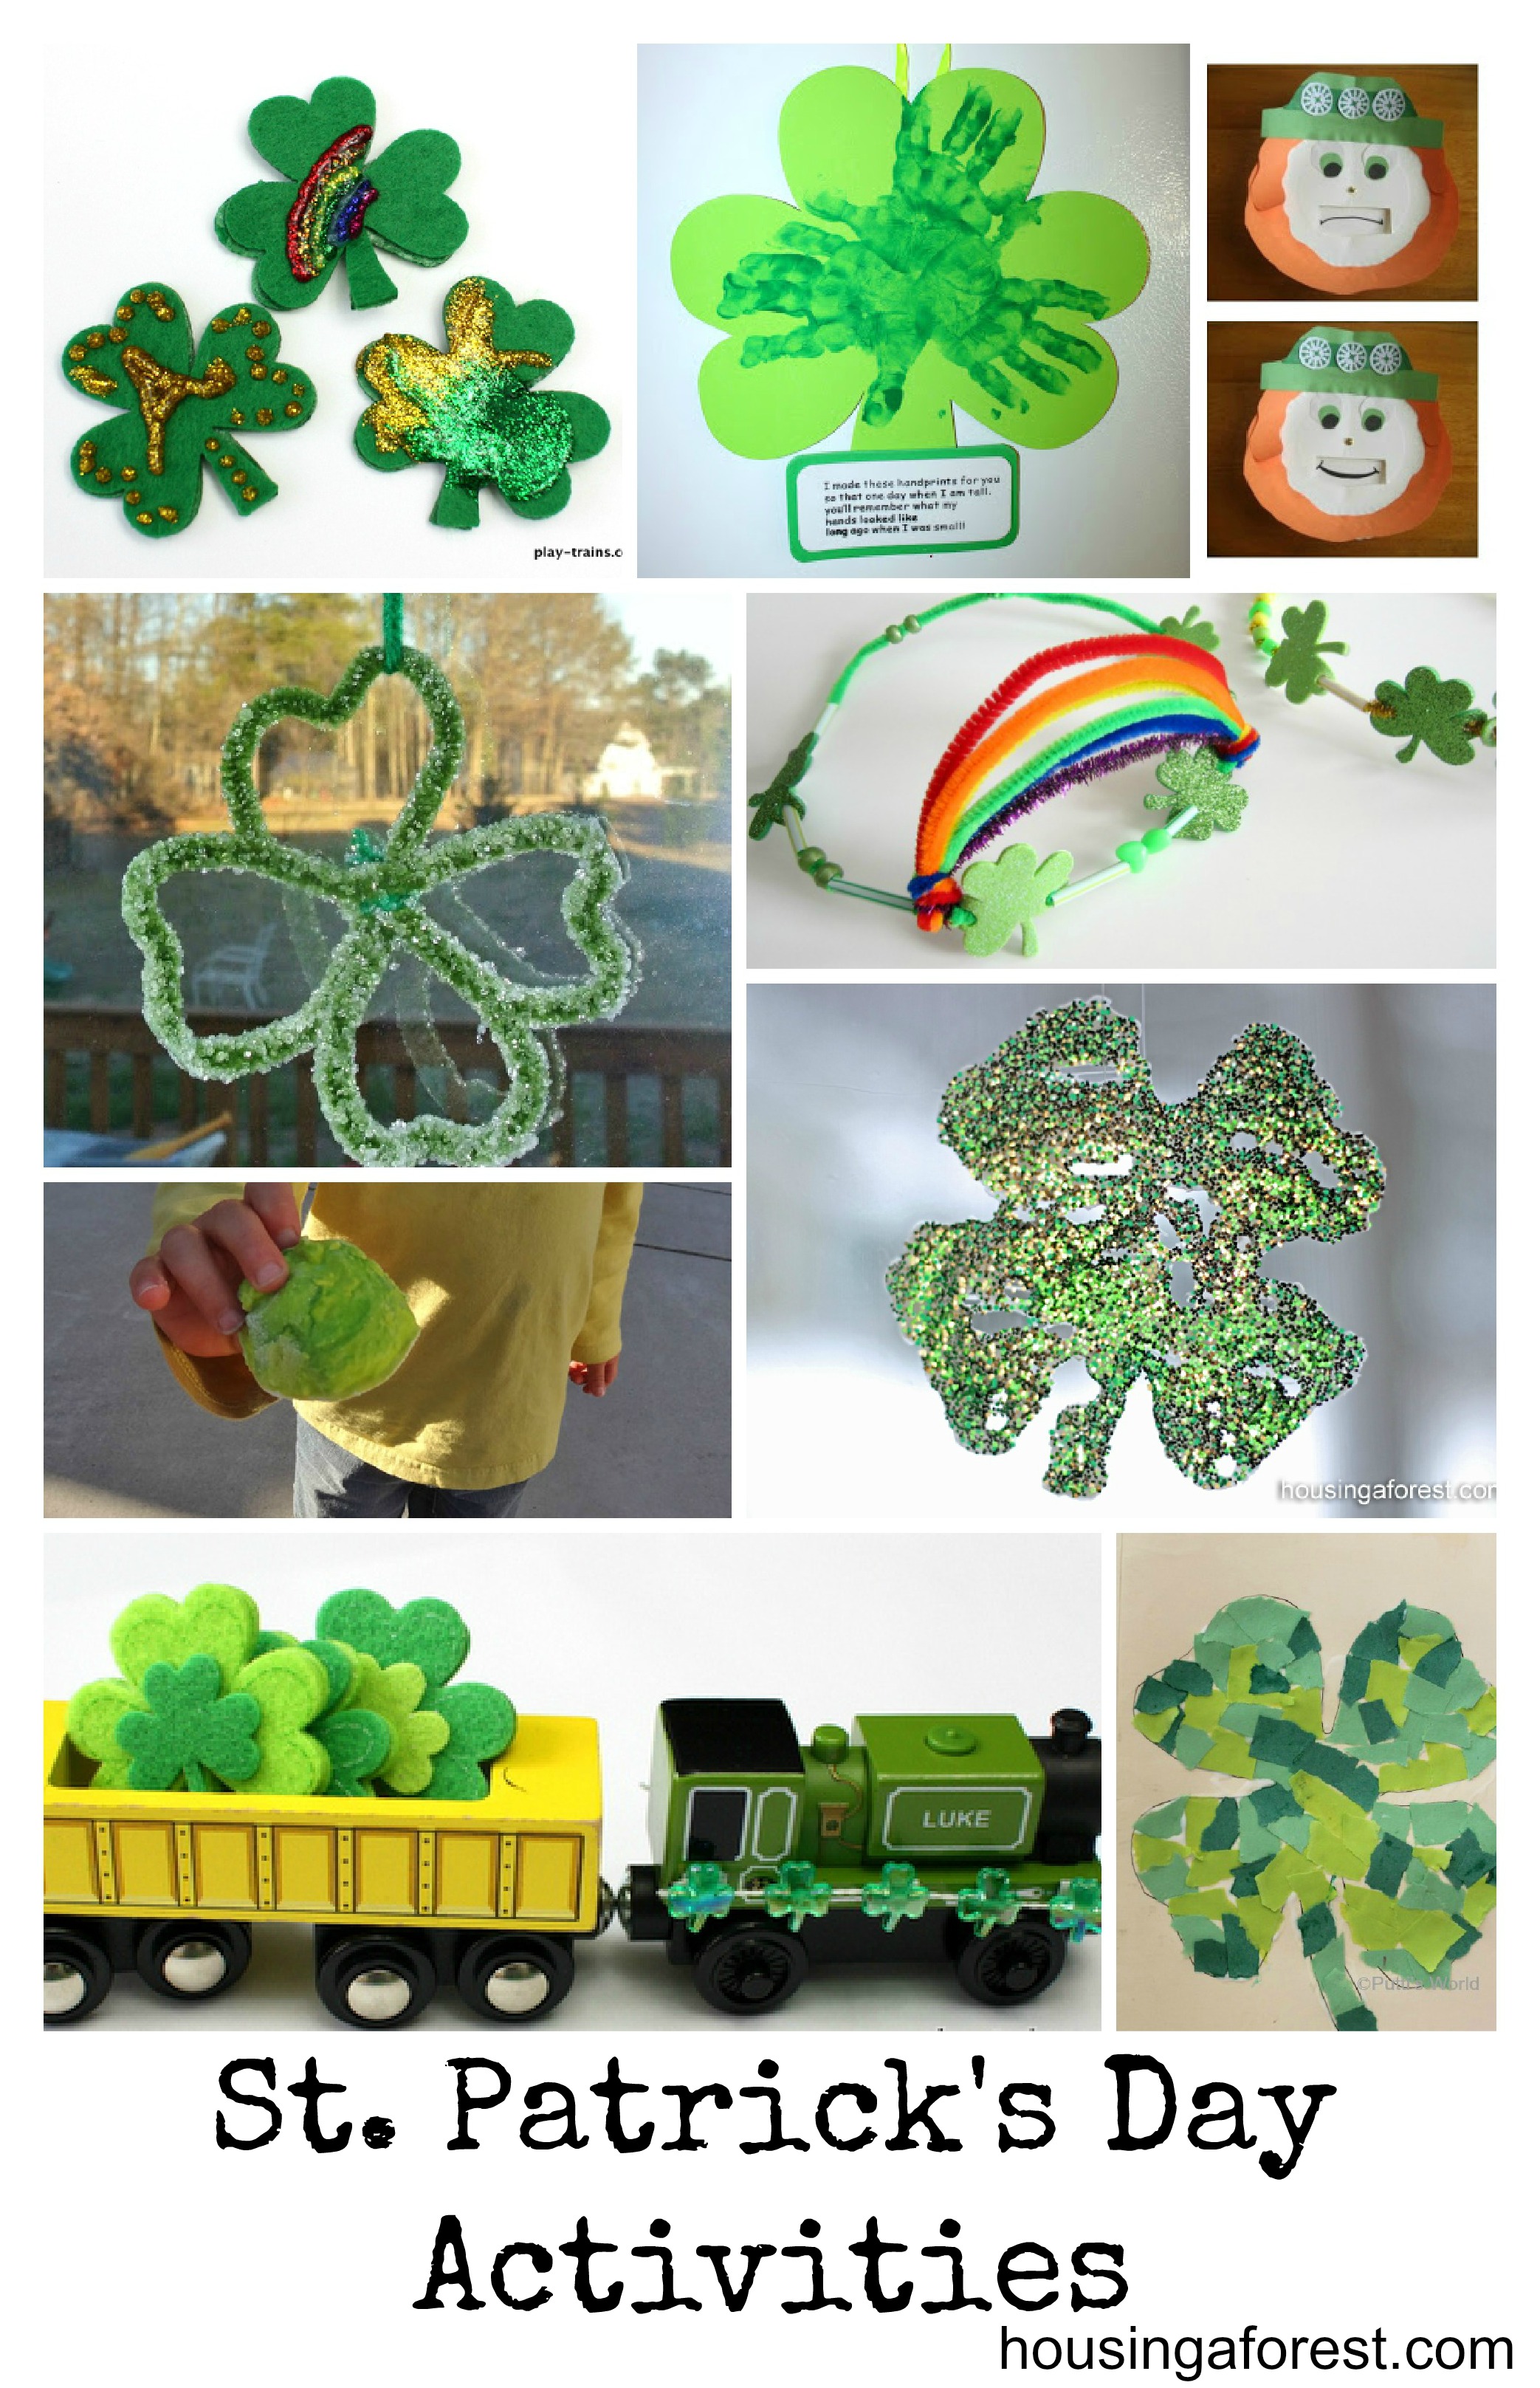
St Patrick’s Day Activities from The Kids Co-op

It’s time for the Weekly Kids Co-op again!  Last week I featured Rainbow Crafts and Activities.  I love all the creative posts that are linked up each week.  I am always amazed by what you come up with each week!  Since March 17th is right around the corner, I decided to feature St Patrick’s Day activities linked up from last weeks Kids C-op.  How do you do anything fun for St. Patrick’s Day at your house?

St. Partick's Day Activities

If you were featured this week, feel free to grab a Housing A Forest button.

Come back every Thursday to see if your creative idea were featured and link up any new ideas! (I will be using one image and a link back to your blog.)

If you don’t want to miss out on any of the fun we are having at Housing A Forest, make sure to follow us on Pinterest, Facebook, Google + and Twitter.

Weekly Kids Co-op