Easy Fourth of July Crafts for Kids

Cookie Cutter Stamping ~ A Classic 4th of July Craft

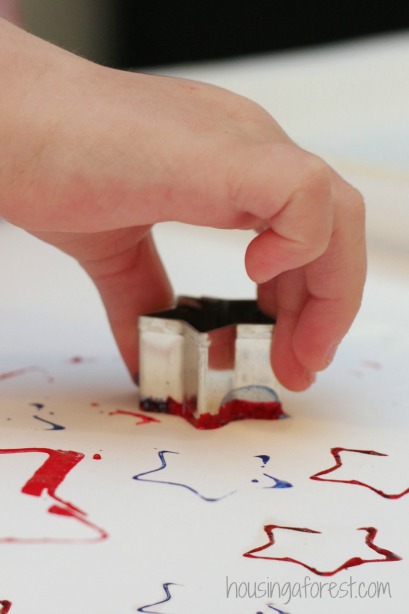
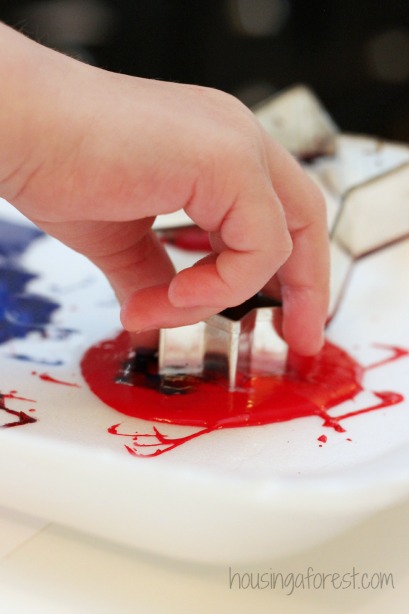
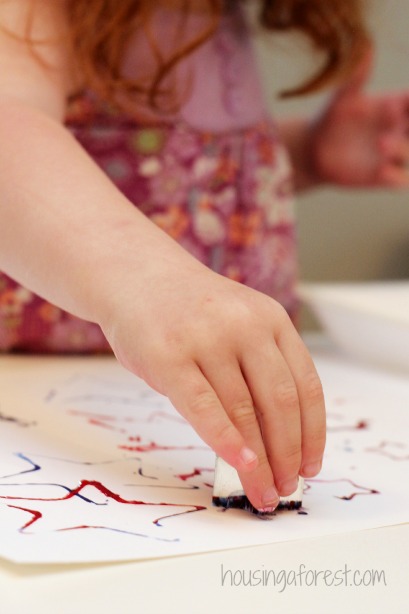
Printing with cookie cutters is a classic kids craft.  It’s quick and easy making it a perfect activity for little fingers.  I love all the fun/unique shapes cookie cutters come in.  You can find one for just about any occasion.  The kids hadso much fun making simple Shamrock prints that we decided to make a patriotic version.  Check out these simple star shaped prints, perfect for your 4th of July party.

Star Cookie Cutter Prints ~  Easy Fourth of July Crafts for Kids

Materials for our Easy Fourth of July Crafts for Kids

  • Red, White and Blue Paint
  • Star Cookie Cutters
  • Paper plate ~ or flat surface for the paint

Star Cookie Cutter Prints ~  Fourth of July Crafts for Kids

The kids had so much fun with this simple activity.

Star Cookie Cutter Prints ~ Easy Cookie Cutter Prints

This is one of those times that double dipping is encouraged.

Star Cookie Cutter Prints ~  Fourth of July Crafts for Kids

For more simple 4th of July activities, check out our:

Simple Paper Cut American Flag 

Handmade Toys ~ Button Spinners

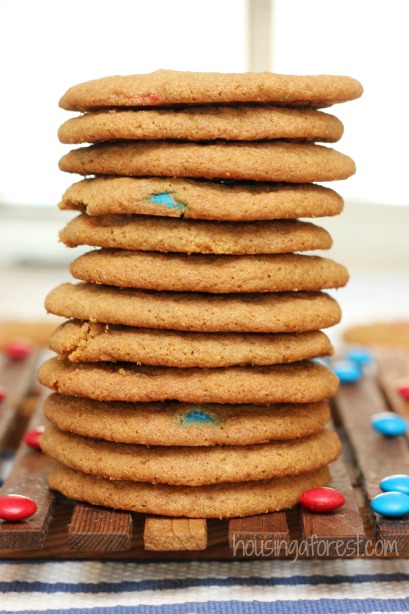
Red, White and Blue M&M Cookies

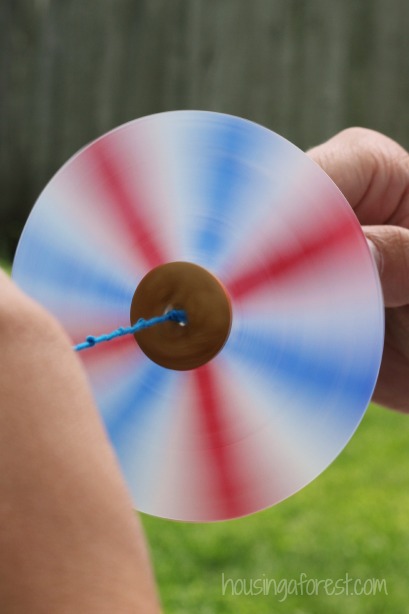
Homemade Toys ~ Button Spinner

Homemade Toys ~ Button Spinner made from Recycled Material

Ready for a simple blast from the past?  Today I made easy Buttons Spinners with the kids, and they were a huge hit!  I seriously can’t believe that this is the first time that we have made a set together.  I have fond memories of building these little handmade toys while spending the day at Grandpa and Grandma’s house.  Grandma had a large button collection and that I loved sifting and sorting.  Read on to find out how easy these little handmade toys are to make.

Homemade Toys ~ Button Spinner

I love creating with the kids, especially when I don’t have to make a trip to the store for a special ingredient.  If you are like me, then these little button spinners are perfect.  You probably have everything at home already.  Love that!

Homemade Toys ~ Button Spinner

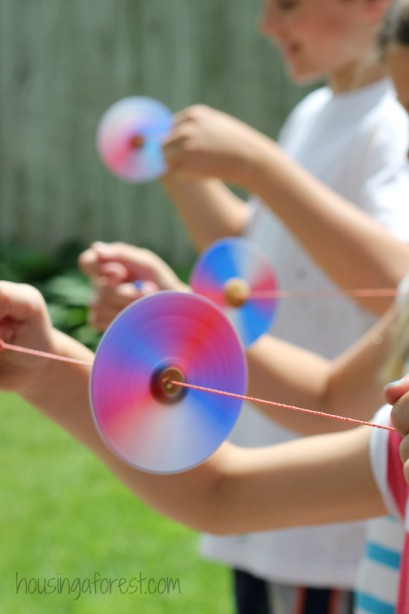
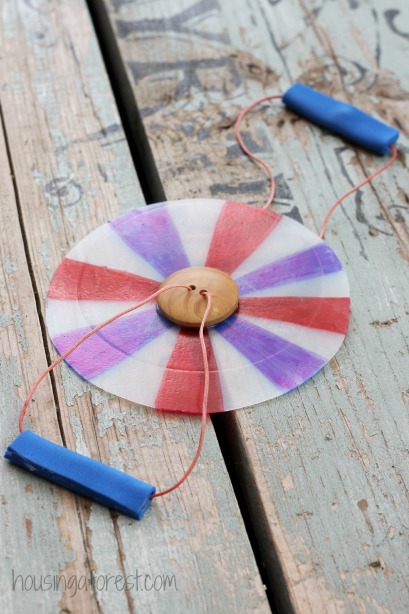
Kids have been playing with homemade button spinners for years.  So the concept is nothing new.  However, we added out own little twist.  I combined my obsession with sharpies and using recycled materials to make a super cool 4th of July Spinner.  How fun is that?!?

Homemade Toys ~ Button Spinner

Ready for the simple list of materials?

Homemade Toys ~ Button Spinner

To make a Button Spinner, you will need:

  • Large Button
  • String ~ most any thin string/yarn will work.  However, we used a wax covered string that made it a little easier for the kids.
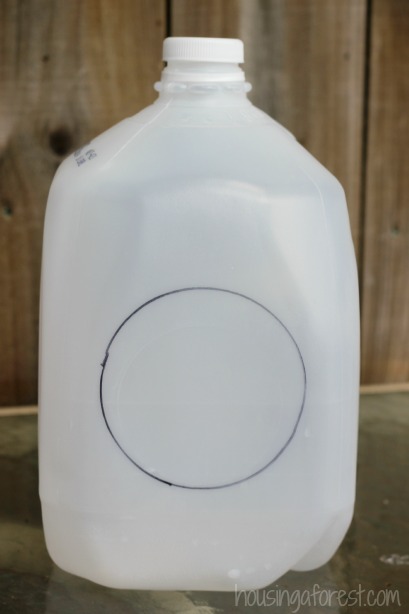
  • Milk Jug or similar plastic from your recycle bin
  • Colorful Sharpies or permanent markers
  • Hot Glue Glue
  • Craft foam ~ (optional) to make handles

Homemade Toys ~ Button Spinner

How to make a Button Spinner

They are super easy to put together.  To create the traditional spinner…simply thread the string through 2 of the button holes, tie a knot and your all set.

To create our Colorful Button Spinner.

Simply cut a circle from a milk jug (about 3″ in diameter) and color with sharpies.  Next, cut a circle out of the center of the plastic (just smaller than your button).  We only colored one side of our plastic, since you could see the kids designs from both sides.  Finally, hot glue the colorful plastic onto the button, thread the  string through 2 of the button holes, tie a knot and your done!  Quick and easy.

Homemade Toys ~ Button Spinner

To add handles

The string can make little fingers sore, so we chose to add simple foam handles.  Simply cut little rectangles of craft foam, folded it over the string and then hot glue in place.  Easy Peasy.  Just make sure that the handles are spaced an equal distance apart.

Homemade Toys ~ Button Spinner

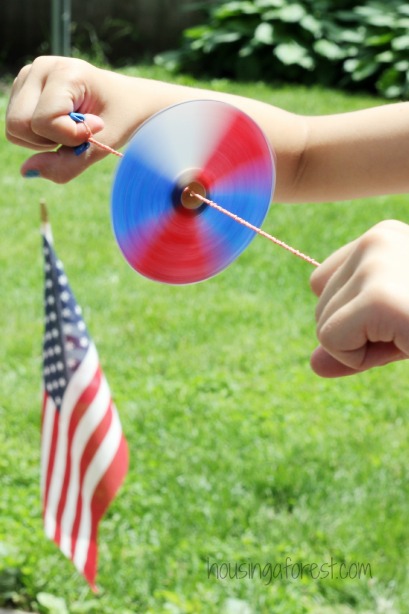
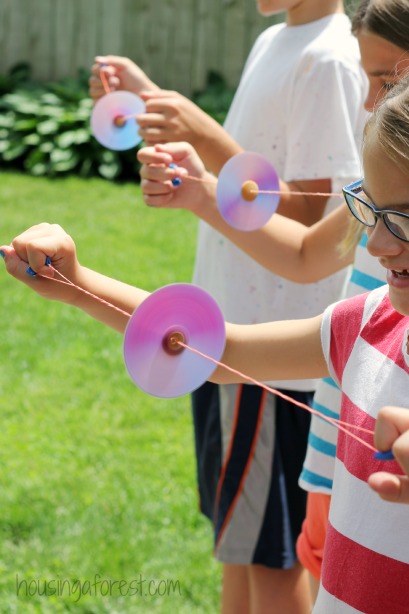
Holding the string in each hand, twirl your spinner until the string is pretty tight.  Stretch the string out and pull to make the button spin. Pull hard stretching and then relaxing the string by moving your hands close together and then apart. This takes practice to keep it going, but once it does it’s really cool!  The kids loved the little zinging noise it made as it spun around.

Seriously, could it be any easier?  Perfect for your 4th of July Party.

Homemade Toys ~ Button Spinner

For more simple toys you can make with your kids, check out our:

Popsicle Stick Harmonicas

DIY Paper Climber

Balloon Powered Car

DIY Duct Tape Hobby Horse

Recycled Bubble Blower

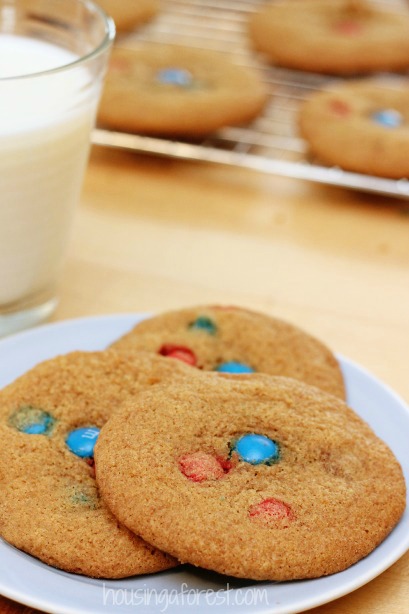
Soft and Chewy M&M Cookies

 My kids Favorite Recipe for M&M Cookies

I will choose a cookie over cake any day.  There is something about the smell/taste of a cookie fresh out of the oven, gooey and still warm.  Yummy!  I am debating making a batch right now.  Although if I did, I may never get around to sharing this amazing M&M Cookie recipe with you.  OK…my craving can wait;)

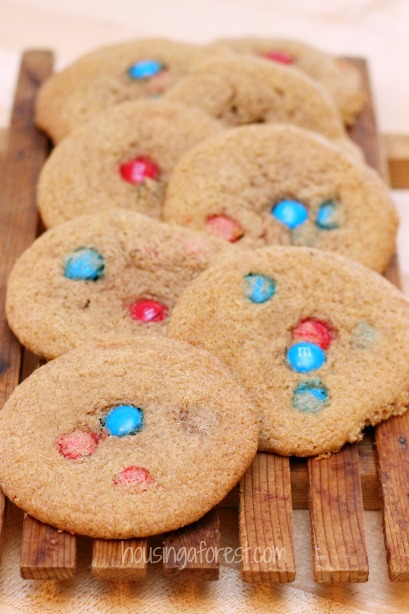
Soft and Chewy M&M Cookies ~ my kids favorite cookie recipe

These little M&M cookies and me have a special history.  This is the first recipe that I ever asked a friends mom for (I was in grade school at the time).  It also was the first recipe that I added to my own recipe box.  You know its a good recipe, when they are still one of my favorite cookie after all these years.  Over the years I have made a few changes, but basically they are the same cookies that I grew up making.

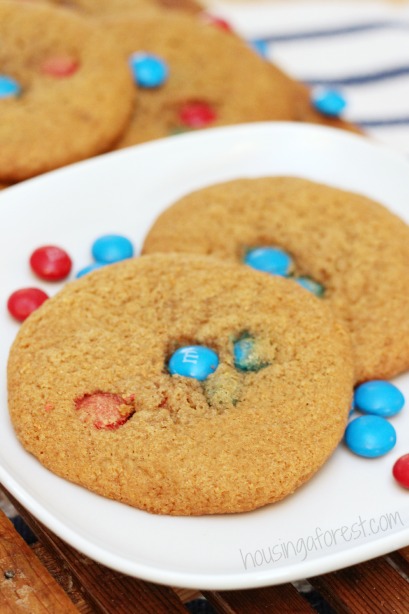
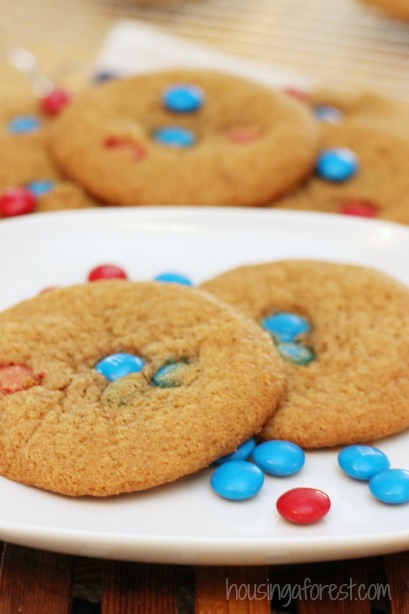
Since 4th of July is right around the corner, we chose to make this batch all Red, White and Blue.  I love that M&M’s come in a wide variety of colors.

Soft and Chewy M&M Cookies ~ my kids favorite cookie recipe

M&M Cookie INGREDIENTS:

  • 1 cup Butter
  • 1 cup Firmly Packed Brown Sugar
  • 1/2 cup White Sugar
  • 2 teaspoons Vanilla
  • 2 Eggs
  • 2 1/4 cups flour
  • 1 teaspoons baking soda
  • 1 teaspoons salt
  • 1 1/2 cups M&M’s

Soft and Chewy M&M Cookies ~ my kids favorite cookie recipe

 M&M Cookies INSTRUCTIONS:

  1. Preheat the oven to 350 degrees.
  2. In a large bowl, cream brown sugar, white sugar and butter.
  3. Next, add the eggs, and vanilla making sure everything is well mixed.
  4. Add the flour, baking soda, and salt. Mix until just combined
  5. Finally, stir in the M&M’s.
  6. Roll into balls, flatten slightly and place an extra M&M into the top of each cookie.

Bake at 375 for 8-10 minutes.  These are the type of cookie that you want to be slightly under baked.  Let them stand for 5 minutes on the cookie sheet before transferring to a cooling rack.  This will help the cookies hold their shape.

Soft and Chewy M&M Cookies ~ my kids favorite cookie recipe

Simple tip to keep your cookies from spreading:

If you are finding that your cookies are spreading out too far, there is an easy way to correct it.  The best part is…its not the recipe;)  All you need to do is refrigerate your dough for about 5 minutes before baking. This will re-solidify the fats and stop your cookies from over spreading.  Easy!

Soft and Chewy M&M Cookies ~ my kids favorite cookie recipe


For more yummy recipes, check out our:

Frozen Yogurt Dots

Healthy Dehydrated Fruit

Carrot Cake Pancakes

Watermelon and Lime Smoothie

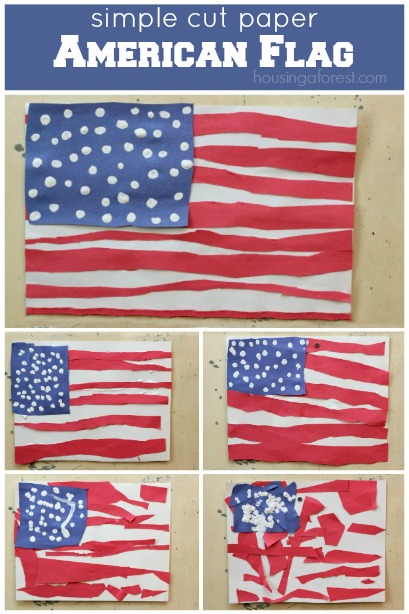
Simple American Flag Craft for Kids

Patriotic crafts for kids ~ Simple American Flag Craft

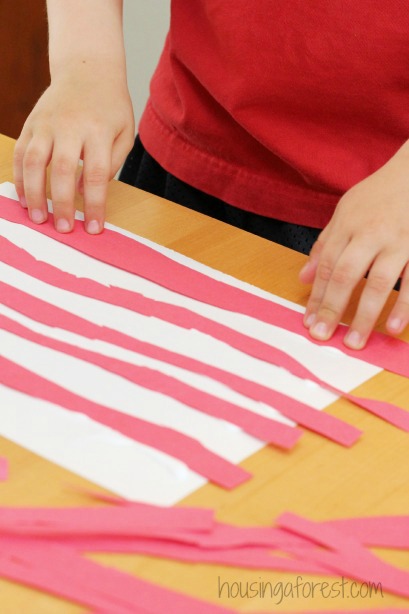
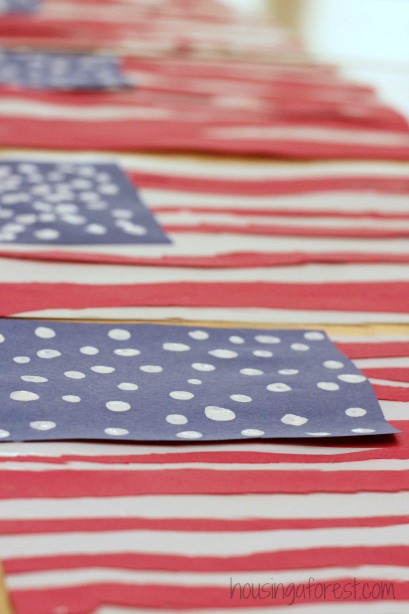
Are you looking for a simple craft perfect for July 4th or Memorial day?  Check out this simple American flag craft.  It’s a perfect way to sneak in a little scissor skill practice, and create something adorable for your fridge.  Plus all you need is 5 minutes and a few simple supplies.  Love that!

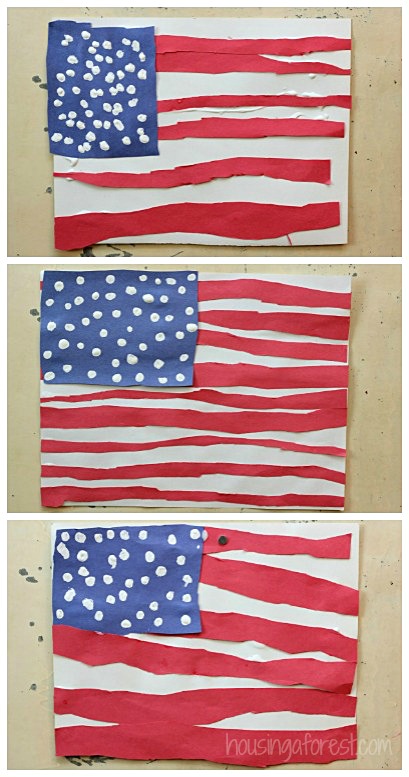
Patriotic crafts for kids ~ American Flag Craft for Kids - Great for a 4th of July or Memorial day art project!Could the bottom 2 flags be any cuter?

Patriotic crafts for kids ~ American Flag Craft for Kids - Great for a 4th of July or Memorial day art project!

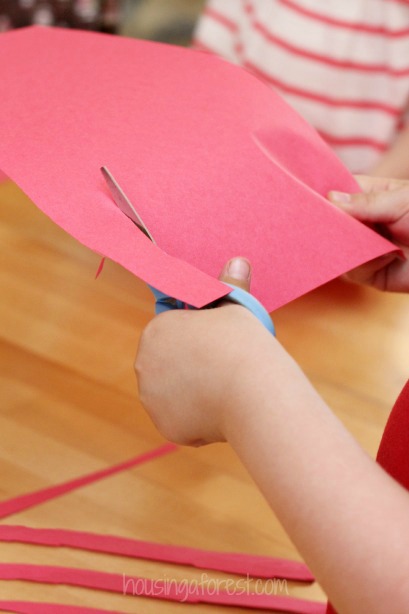
Full sheets of paper can be tricky for little ones maneuver with scissors in hand.  Often I will cut the paper into more manageable sizes, depending on the project.  Although as you can see, this little cutie was doing just fine.

Patriotic crafts for kids ~ American Flag Craft for Kids - Great for a 4th of July or Memorial day art project!

If your little one loves cutting, then you may want to try our simple circle rainbows, our adorable counting carrots activity and my favorite…silly spring chicks.

I also have a bin with scraps of paper, newspapers, old magazines etc set aside just for cutting.  Some kids what to find pretty images to cut out, and others will be content cutting paper into teeny tiny pieces.  Either way they are learning valuable fine motor skills that you want to encourage.

Patriotic crafts for kids ~ American Flag Craft for Kids - Great for a 4th of July or Memorial day art project!

American Flag Materials:

  • Red, blue and white construction paper
  • Glue
  • Scissors
  • White paint
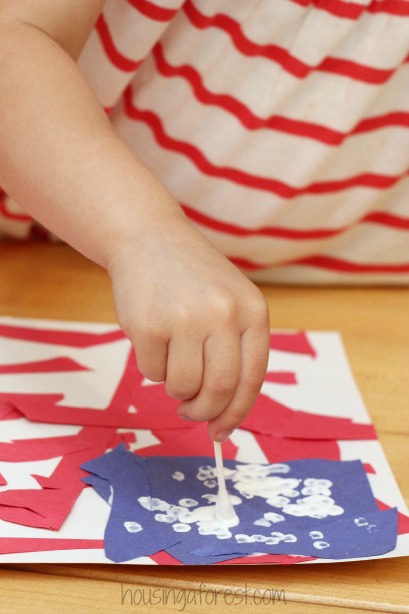
  • Q-tips

Patriotic crafts for kids ~ American Flag Craft for Kids - Great for a 4th of July or Memorial day art project!

The kids started but cutting long strips of red paper.  They glued them onto the paper to make simple stripes.  Then they cut and glued on a blue rectangle.  Easy peasy.  Finally the kids made stars by dipping a q-tip into white paint and dotting.  Quick and simple!

Patriotic crafts for kids ~ American Flag Craft for Kids - Great for a 4th of July or Memorial day art project!

For more Patriotic crafts, check out our:

Fireworks in a Bottle

Poppies 

Pretend Play Tea Party

Sensory Activities for Toddlers ~ Pretend Play Tea Party

If your kids are anything like mine, they love any excuse to have a Tea Party.  Dressing up and pretending to be somewhere far away…an enchanted castle, fairy garden or an imaginative land.  Ready to whisk your little prince or princess off on a fun imaginary ride?  Check out our simple sensory activities for toddlers, and the best part is…it is free!
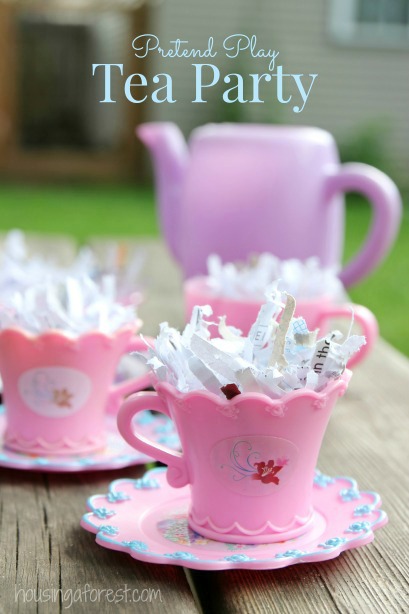
Pretend Play Tea Party ~ Sensory Activities for Toddlers

As I set up a little table in the back yard, the girls got all decked out in their special outfits.

According to my kids, you can’t have a tea party with out the proper princess attire.

Pretend Play Tea Party ~ Sensory Activities for Toddlers


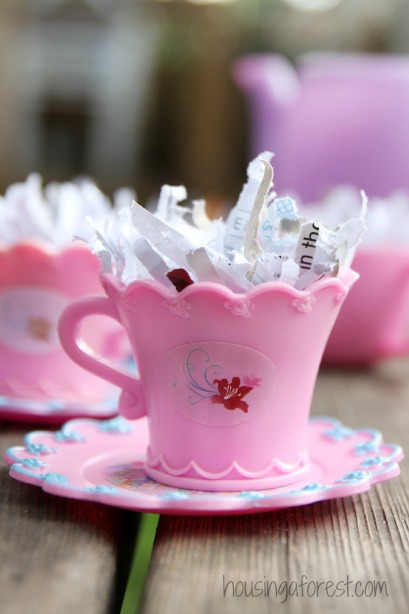
Unlike our usual tea parties, todays began with a bag of shredded paper.  Yep thats right…a bag of our recycling.  Seriously, who would have thought that recycling could be so fun.

I simply emptied the shredded paper into a large bin, and set out the tea set.

The easiest Tea Party set up ever!
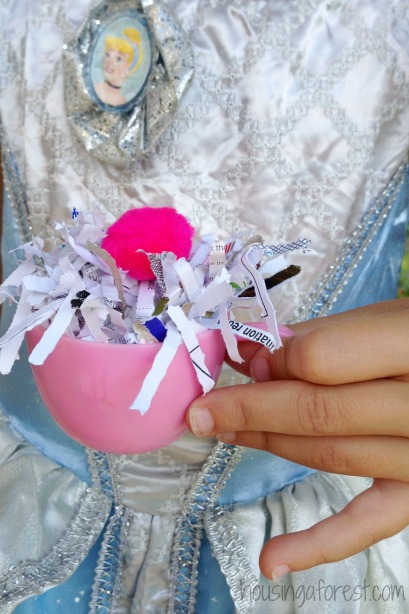
Pretend Play Tea Party ~ Sensory Activities for Toddlers

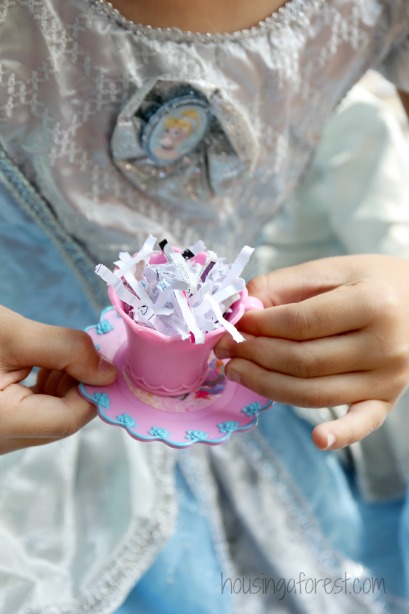
Immediately the kids dove right in…creating imaginative cups of tea overflowing with paper.

The pom-pom cherries were my favorite addition.

Pretend Play Tea Party ~ Sensory Activities for Toddlers

Sparkles, sparkles and more sparkles.  Love it!

Our little shredded paper tea party was a smashing success!  The kids LOVED it!

Pretend Play Tea Party ~ Sensory Activities for Toddlers

When the girls had drank they fill of tea, they ended with a friendly paper fight.

I mean really…who can resist a bin full of paper…not my girls!
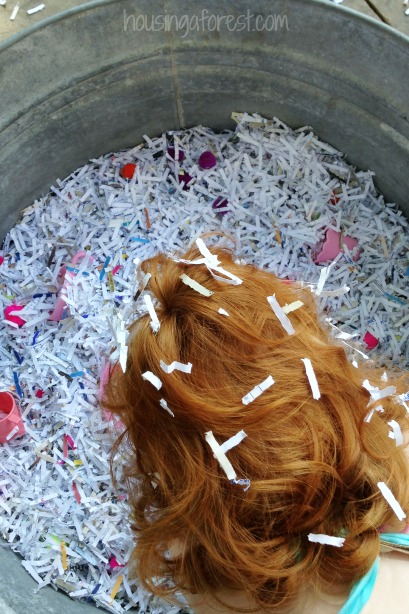
Pretend Play Tea Party ~ Sensory Activities for Toddlers The kids had so much fun, and I have to admit I had a blast joining in as well.
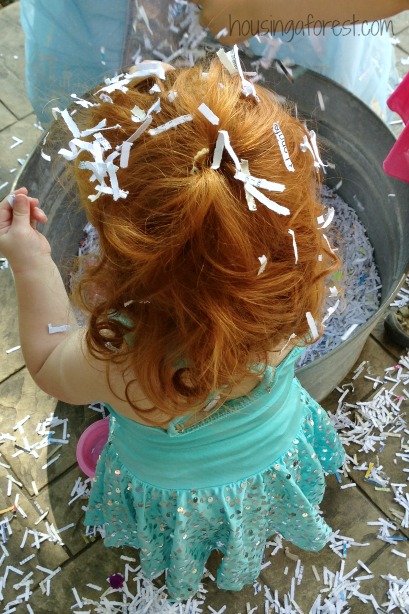
Pretend Play Tea Party ~ Sensory Activities for Toddlers

Sensory activities for toddlers and kiddos are so important.  I love that this simple activity requires no recipe, and is totally free (you just need to raid the recycle bin).
Pretend Play Tea Party ~ Sensory Activities for Toddlers

Pretty sure she is ready for tea with the Queen!
Pretend Play Tea Party ~ Sensory Activities for Toddlers

Looking for more fun ideas to incorporate shredded paper into your play, check out our:

Shredded Paper Snowmen

Paper Plate Sheep

Halloween Sensory Play

Fall Leaf Craft

Winter Sensory Bin