Halloween Sensory Play

A perfect sensory activity for Halloween.
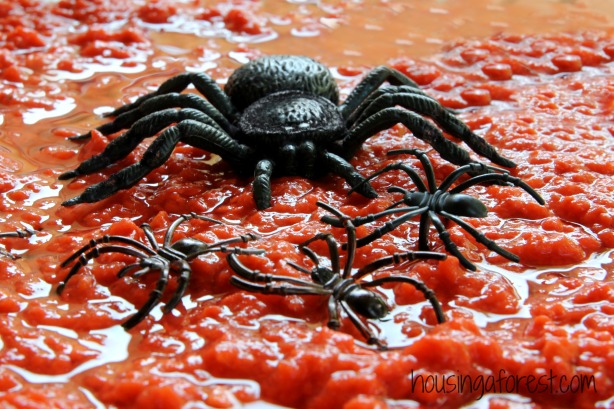
Halloween Sensory Play ~ Gooey Spider Halloween Fun

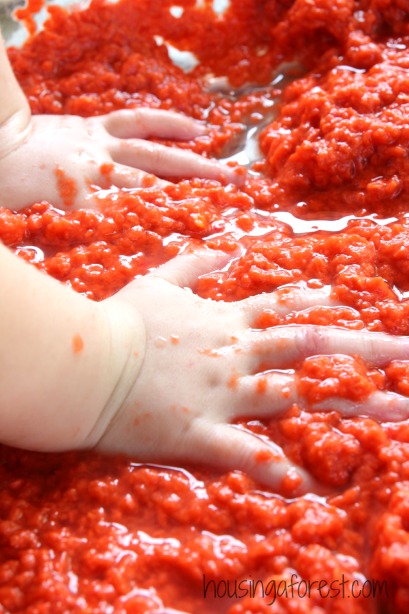
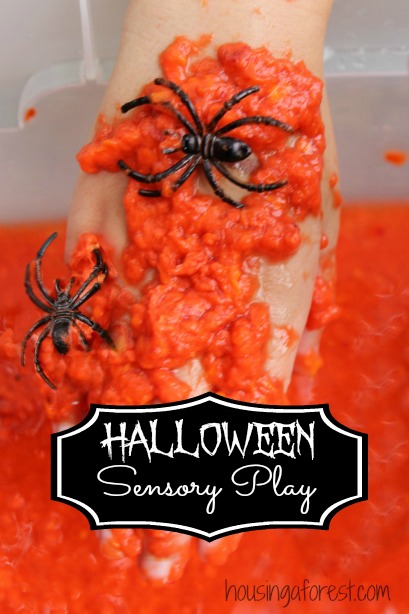
Halloween is right around the corner and we are having a blast playing with our goop filled Halloween sensory bin. It’s wet, squishy, gooey and with the addition of a few spiders, it makes a perfect Halloween sensory play activity.  We had so much fun creating our Fall Centerpiece that we had to find another fun use for our squishy pulp!  I am so glad we did.
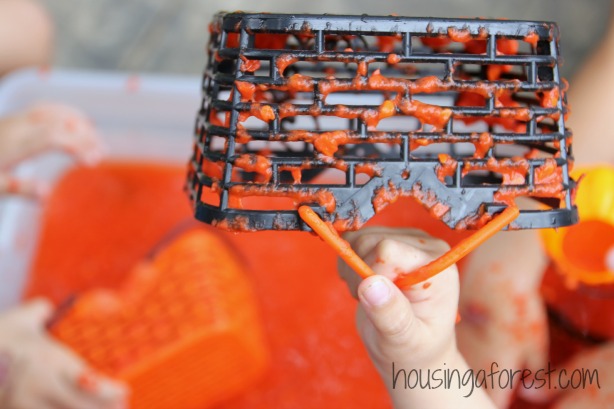
Halloween Sensory Play ~ Gooey Spider Halloween Fun

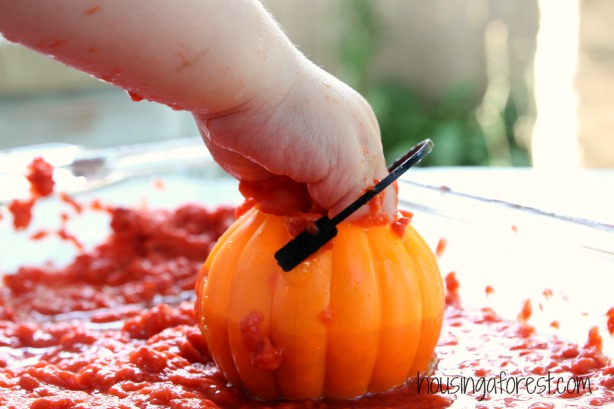
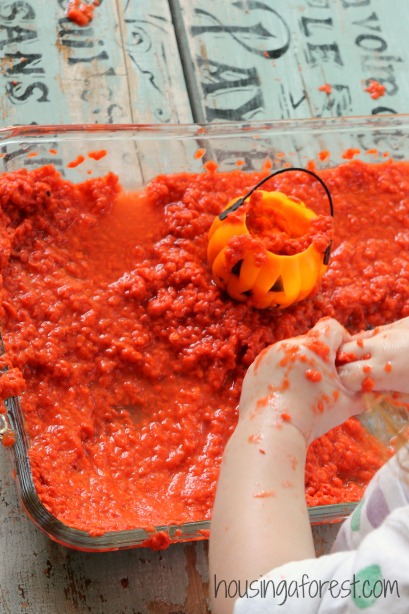
The kids loved scooping the goop with Halloween baskets and mini pumpkin buckets.

Halloween Sensory Play ~ Gooey Spider Halloween Fun

 As you can see, the texture of the pulp was so intriguing to the kids.  They dove right in up to their elbows with out hesitating.
Halloween Sensory Play ~ Gooey Spider Halloween Fun

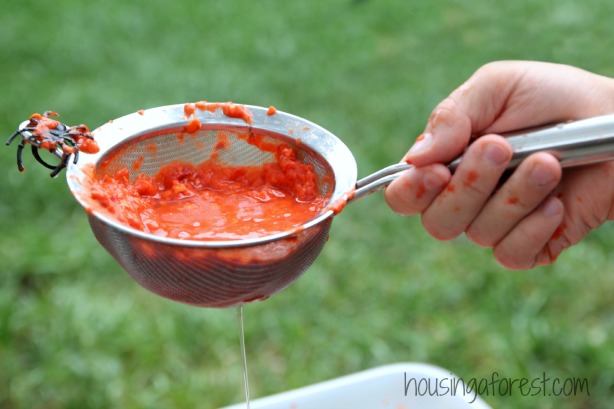
 Kitchen strainers work great for scooping and draining the water.
Halloween Sensory Play ~ Gooey Spider Halloween Fun

 The kids had so much fun just simply transferring the wet mixture into buckets and then pouring it out.  I love letting the kids discover and play through fun sensory activities.  You might be surprised to learn that when I first had kids, I banded play-dough from our house.  Gasp!  Yep you read right.  I am so thankful that I let go as a parent and now embrace the joys of messy play.

Halloween Sensory Play ~ Gooey Spider Halloween Fun

The kids loved watching the pulp cling to the basket as the water dripped off.
Halloween Sensory Play ~ Gooey Spider Halloween Fun

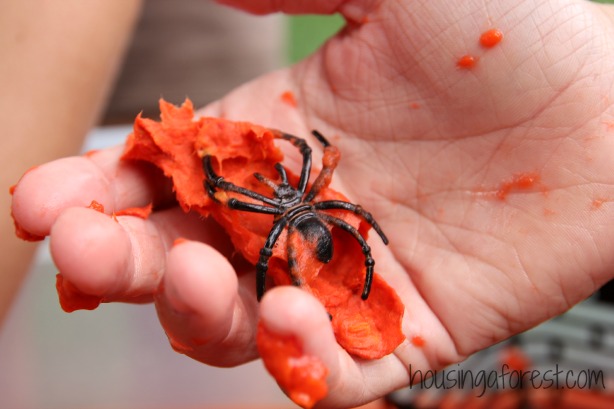
The kids discovered that if they squished all the water out of the pulp, they could create an intriguing spider egg sack.  Super cool.  According to my daughter, Spiders rock.  Ha!  I may not have her love of spiders but I do love this simple spider web that we created.
Halloween Sensory Play ~ Gooey Spider Halloween Fun

Halloween Pulp Sensory Bin:

  • Scraps of orange paper ~ we used construction paper and off cuts of scrapbooking paper.  We raided our scrap paper bin of all the orange paper we could find.
  • Hot Water
  • Blender

Since essentially the bin is filled with wet paper, it is non toxic and totally safe for kiddos (All our paper was ink free).

Halloween Sensory Play ~ Gooey Spider Halloween Fun

Start by shredding your paper.  We cheated and used the paper shredder, but you could rip or cut your paper into tiny bits.  My kids love any chance they get to use the paper shredder, so this was the perfect excuse.

Once all the paper is cut into tiny pieces, place it in a heat safe container and pour boiling water over it.  You will only need to add just enough to cover the paper (please be careful with this step).  The hot water helps to break down the fibers in the paper making the next step easier.  Let this mixture sit for at least a few hours (ours was left over night).

Now you are ready to start blending the paper into a pulp.  We just used our regular kitchen blender and washed it out really well after we were done.  It is easiest to blend in small batches.  You may need to add more water to the blender.
Halloween Sensory Play ~ Gooey Spider Halloween Fun

Tips:

  • Once you created your pulp, you can place it into the fridge for a surprisingly cool sensory experience.
  • Add plastic baskets, cups and strainers to sift and pour with.
  • This mixture can last up to a week if stored in the fridge.
  • Since the mixture is just paper and water the clean-up is a breeze.
Halloween Sensory Play ~ Gooey Spider Halloween Fun

Had we no where to be, the kids would have played and squished in this simple mixture all day.  I love how easy it was to make, and the best part is…it was free!  I love finding new uses for our paper scraps!

We love creating seasonal activities.  Check our our latest fall and Halloween posts for more inspiration.
Painting With Monster Hands

DIY Paint brushes ~ Halloween painting

Painting with Monster Hands ~ Halloween Painting activity

I am so excited to have Vicky from Mess for Less joining the Paint and Play series that we have been doing with Crystal from Growing a Jeweled Rose.  If this is your first time joining us,  the focus for our series is all about the process and encouraging our kids to get excited about creating art with fun and unique mediums!  Our challenge this week was to create our own DIY Paint Brushes.  We were inspired to create a little Halloween art and the kids had a blast getting messy and Painting With Monster Hands.

Painting with Monster Hands ~ Halloween Painting activity

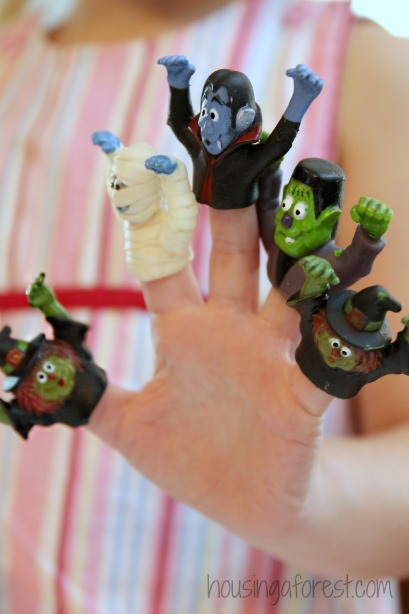
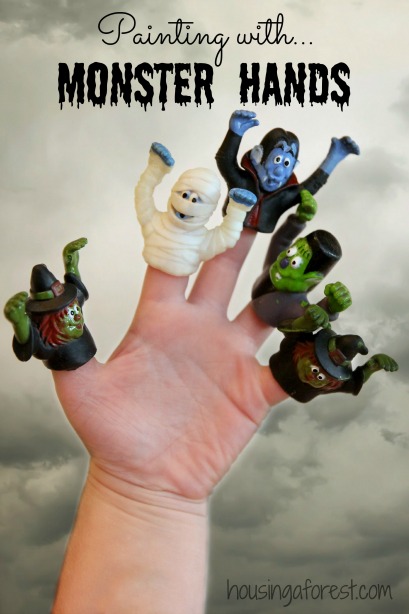
My kids found a few of these plastic Halloween Finger puppets in the bottom of their Trick or Treat bags last year.  When I was pulling out the fall decoration I discovered them tucked in among all the pumpkins.  Fun candy alternatives are always welcome in our house.  Last year we made creative Candy Wrapper Turkeys and played with 3 sticky ways to Paint with Candy.

Painting with Monster Hands ~ Halloween Painting activity

Painting With Monster Hands

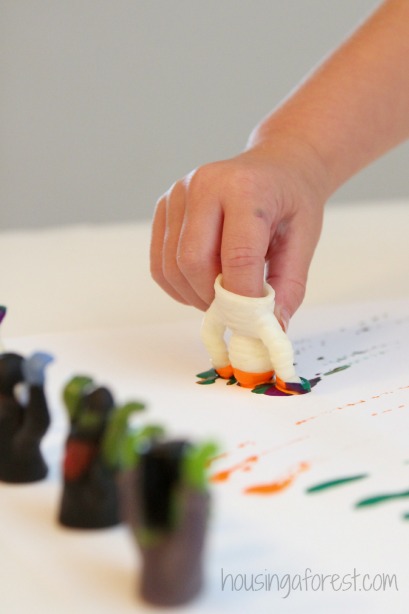
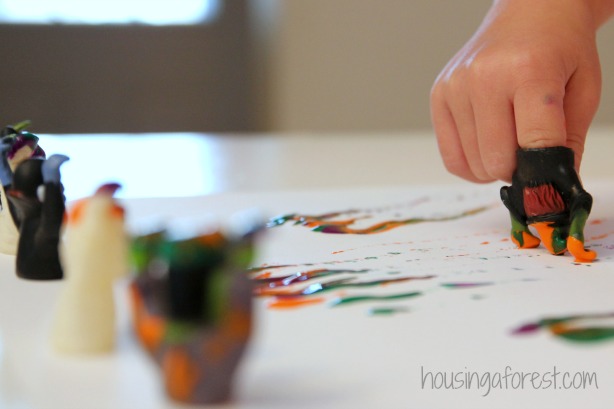
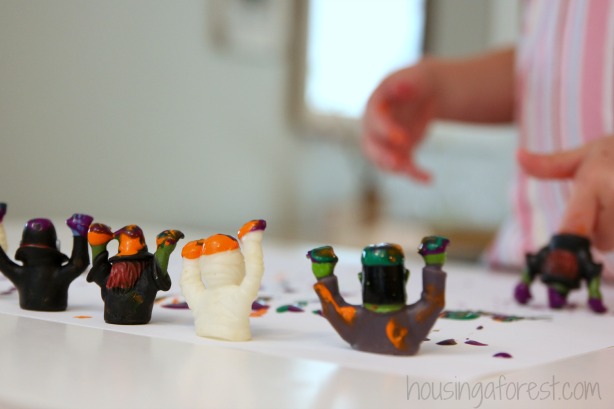
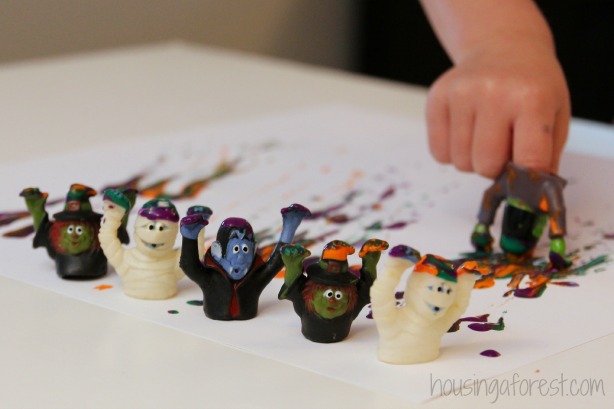
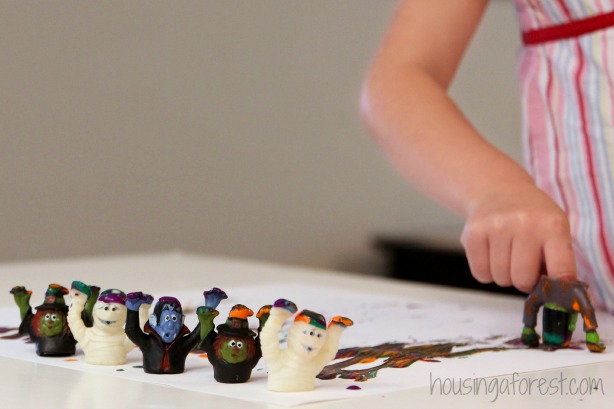
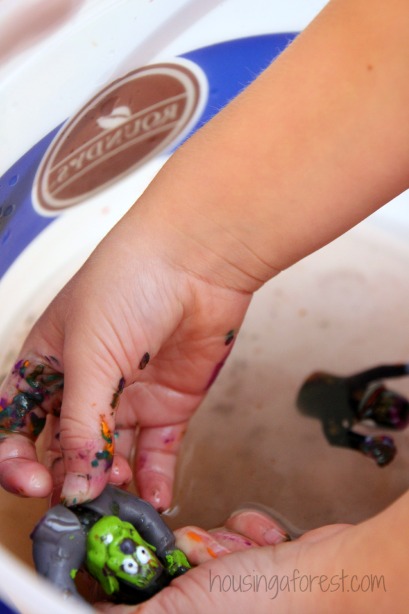
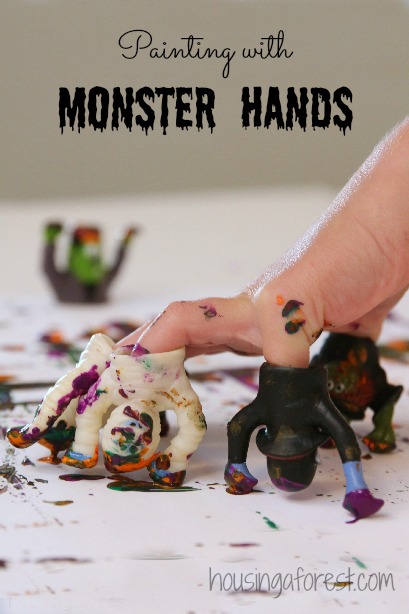
This simple process painting activity is so easy to set up.  All you will need is a few plastic finger puppets and some paint.  Yep that is it, nothing fancy here.  However, let me tell you, the kids had a blast dragging paint with their plastic monsters!

Painting with Monster Hands ~ Halloween Painting activity

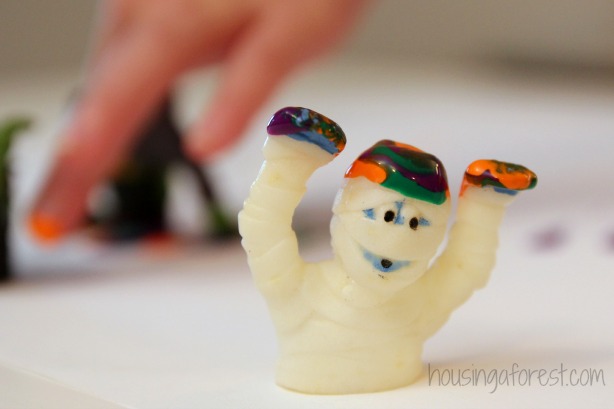
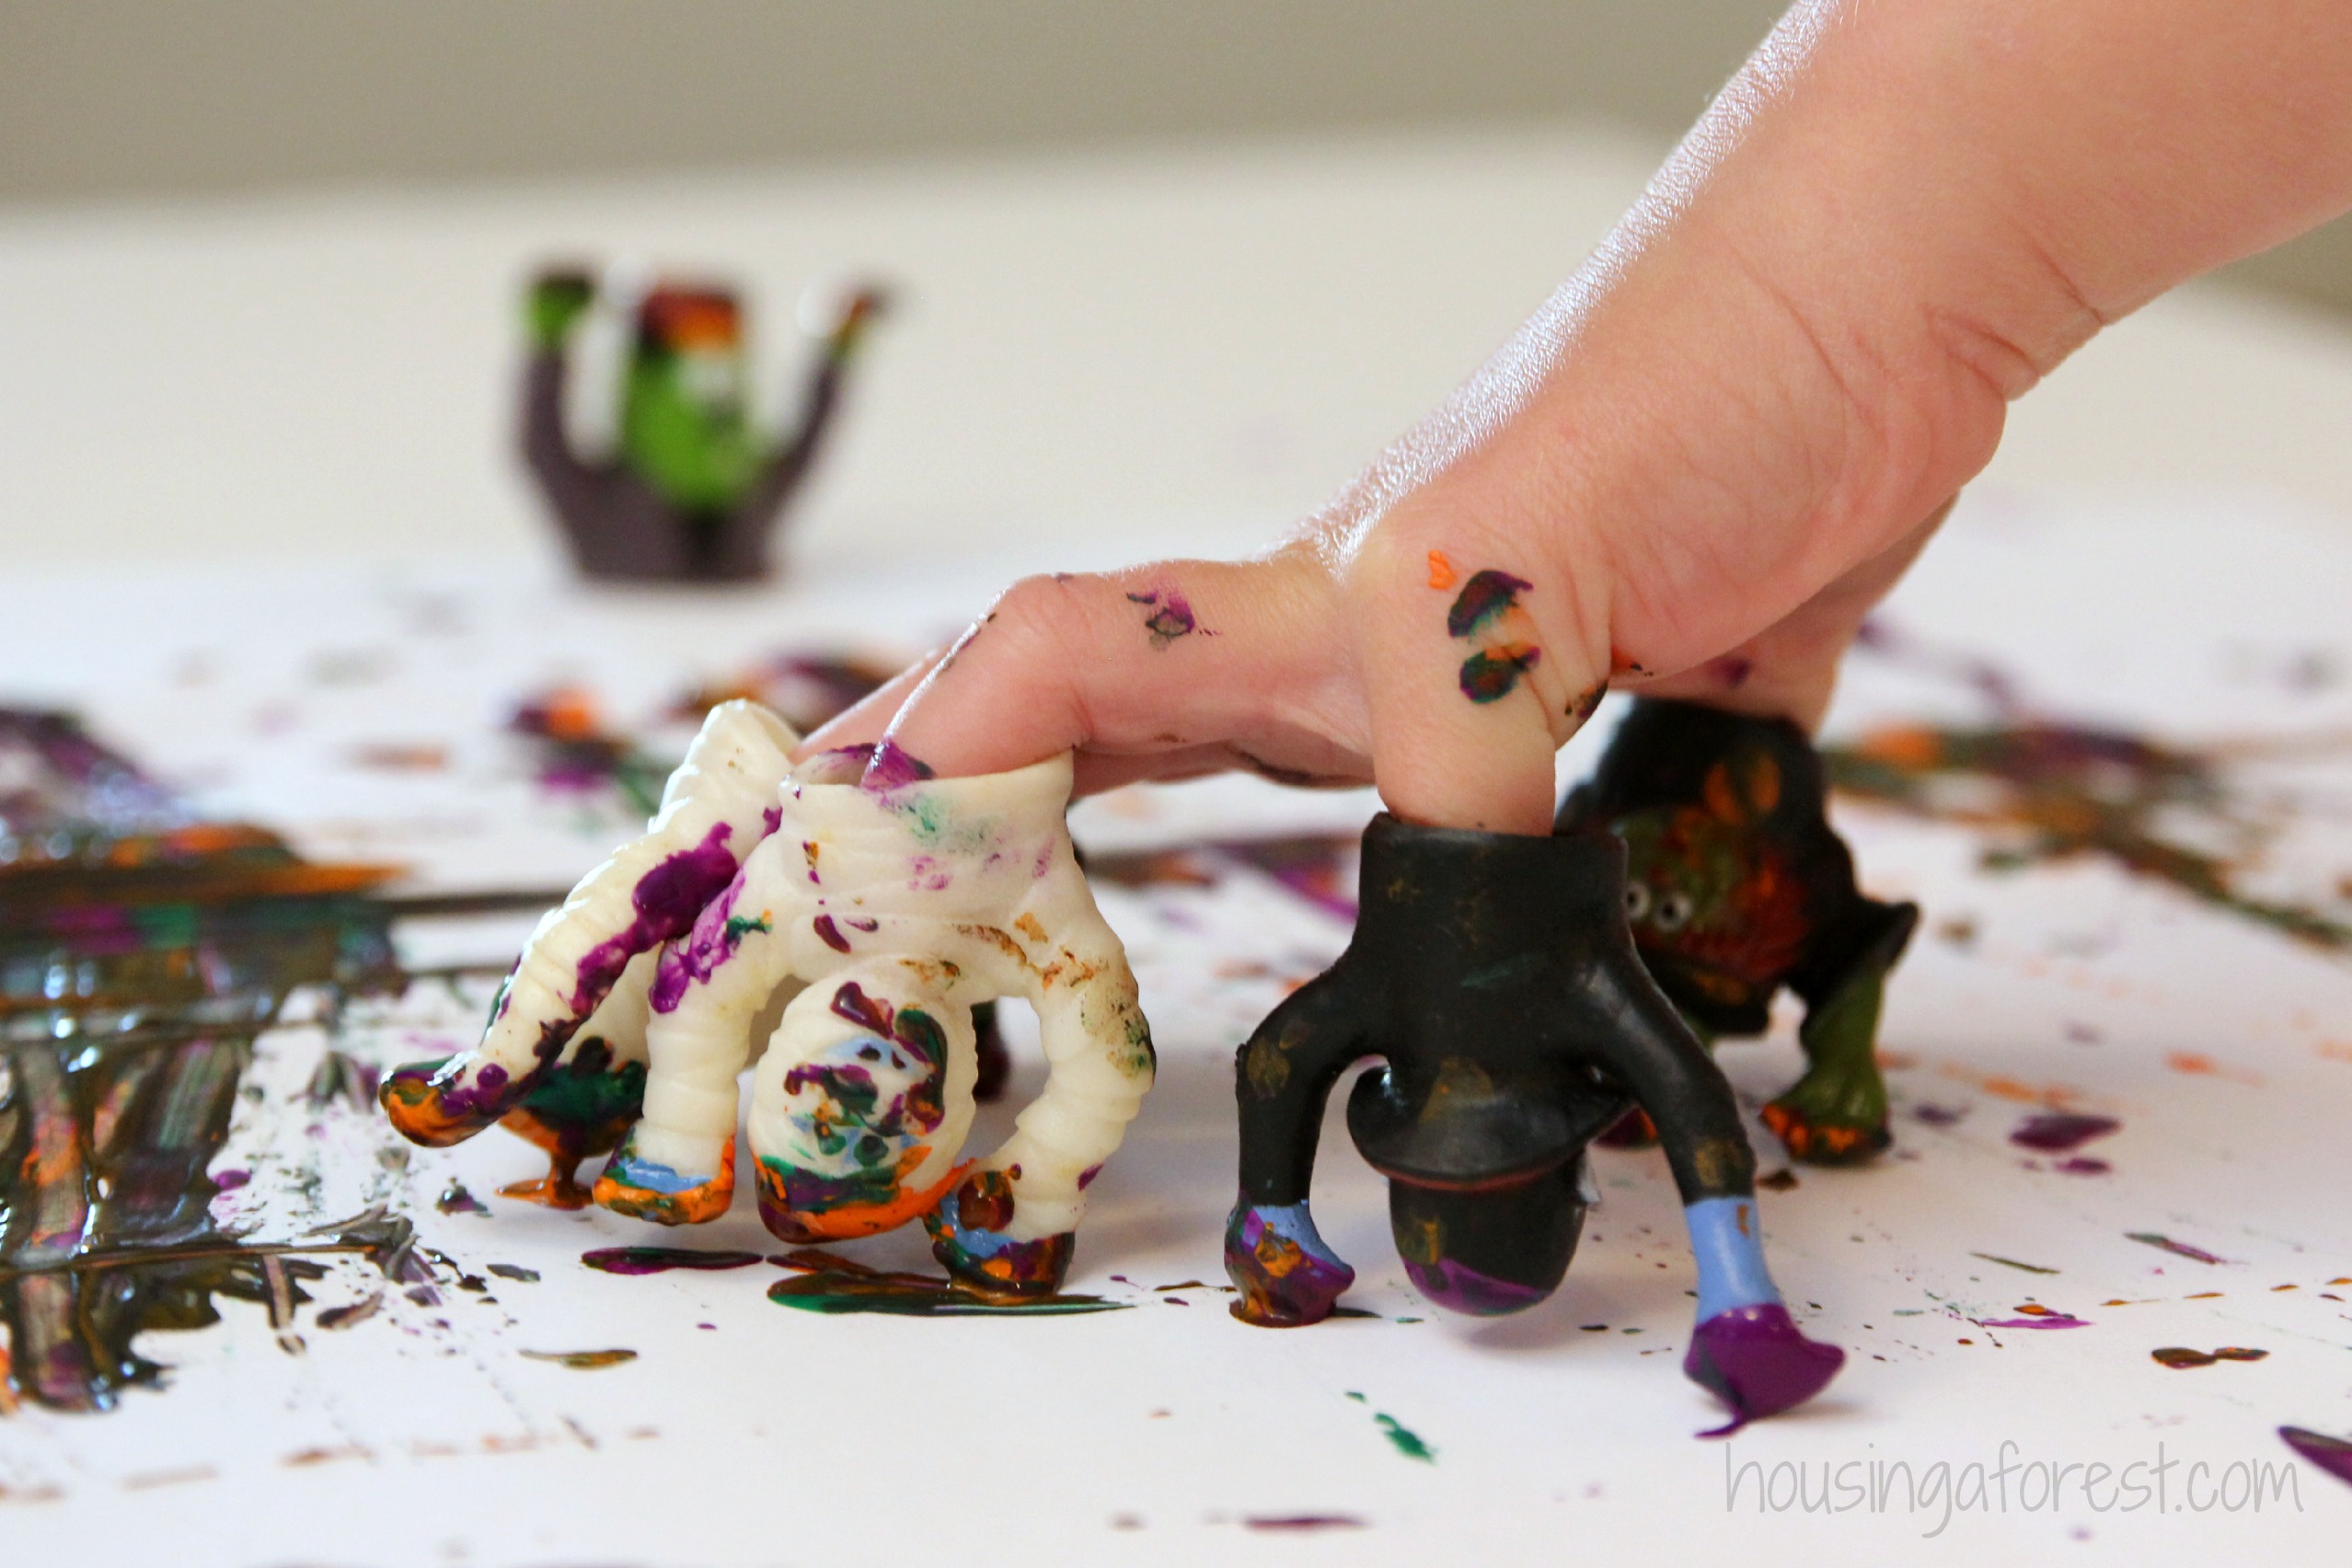
The Mummies paint covered hands and head make me smile.Painting with Monster Hands ~ Halloween Painting activity

I simply set a tray of paint on the table, along with a few plastic Halloween Finger Puppets and invited the kiddos to paint.  I gave no special instructions, but none were needed.  They jumped right in creating beautiful Halloween art!

Painting with Monster Hands ~ Halloween Painting activity

I’m sure the person that was handing out these adorable finger puppet for Halloween never dreamed of them becoming little paintbrushes.  However, even though they were not designed for paint they worked great.

Painting with Monster Hands ~ Halloween Painting activity

Sometimes the simplest activities are the ones that kids like the most.  There have been so many times where I have put countless hours into creating the perfect project, only to have the kids play with it for a few short moments.  Boo!  That’s why I love this project so much.  My kids painted with these little monsters for a long time.  When I told them it was time to move on, they were sad, and I am sure could have painted all day.  This is something that we will be revisiting again for sure!

Painting with Monster Hands ~ Halloween Painting activity

I love all the paint covered Monsters lined up, waiting for their next dip in the paint.

Painting with Monster Hands ~ Halloween Painting activity

Eventually the kids were painting with all 5 fingers encased in a finger puppet and loving it!Painting with Monster Hands ~ Halloween Painting activity


Once the kids were ready to be done painting, I set up a simple Monster Washing station.  Great way to extend the activity a little and get the painty monsters clean again.  Love!
 …………………………………………………………………………………………

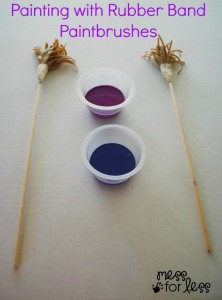
Painting with Rubberband Paintbrushes

How fun are these squiggly, wiggly Rubber Band Paintbrushes.

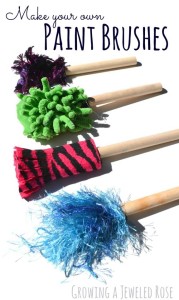
Homemade Paintbrushes

Use things from around your home to create this fun series of Homemade Paint Brushes.

Don’t miss out on any of our Paint and Play series.

If you love process art like us, then check out my Painting Without Brushes Pinterest board.  It is packed full of fun ideas.

Painting with Monster Hands ~ Halloween Painting activity

The Smell Detective

Explore your sense of smell ~ The Smell Detective

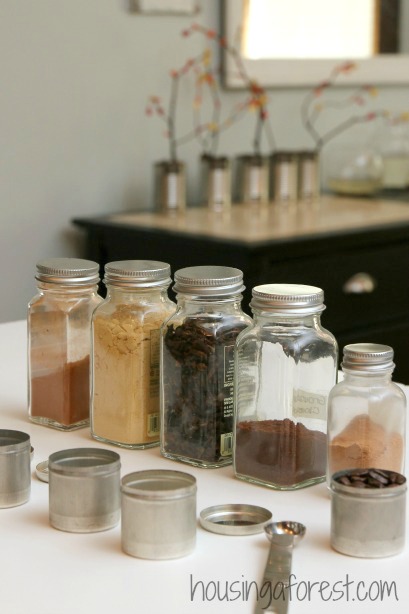
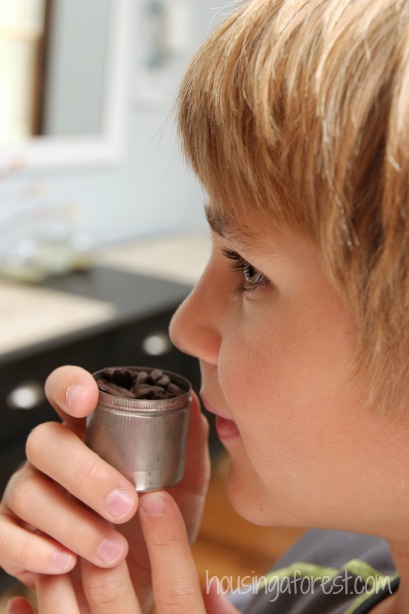
Fall brings with it so many wonderful and distinctive smells.  Some of my favorites include the smell of warm apple crisp, fresh falling leaves, pumpkin pie, cool air and spicy cinnamon.  My kids explored wonderful Fall smells though this simple discovery station.  I have to say that The Smell Detective was a huge hit.  The Smell Detective ~ Explore your sense of smell.  Fall Kids Activity
To set up a simple smell discovery station, I set up a number of common fall spices…cinnamon, nutmeg, pumpkin pie spice, cloves, ginger.

The Smell Detective ~ Explore your sense of smell.  Fall Kids Activity

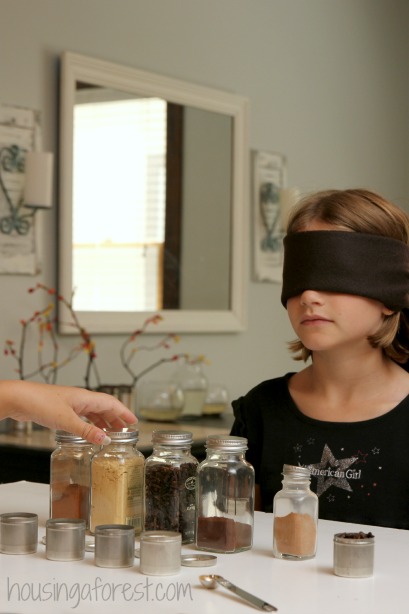
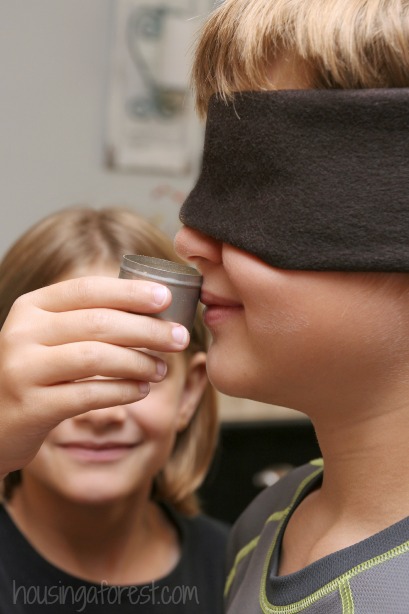
Each of the kids took turns mixing two secret spices together, creating a “secret smell” that needed to be decoded by the smell detective.  The detective wore a blindfold to help the kids focus on what they were smelling.

The Smell Detective ~ Explore your sense of smell. Fall Kids Activity

The kids had a blast both mixing the spices and being the smell detective.

The Smell Detective ~ Explore your sense of smell.  Fall Kids Activity

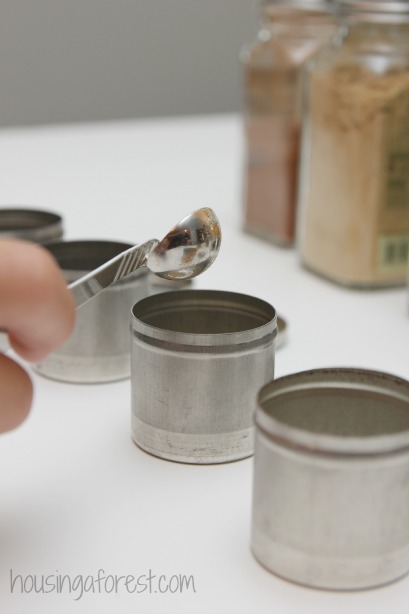
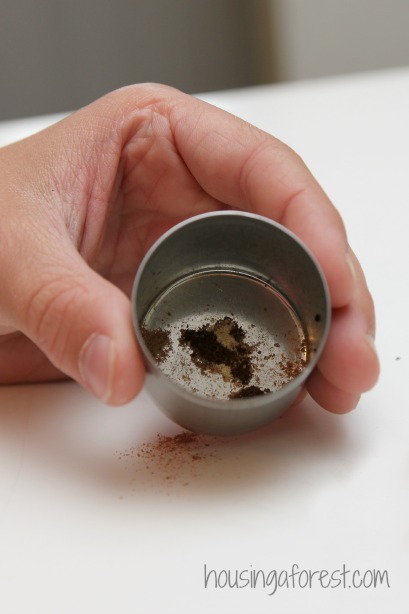
The kids discovered that only a tiny pinch of each spice was all that was needed to create their spicy mixture.

The Smell Detective ~ Explore your sense of smell.  Fall Kids Activity

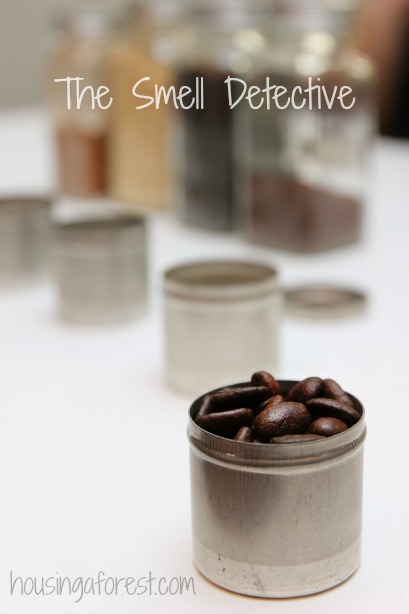
I set out a container of coffee beans to reset the kids sense of smell.

The Smell Detective ~ Explore your sense of smell.  Fall Kids Activity

They were curious what would happen if they mixed three, four or more spices together. It was harder for the kids to detect each smell, but surprisingly they were pretty accurate with their detective skills.

The Smell Detective ~ Explore your sense of smell.  Fall Kids ActivityDid you know that you can erase your sense of smell?  Check out how will our Smell Eraser Experiment. 

For more kids fall activities follow along with our Kids Autumn Activities Pinterest Board.

Tray Painting

Please welcome Faigie Kobre from Edu Art 4 Kids who is guest posting on Housing A Forest today.  She is passionate about getting kids excited to create and move beyond cookie cutter crafts.  Check out this simple Tray Painting tutorial that Faigie is sharing with us.  It is perfect for encouraging creativity within our children.

…………………………………………………………………………………..

Tray Painting ~ Foster Creativity

Kids love to paint. To encourage kids to paint, most good preschool and kindergarten programs have an easel for the children to take turns painting on. Painting at home may not be as difficult in once sense, since you are doing it with fewer kids but, it is still not for the faint of heart. You have to really believe that it is an activity that is beneficial for your children in order to deal with the mess. (even if its not so messy, its not as mess free as coloring)

camp art 010

When I was in graduate school I learned a method of painting in my art for teacher class, that I brought into my classroom and then when I was raising my children, I brought it into my home.

This type of painting is called “tray painting”. The reason it is so called is because it was originally done using a cookie tray (sheet) as the palette to mix the colors.

I discovered after doing that for a while, when I was unable to find good old fashioned cookie sheets that were not non stick, that aluminum foil works just as well.Not only does aluminum foil allow the children to mix colors easily but, you can throw it out at the end, allowing for less wash up. ( and when the foil gets too full, they can just take a new piece).

The idea of tray painting is to use only the 3 primary colors plus white to be able to mix and create any color they want. (When they are very proficient in this method they get black also. If they get black before they really know what they are doing, their whole picture will be black)

This way they

  • Learn that you can get all the colors from the colors they have
  • They learn to really follow directions
  • They learn about shades and hues and values

The basic setup includes

  • 1 piece of paper to paint on (I like to use the ones about 11×18)
  • 1 piece of aluminum foil
  • 1 cup of water
  • 1 paintbrush
  • One sponge (to dry the paintbrush, but if there are none then we used wadded up paper towels)
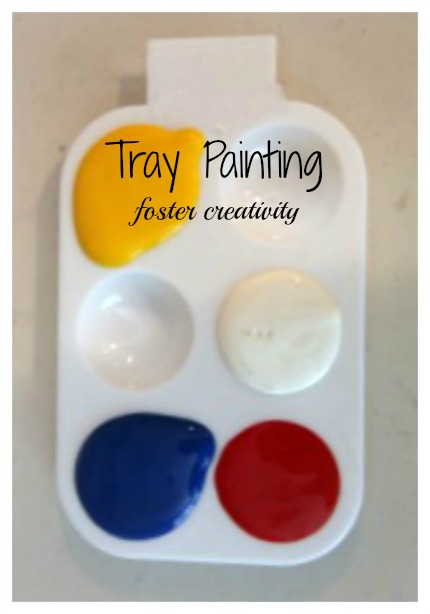
  • Tempera paint in either tops of baby food jars, empty egg cartons or like something I found online seen below.

This was the setup I used back when I used to use tops of baby food jars.

Video 88 0 00 00-05

When we were getting ready to do this in our summer art camp again one summer, we discovered these wells below.

paint holder

You can see how much easier it was to prepare these then it would have been to use so many tops of baby food jars. (which we did used to use)

many paint holders

It is also much better to use a dry sponge as it will absorb the wet paintbrush better, but we have definitely resorted to using folded up paper towels as well.

To begin we usually give them a nice size piece of aluminum foil and place the water, paints and sponge on the foil.

painting 3

If you have more space you can move it off of the foil. (the original setup had all the items inside the tray)

The painting procedure

The instructions we give to the children are as follows.

Dip the paintbrush in the paint color of choice, paint, wash brush in cup of water, dry on sponge, dip in different color.

Then, if they do not want to put their color on the paper but, want to mix colors then the directions are the same. Put paintbrush in color, then put it on foil, wash brush, dry brush, dip in second color and then put it on top of first color to mix.

The biggest job the parent or teacher has is to be there to get the children used to washing their brushes before they put them into another color. Drying them is also important so that the brush will pick up more paint easily.

The point of this is that the children can then create lots of different colors that they need for their pictures.

painting 4

There are a few different things that happen with this activity that you should be prepared for.

Some children just end up mixing the colors on their foil and never end up putting it on their papers.

Others just end up mixing colors onto their papers trying different color combinations without using the foil to mix.

camp art 003

Some may get the idea of the different shades they can get with their colors and will use those shades on their paintings.

camp art 085

Some may actually choose not to mix any colors and just will use the primary colors that they have.

painting 6

The most important to know is that the more experience the children have with this kind of painting the more adept they will get at it and the more sophisticated their pictures will be.

Little ones will of course, not make anything representational but, if you let them do it for a few yeas, wow, what amazing paintings they will make.

Also remember that you are using very little bits of paint so if the paint colors get mixed up, you can easily wash it out and refill it.

Whenever I speak with someone about the detrimental effects of cookie cutter crafts their standard line is always “Yes, but, where will they learn to follow directions”? and my response…”Give them tray painting”.

Faigie Kobre

Follow along and join in the fun at:

…………………………………………………………………………………..

Thanks so much for sharing Faigie.  I love your simple tray painting technique.   We all love comments, so why not pop over and visit Edu Art 4 Kids and tell her how much you enjoyed her post on Housing A Forest.

Here are a few of my favorite posts from Edu Art 4 Kids to get you started:

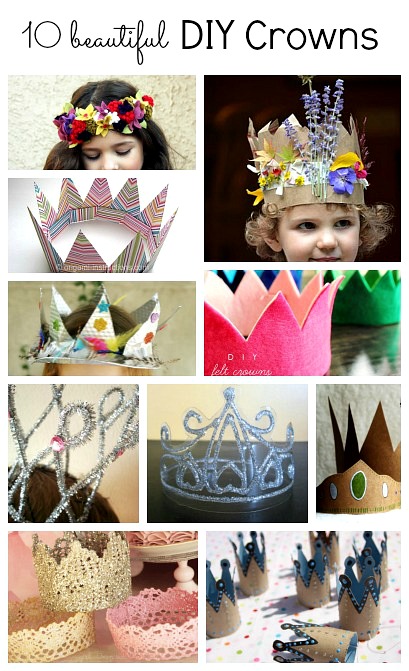
10 Beautiful DIY Crowns

Beautiful DIY accessories for dress-up play or your Halloween Costume

We love pretend play in our house!  So naturally we would need lots of simple accessories for every occasion.  These adorable crowns and tiaras are perfect addition to a queen or princess Halloween costume, a birthday party or just because.  So many creative options to create with from flowers and lace to recycled materials.  I love them all!
10 DIY crowns and tiaras ~ perfect for queen or princess Halloween costumes or birthday party

This post contains affiliate links for your convenience.

These simple DIY crowns are the perfect reason to get your friends together and throw a spectacular soiree (thats a fancy word for party).  Fancy Nancy has always been a favorite book in our house.  These adorable and whimsical crowns will help to channel your inner Fancy Nancy and turn an ordinary day into something extraordinary.

Click on the link to take you to the full tutorial.

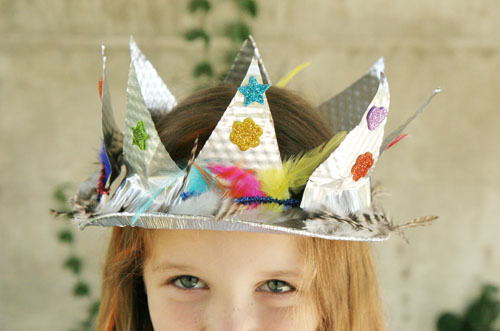
1. DIY Pie Plate Crown

Simple DIY Crown ~ kid made Pie Plate Crown

How adorable is this simple Pie Plate Crown from Skunkboy.  I have created numerous tin foil covered crowns, but this is so much easier!  Love it, although I imagine the edges could be sharp so be careful.  How cute would these be as a princess party craft.

2. DIY Nature Crown

Simple DIY Crown ~ Nature Craft Autumn Crowns

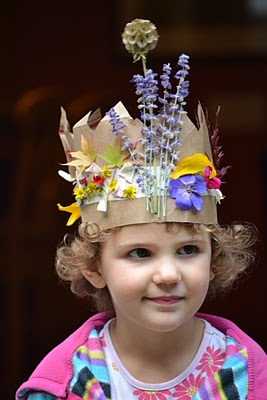
I love this simple and creative Nature Crown from Small Hands in the Big World.  What a fun and whimsical way to incorporate the beauty of nature and celebrate the colors of fall.

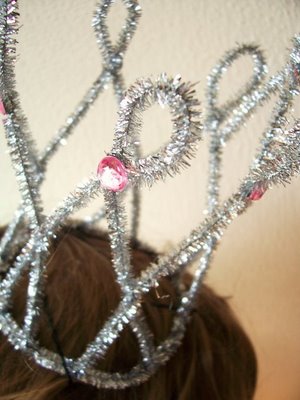
3. Pipe Cleaner Princess Tiara Tutorial

simple DIY Crown ~ Pipe Cleaner Princess Crown

This adorable and sparkly Pipe cleaner Princess Crown from WhiMSy Love makes me smile.  It is the perfect addition to any princess tea or party you can dream up!

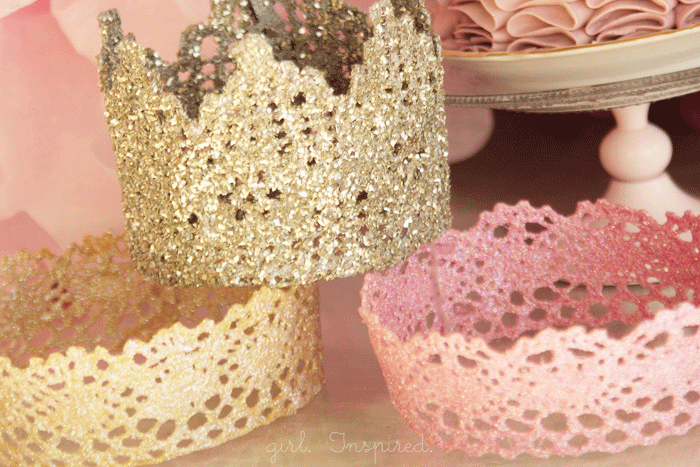
4. DIY Glitter Lace Crown

Simple DIY Crown ~ Glitter Lace Crown

Now this Glitter Lace Crown from girl. Inspired is adorable!  Glitter and lace paired together create a magical crown that any princess would be proud to wear.

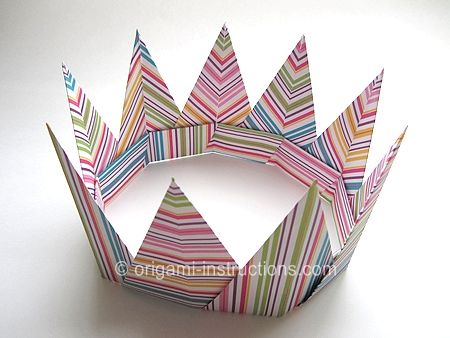
5. DIY Origami Crown

simple DIY Crown ~ modular Origami Crown

How fun is this Origami Modular Spiky Crown from Origami Instructions.  My kids are all over origami and they would love this simple project.

6. DIY Cardboard Crown

Simple DIY Crown ~ Cardboard Crown Tutorial

I love this simple simple Cardboard Crown from Made by Joel.  It is super easy to make and can be decorated to suit the needs of any king, queen, princess or prince.

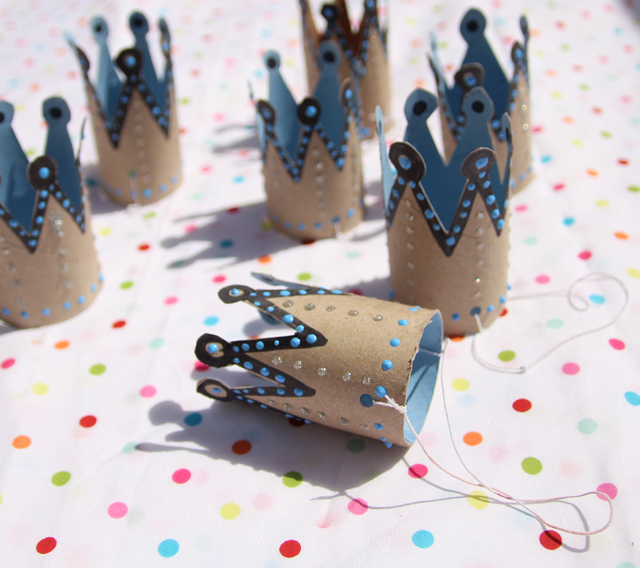
7. DIY Toilet Paper Roll Crowns

Simple DIY Crown ~ Toilet Paper Roll CrownTutorial

Check out these recycled Toilet Paper Crowns from Creative Jewish Woman.  These would make adorable party crowns and the kids could each decorate their own.
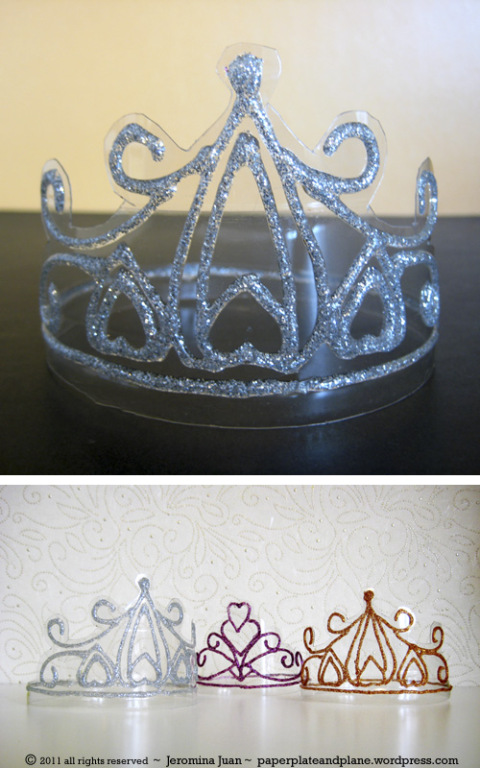
8. DIY Crystal Crowns

Simple DIY Crown ~ Recycled Plastic Crown TutorialMy girls would love these adorable Princess Crystal Crowns from Paper Plate and Plane.  Another brilliant crown made from upcycled materials.  How adorable and frugal!

9. DIY Felt Crown

simple DIY Crown ~ Felt Crown tutorial

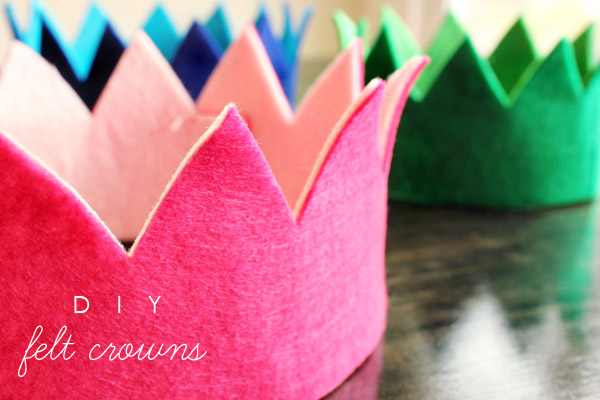
How cute are these simple Felt Crowns from Hellobee.  They require a minimal amount of hand sewing, but they are so simple to make!  You can make them in any color as well, so easy to coordinate with your party colors, or make one to match your outfit.

10. DIY Flower Crown

Simple DIY Crown ~ Fairy Flower Crown Tutorial

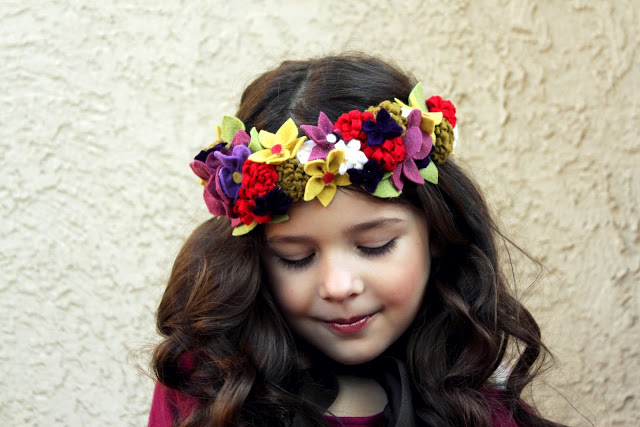
I love this darling Fairy Flower Crown from Beautifully Rooted.  It would be the perfect accompaniment to a Fairy or Renaissance costume.

I can’t wait to make a creative crown with my kids.  What a simple addition to their Halloween costume this year.