Observing Ladybugs

Observing Ladybugs ~ The Ladybug Life Cycle.  

There is something about Ladybugs that just make me smile.  My daughter received a Ladybug Land for her birthday, and squealed with excitement.  She ran to check the mail everyday until her little ladybug larvae arrived.   Totally adorable.  We couldn’t wait to observe the ladybug life cycle first hand.

ladybug life cycle ~ Observing ladybugs with kids

Our little ladybug larvae arrived right to our doorstep.  How cool is that!  We couldn’t wait to get them all settled into their new home.

ladybug life cycle ~ Observing ladybugs with kids

The kids were totally surprised by how the little ladybug larvae looked.  I think they were expecting something a little more red and covered in black spots.  Love it!  They even asked if we were sure they shipped the right bugs to us.  After a little Google searching, the kids discovered that these little guys were indeed ladybug larvae.

Bree carefully opened the shipping tube, and emptied the larvae and food into their new home.

ladybug life cycle ~ Observing ladybugs with kids

The kids love the little magnifying glass at the top of the house.  Perfect for a close up look of everything that happened.  So cool!

  The Ladybug Life Cycle

  • Egg Stage ~ Adult ladybug lay about 10-15 eggs on the underside of a leaf.  The eggs are a yellowish color and shaped like tiny jellybeans.
  • Larvae Stage ~ As soon as the larvae hatch, they begin looking for food.  They look similar to tiny little alligators.  During this stage, they go through lots of change.  They molt and shed their skin as they grow.  You will find lots of tiny little skin sheds, that are really cool to examine.
  • Pupa Stage ~ The kids thought they looked like little shrimp during this stage.  They look like they are sleeping, however lots of changes are happening that you can’t see.  Soon they will emerge as adult ladybugs.
  • Adult Ladybug Stage ~ Ready for something really cool!  The skin of the pupa will split open and out will emerge a full grown ladybug.  Their shells will be a little soft and light colored for the first few hours.  Soon their shells will harden and become the red color.  Metamorphosis is complete!

ladybug life cycle ~ Observing ladybugs with kids

 We missed getting a picture of the pupa stage, but it was pretty cool to see.
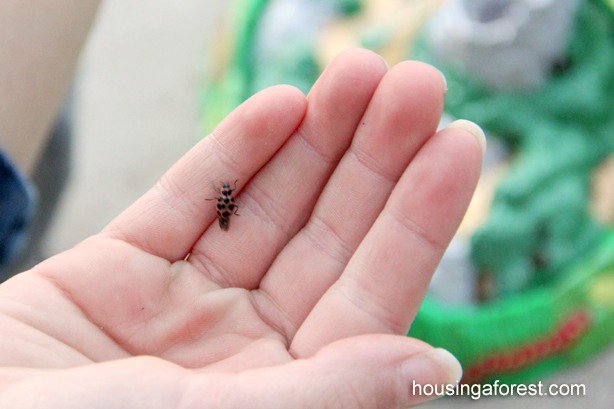
ladybug life cycle ~ Observing ladybugs with kids

After a few days of observing our little ladybugs, we let them go in our garden.
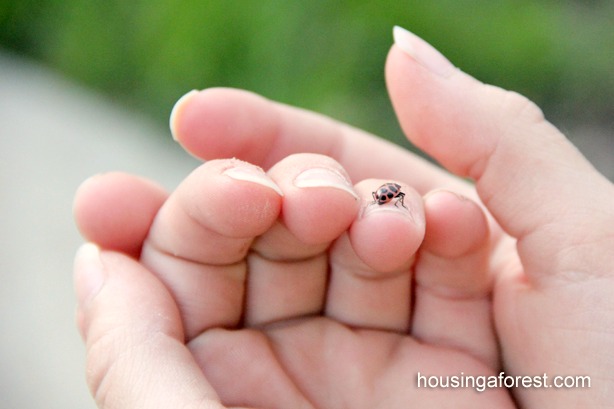
ladybug life cycle ~ Observing ladybugs with kids

Cool Ladybug Facts:

The kids decided to research ladybugs and this is what they discovered…

  • Not all ladybugs are female
  • Female ladybugs can lay up to 1,000 eggs in their life time.
  • Ladybugs LOVE aphids, and can eat up to 1,000 in a  year.
  • They go through metamorphosis like butterflies.  After the pupa stage, they emerge into mature adult ladybugs.
  • Ladybugs can fly up to 15 miles per hours.
  • In the winter when the temp drops below 55 degrees, ladybugs hibernate.  The can stay in this state for up to 9 months!  When the weather warms up again, the ladybugs fly again.  They go in search of food, because they are hungry after their long sleep!

Ladybugs are more than just cute!
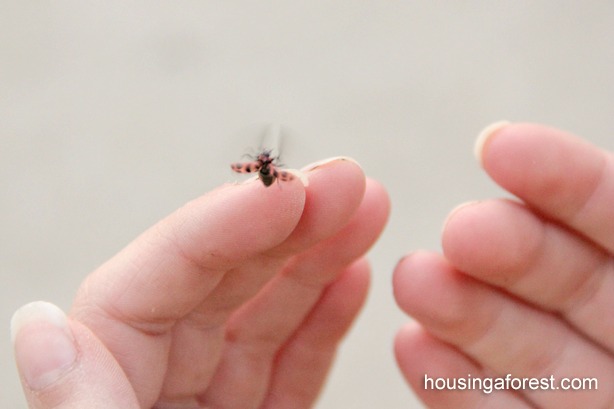
ladybug life cycle ~ Observing ladybugs with kids

For more Ladybug Crafts and Activities, check out our:
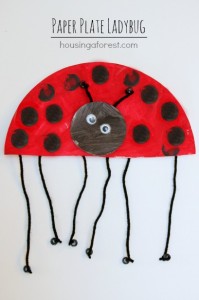
Paper Plate Ladybug ~ simple spring kids craft

Paper Plate Lady bug

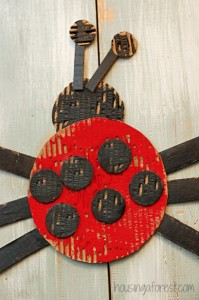
SImple Cardboard Ladybug Craft ~ perfect for spring

Recycled Ladybug Craft

Yarn Wrapped Bee Craft

Yarn Wrapped Bees ~ Simple Bug Crafts for Kids

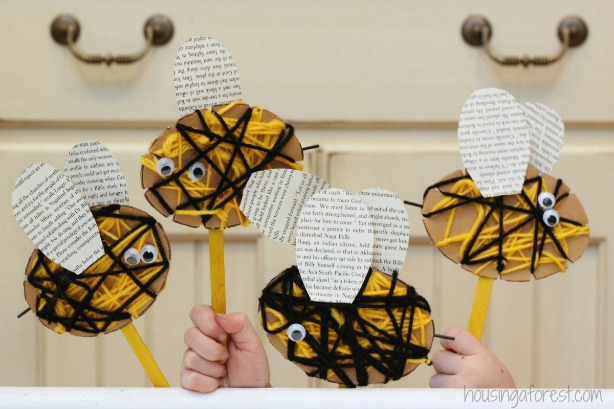
Not that long ago we made adorable little Paper Plate Lady Bugs.  The kids loved them, which lead us to explore other simple bug crafts for kids.  We have been talking lots about spring flowers, so it seemed only fitting to create bees.  Could these little yarn wrapped bees be any cuter?

Yarn Wrapped Bees ~ Simple Bug Crafts for Kids

To make a Bee Puppet, you will need:

  • Cardboard ~ cut into an oval
  • Yarn ~ black and yellow
  • Old Book ~ one that you don’t mind cutting up
  • Googly Eyes
  • White Glue
  • Popsicle stick
  • Tooth-pick ~ optional (for the stinger)

We were inspired by these little Wooly Sheep from Studio Jean.  They are so cute, and I couldn’t wait to wrap yarn around something.

Yarn Wrapped Bees ~ Simple Bug Crafts for Kids

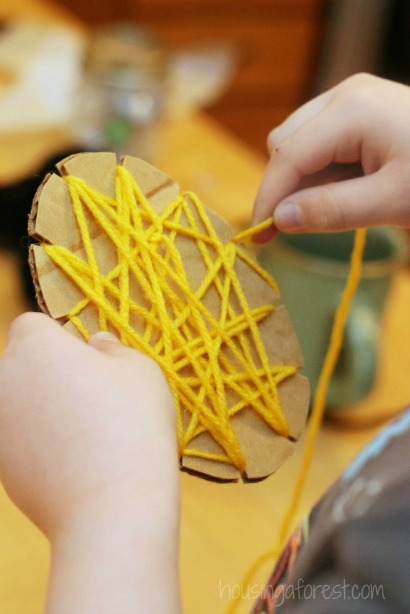
I precut little slits or grooves all the way around the cardboard oval.  This made it super easy for the kids to wrap their yarn.

Yarn Wrapped Bees ~ Simple Bug Crafts for Kids

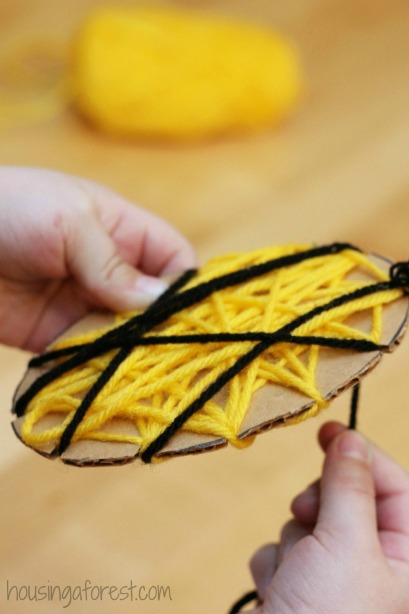
We started with yellow yarn, and moved onto the black.

We simply just tied the 2 colored ends together.  No tape was needed.

Yarn Wrapped Bees ~ Simple Bug Crafts for Kids

Once the kids we satisfied with the amount of yarn, we tied another knot.

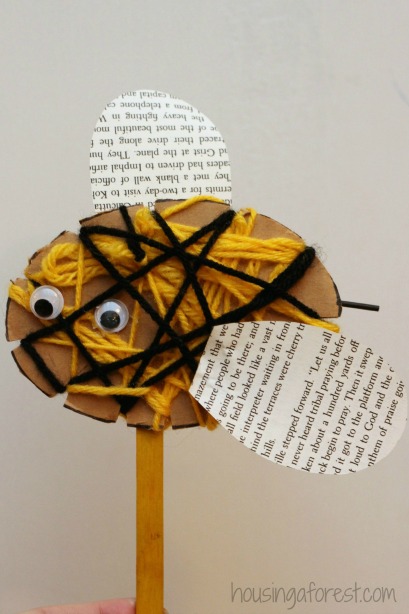
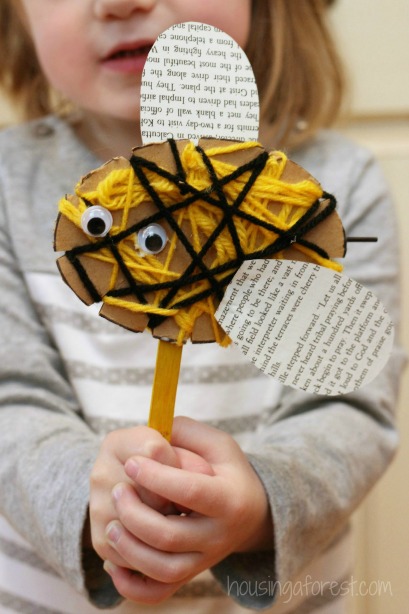
I love the addition of googly eyes and little stinger.  However, I am in love with the book page wings.  You could use wax paper, but there is just something about book pages.

We turned our little bees into puppets with the addition of a popsicle stick.

Yarn Wrapped Bees ~ Simple Bug Crafts for Kids

We couldn’t resist sharing a few of our favorite Bee Jokes:

What is a bees favorite food?

Bee-nut butter and honey sand-wiches.

What do bees use to do their hair?

A honeycomb!

What kind of bees drop things?

Fumble bees.

What did the bee say to the flower?

Hello Honey!

Yarn Wrapped Bees ~ Simple Bug Crafts for Kids

For more simple spring crafts, check out our:

Spring Lady Bug Craft

Stamping with Lettuce

Helicopter Seed Dragonfly

Paper Plate Lady Bug

Rain Painting

Earth Day Nails

Simple Earth Day Nails Your Kids will Love

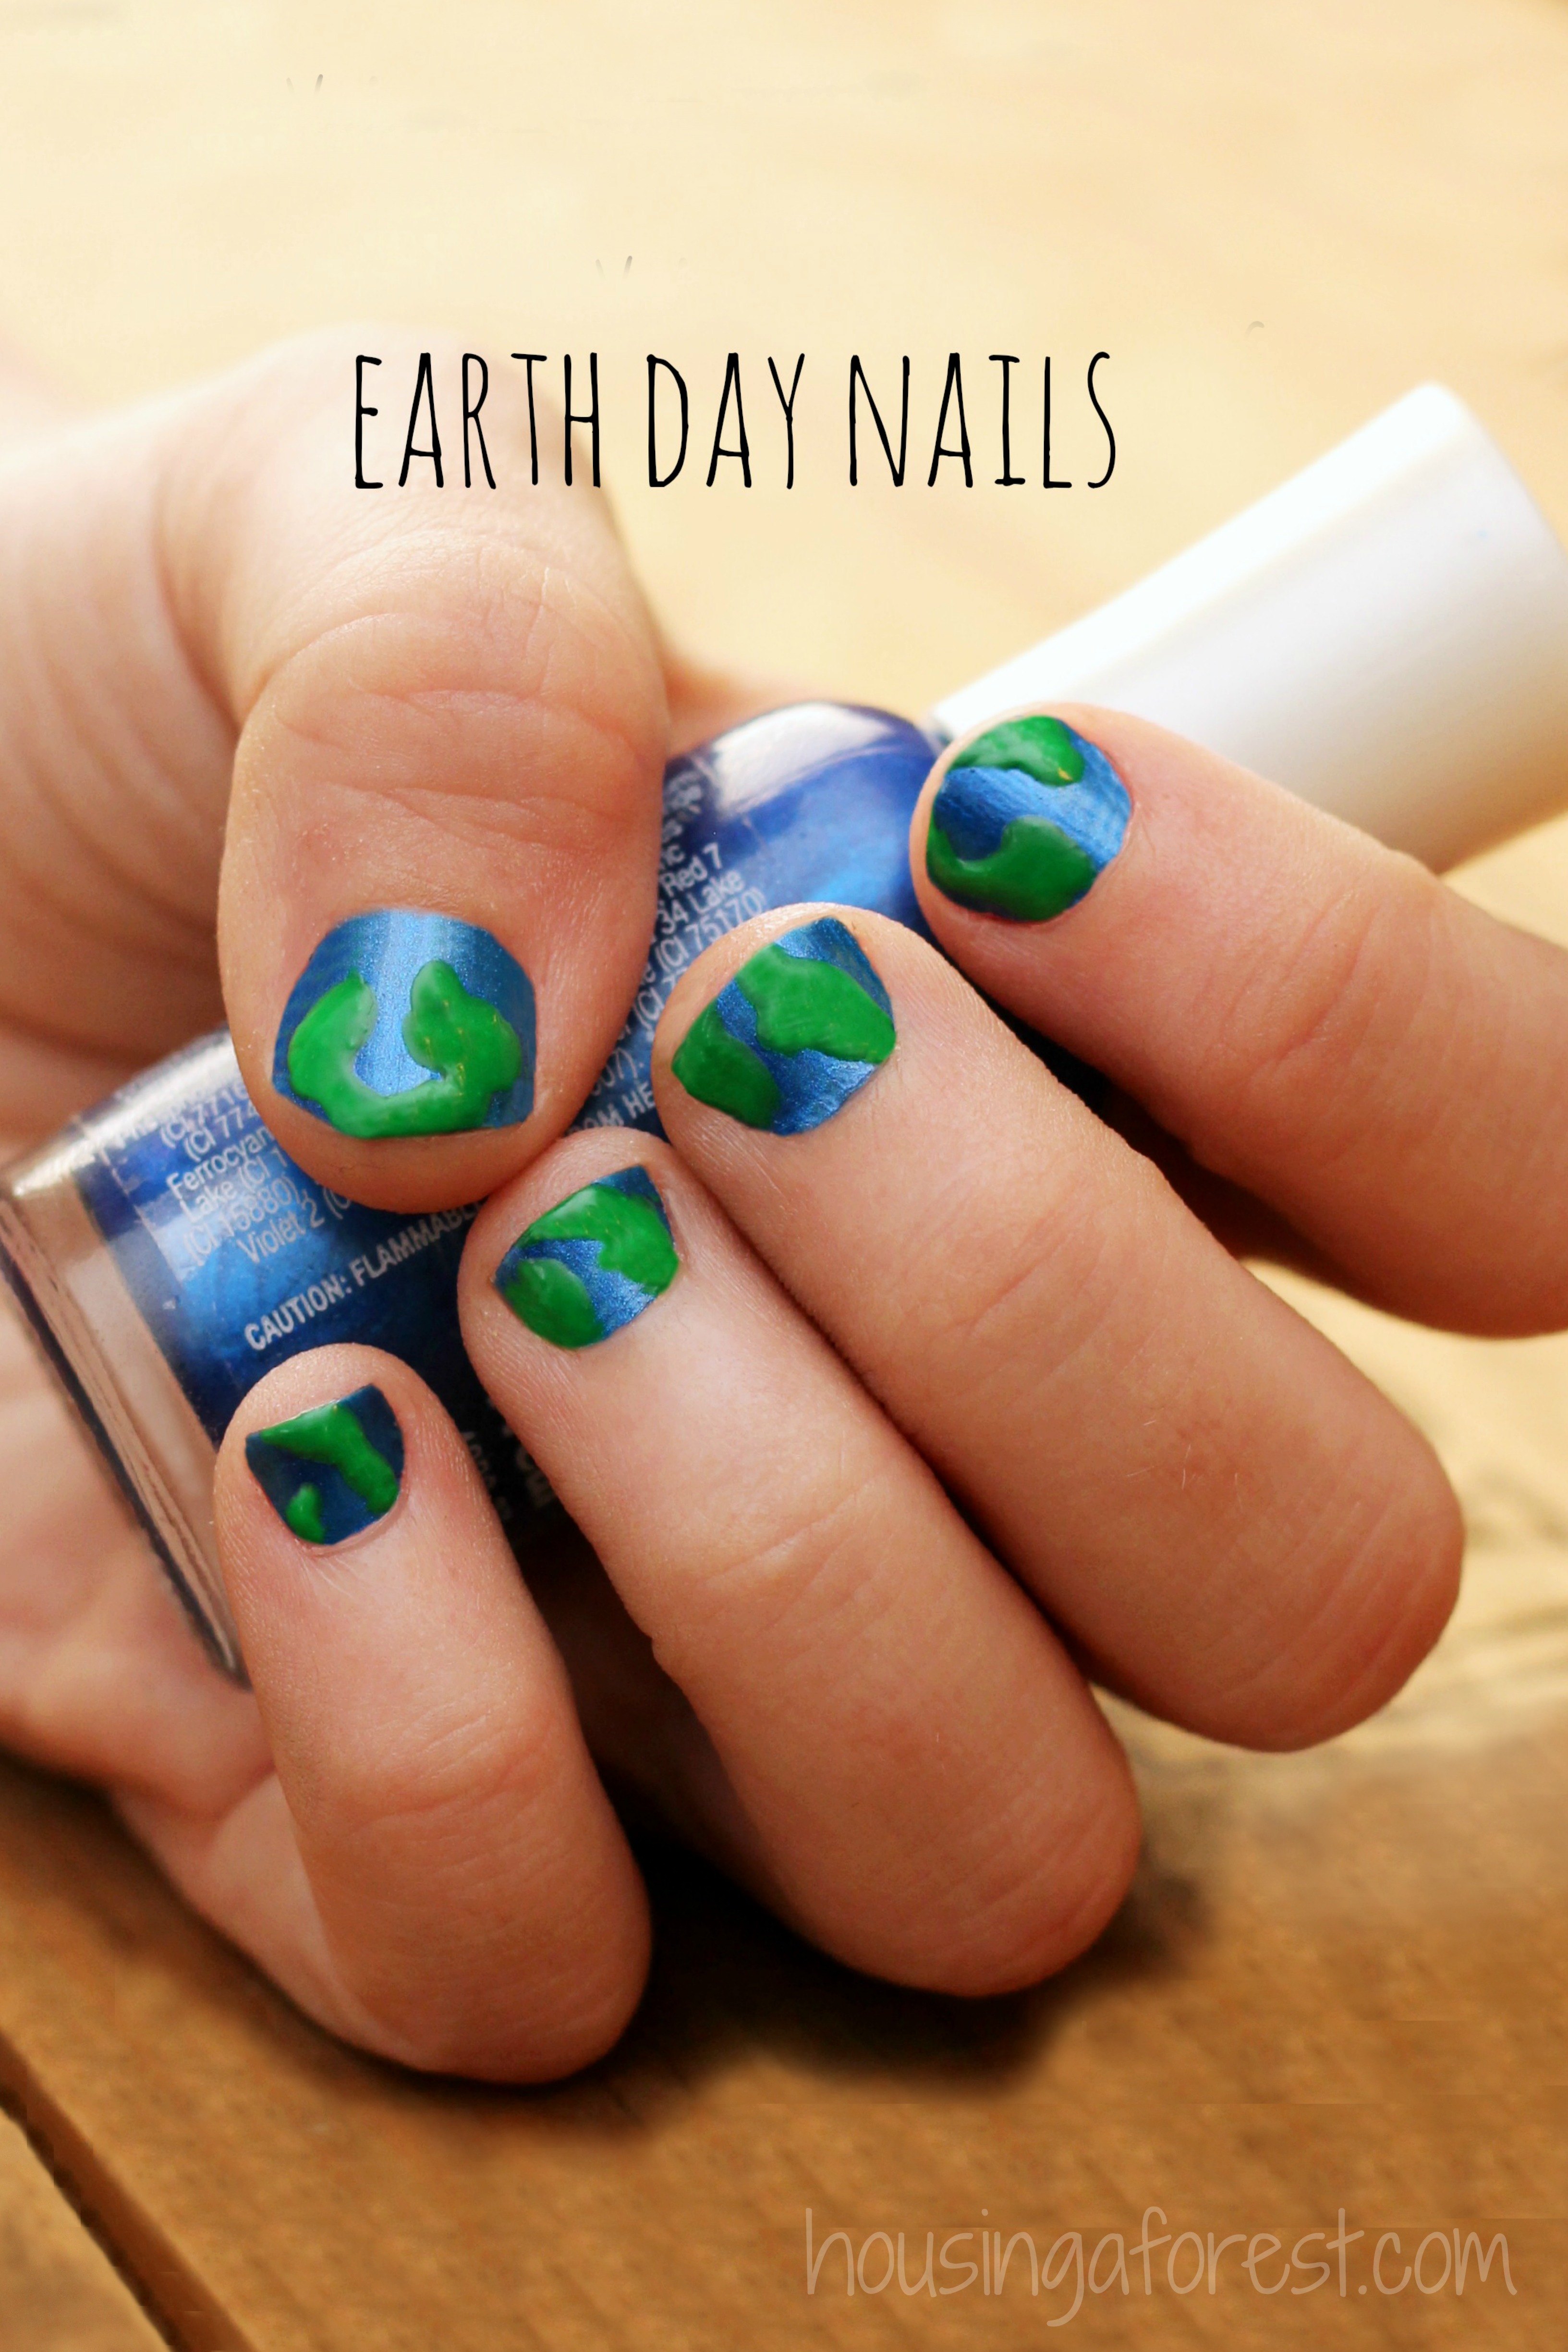
I have 2 girls that love to paint their nails.  If we had time, they would paint them a different color every day.  We are always looking for new nail polish ideas, and fun color combinations.  These simple Earth Day Nails are so easy and only requires 2 colors of nail polish.  Love that.

Simple Nail Polish Ideas ~ perfect for Earth Day

We started out by painting the girls nails blue.  Once they were dry, we added the green continents.  You could look at an image for a more accurate representation.  However, we chose the whimsical approach.  AKA ~ the quick and simple.  We just dabbed a little green here and there, until their nails looked like globes.  So easy right!

The girls love how they turned out.  It’s a fun and simple way for them to get excited about Earth Day.

For more fun Earth Day ideas, check out our:

Earth Day Globes ~ that actually light up!

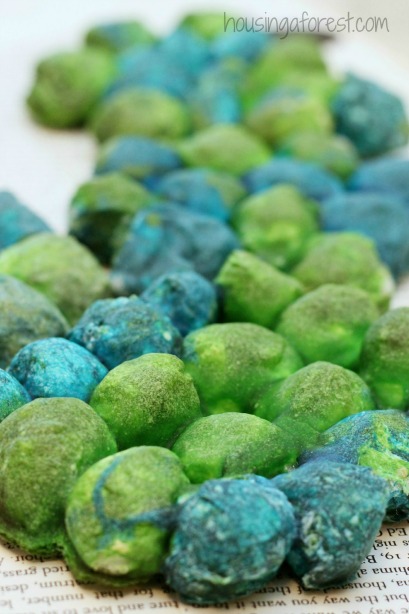
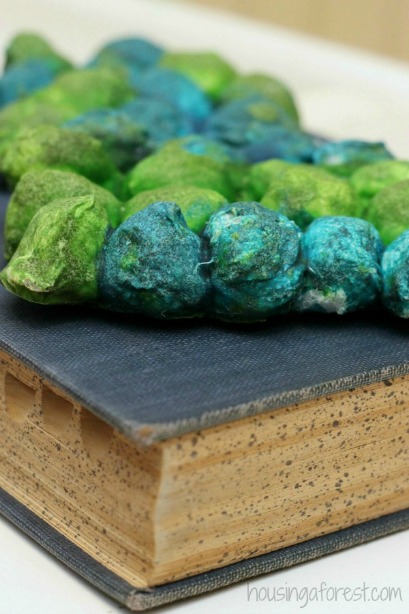
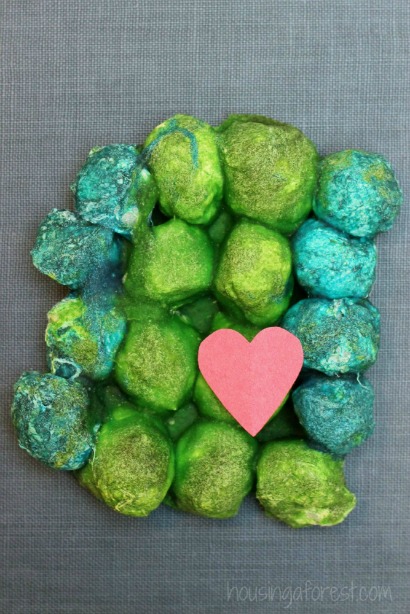
Baked Cotton Balls ~ Simple Earth Day Sensory Play

20 Simple Earth Day Crafts ~ A collection of our favorite ideas!

Baked Cotton Balls – Earth Day Craft

Baked Cotton Balls ~ Earth Day Activities for Kids

If you are new to Housing A Forest, we love sharing easy kids crafts.  I recently made a batch of baked cotton balls with the kids and it was a HUGE hit.  They loved getting messy and creating simple Earth shapes.  Make sure to scroll the bottom of the post for more ideas for simple Earth Day activities for kids.

Baked Cotton Balls ~ Earth Day activities for kids

Have you tried making Baked Cotton Balls before?  This is our first attempt, and let me tell you it won’t be our last.  The kids LOVED it.  there were lots of fun giggles and “ooey, gooey” comments.

Baked Cotton Balls ~ Earth Day activities for kids

Are you wondering what Baked Cotton Balls are?

Well they are just that.  Cotton Balls rolled in a batter and then baked.  The kids thought it smelled like pancakes.  None of the kids tried tasting the “batter”, but it would have been totally fine.  The batter is safe to eat.

Baked Cotton Balls ~ Earth Day activities for kids

Baked Cotton Ball Earth Materials:

  • Flour ~ we used All Purpose White Flour, but I am sure most flours would work.
  • Water
  • Food coloring ~ Green and Blue
  • Cotton Balls
  • Tin foil lined baking tray
  • Oven ~ Preheated to 300.

Basically mix a batch of flour and water together to the constancy of pancake batter.  We used about a 1 to 1 ratio of flour and water.  We used about 1 cup of flour and 1 cup of water for each color color.

Like pancake batter: the more you mix, the smoother the constancy will be.

Baked Cotton Balls ~ Earth Day activities for kids

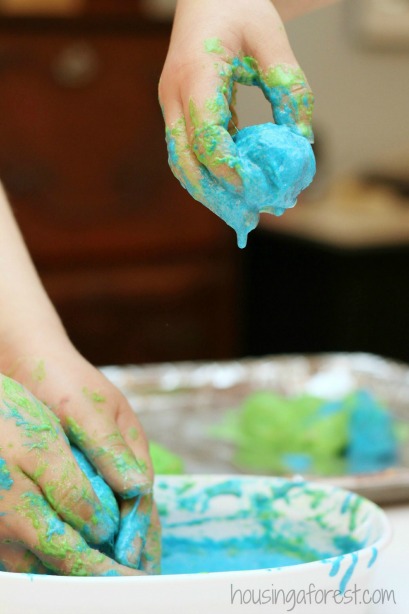
Once you have everything mixed together, you are ready for some gooey sensory play.  This was the kids favorite step.

They rolled, squished, dripped and giggled their way through this craft.  A few were tentative at first, but eventually dove right in.  You know your kid the best and if this is something that they will enjoy.

Baked Cotton Balls ~ Earth Day activities for kids

The kids placed their batter covered cotton balls on a foil lined baking pan.  Parchment  paper would work great too.

Encourage the kids to keep their batter covered cotton balls touching.  This way when they bake they will harden together and form one cluster.  Also, I needed to remind a few kiddos to roll the cotton balls in the batter.  I was nervous about baking cotton that was not covered in a wet batter.  We made sure that all the cotton was covered before placing them on the tray.

Baked Cotton Balls ~ Earth Day Craft

We placed our Earth creations in the oven for about an hour at 300.  However, each one needed a little different baking time.  The baking time will change, depending on how many cotton balls the kids used and how thickly they applied the batter.  You will know when they are done, because the “shell” is no longer soft.  It should feel/sound similar to crusty bread when tapped.

Baked Cotton Balls ~ Earth Day Craft

Don’t be surprised when the colors darken slightly as they bake.

This was by far the kids favorite messy craft that we have done!  We will be revisiting it again soon.  You could glue a string to the back to hang it on the wall.  Or simply enjoy it for a few days and then let the kids grab a hammer and try their hand at Smashing Cotton Balls.  It will be a hit for sure!

Baked Cotton Balls ~ Earth Day Craft

For more simple Earth Day activities for kids, check out these fun ideas:

Earth Day Globes

Rainbow Bubble Snakes

20 Earth Day Crafts for kids

Egg Carton Fort

Recycled Crafts for kids Pinterest Board

Easter Egg Drying Rack

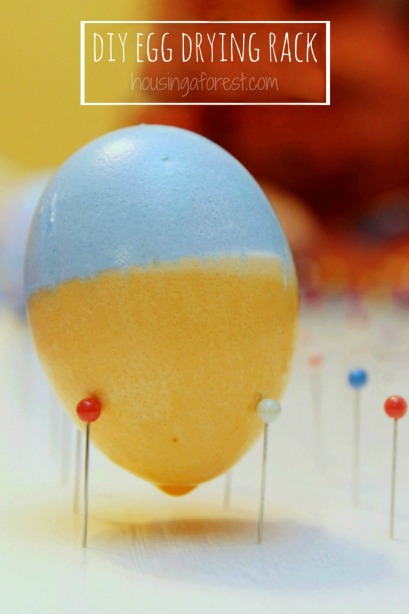
Simple DIY Easter Egg Drying Rack

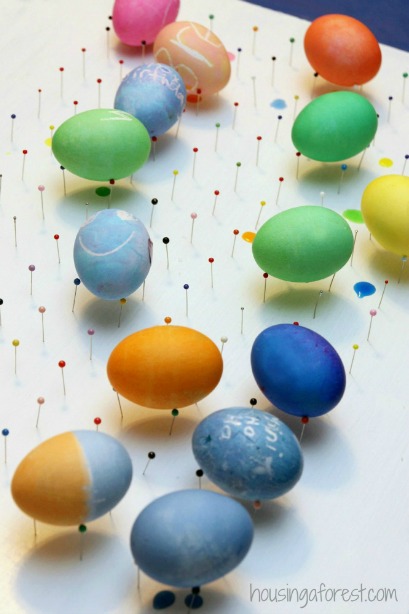
I love decorating eggs with the kids at Easter.  There is something about being gathered around the table with a few friends or family that takes me right back to my childhood.  When we were home visiting my family, we put together this simple egg drying rack.  It was so easy to make and required no special tools.  Love that!   The bottom of the post contains lots of Easter egg decorating ideas.  Including our favorite Volcano Dyed eggs and Sharpie The Dyeing Eggs.

Simple DIY Easter Egg Drying Rack ~ lots of easter egg decorating ideas

When we dye eggs, the one complaint we always have is that there is no good spot to let them dry…

If we place them back in the carton, the cardboard gets soggy.

Another thing we have tried is just setting them on the counter.  Again fine, but one side of the egg tends to looses its color.

Sure a paper towel is an option too.  However, it always seems to wipe off some of that hard earned color as it dries the egg.

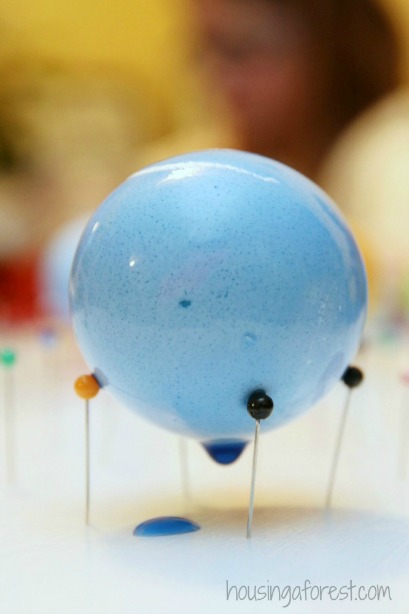
That is why I love this simple drying rack.  It really is the perfect solution!

Simple DIY Easter Egg Drying Rack ~ lots of easter egg decorating ideas

Click here for detailed instructions on how to make your own DIY egg drying rack.

One think that we find out, was that you need to make sure your pins close together.  A few of ours were too far apart and we had to reposition them in the heat of the moment.  Really not that big of a deal.  However, a pain none the less.

Simple DIY Easter Egg Drying Rack ~ lots of easter egg decorating ideas

Have your tried any of our Favorite Easter Egg Decorating Ideas?

Sharpie The Dyeing Eggs

Volcano Easter Eggs

Natural Egg Dye

Melted Crayon Easter Eggs

Kool-aid Easter Eggs