Monster Cake Pops

Halloween Party Treat ~ Monster Cake Pops

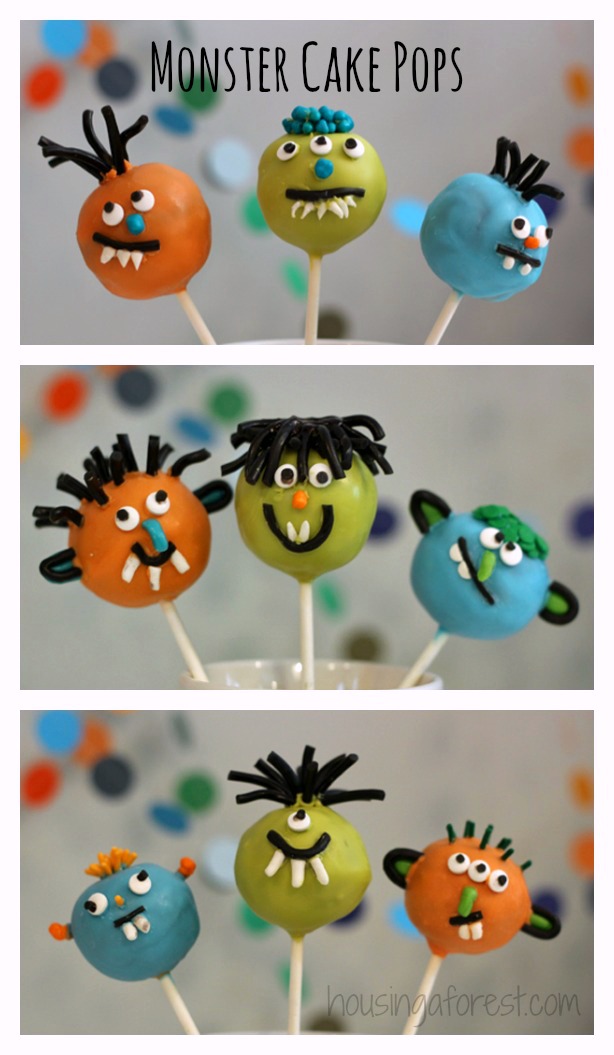
This is my first attempt at making cake pops, and I love how these little monster cake pops turned out.  They are so fun to make, but I have to admit they are time consuming.  Since this was my first attempt at creating them, I followed this great tutorial on how to make cake pops from Decorate this.  It was really easy to follow.

Monster Cake Pops ~ Halloween Party Treat

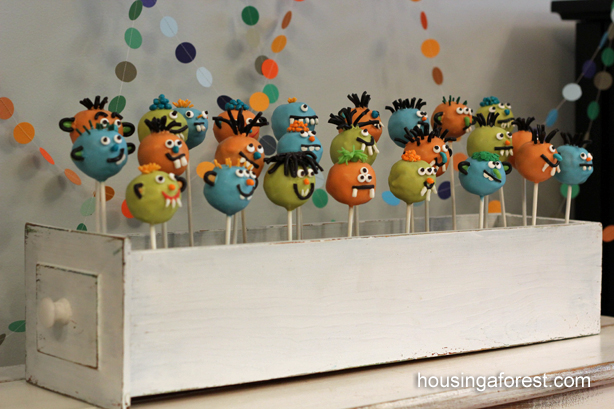
I love how they turned out!  Nothing cuter than a box full of funny monster faces!  These little monster cake pops will look great as the center piece for your next birthday party or Halloween party!
Monster Cake Pops ~ Halloween Party Treat

I used my Grandmother’s delicious chocolate cake recipe!  Using my mixer, I crumbled the cake into small pieces.  Then I added just enough icing to make the cake into a play dough like consistency.  Roll the dough into balls.  Dip the sucker stick into melted chocolate wafers before inserting it into the cake pop.  This will help secure the cake pop to the sucker stick.  Once the chocolate firms around the stick, dip in the desired color of chocolate.  I found it a bit tricky to make the coating even, but after a few failed attempts I eventually figured it out.

Monster Cake Pops ~ Halloween Party Treat

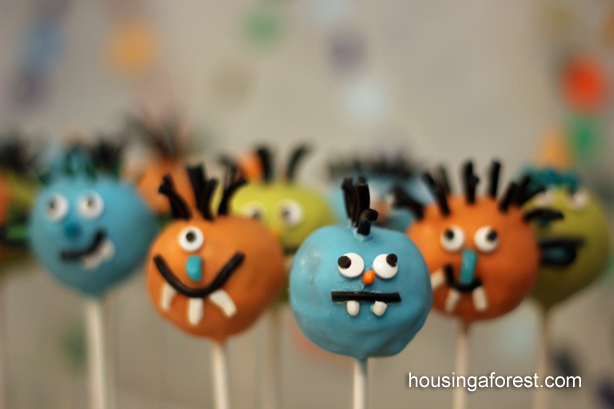
I choose to let the pops cool completely before adding any of the cute decorations.  I filled a baggie with melted chocolate to use as my pipping bag.  The melted chocolate will act as the glue to stick all the candies onto your cake pop. Some of the candies I used included black licorice (cherry flavored), nerds, sprinkles of various sizes, frooties candies that I rolled flat with the rolling pin (used for the inside of the ears) and white saltwater taffy rolled flat made the teeth.

Monster Cake Pops ~ Halloween Party Treat

Monster Cake Pops ~ Halloween Party Treat

I love this old drawer.  It is a cute simple was to display these little guys.  I used floral foam that was wrapped in Kraft paper to help the cake pops stand.
Monster Cake Pops ~ Halloween Party Treat

Happy Monster making!  For more Halloween ideas, check out our latest Monster Activities.
Oil Pastel Tooth Fairies

Our house is keeping the Tooth Fairy busy these days!  Annika is missing 3 of her top teeth and a couple on the bottom.  Bree and Kaleb both have wiggly teeth.  There is nothing cuter than a toothless grin for school pictures!  Since the tooth fairy has been frequenting our house, we decided to create oil pastel fairies.

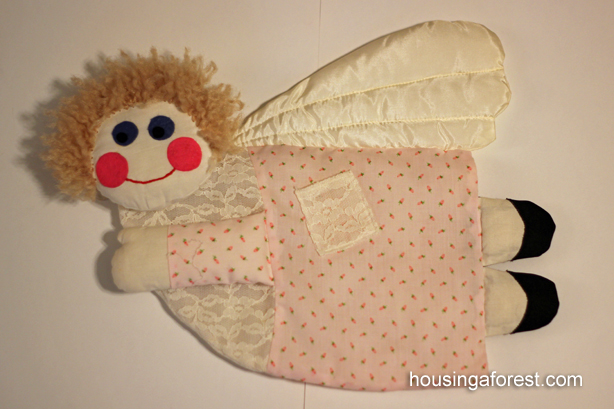
I am not very sentimental, and I have brought very few of my childhood things into our home.  However, this sweet little Tooth Fairy was a must.  It was hand made my by Aunt, and I loved using it.  It has a special tiny lace pocket that holds your tooth or the Tooth Fairies gift.  I’m sure when my Aunt was making these special Tooth Fairies, she never thought that my kids would be using them too.  Love it!

We seem to be having lots of funny discussions about the Tooth Fairy recently. I decided to have the kids draw what they thought the Tooth Fairy looked like.  I was immediately asked “Should we just draw Dad wearing a tutu?”  Ha, I love my kids!  They know that the Tooth Fairy is not real, but they love the tradition…OK maybe the money that she brings!  After a bit of discussion, we decided that they would draw their ideal Tooth Fairy.  We used textured black card stock and oil pastels to create these unique Tooth Fairies.

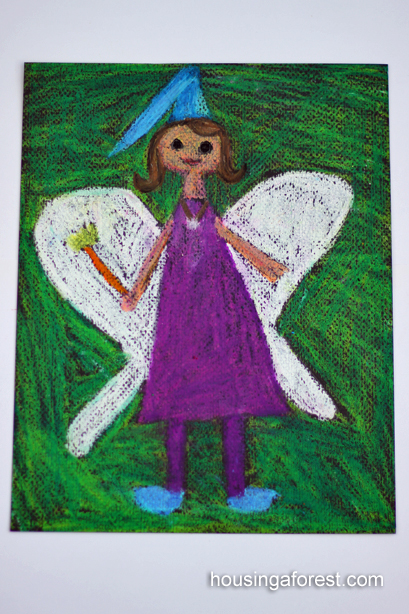
Bree’s oil pastel Tooth Fairy:  My Tooth Fairy is beautiful.  She wears a tooth necklace around her neck to collect the children’s teeth in.  My Fairy has large wings like a butterfly to help her fly to everyone’s house.  Her favorite color purple and carries a special wand that has a crown on top.

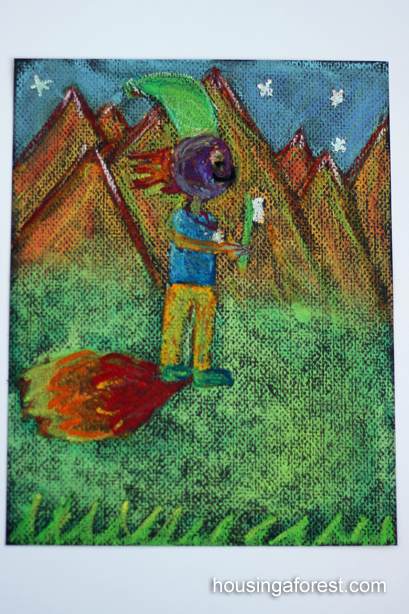
Kaleb’s oil pastel Tooth Fairy:  My fairy no longer needs wings to get around.  He flies through the air with the latest style of rocket boots,.  He prides himself on being faster than any Fairy around.  He wears a silver Olympic medal around his neck and carries a toothbrush wand.

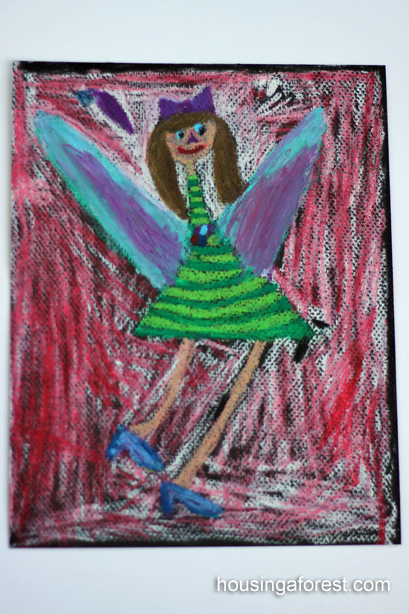
Annika’s oil pastel Tooth Fairy:  My Tooth Fairy loves to be colorful.  She wears a green striped dress, blue sparkly high-heel shoes and a purple bow in her hair.  Her wings are just as colorful as she is.  She carries a sparkly tooth wand and is always smiling.

I love kids imaginations.  These turned out so cute.  If you know my kids, these fairies totally represent them.  Bree loves butterflies, organization and wants to always be matching.  Kaleb likes inventing things, he enjoys sports and loves competition.  Annika loves everything colorful, she almost never matches (unless I make her go change) and high-heels and accessories are very important to her.  I hope you enjoyed a little peek into my kids and their unique personalities.

Running on Oobleck

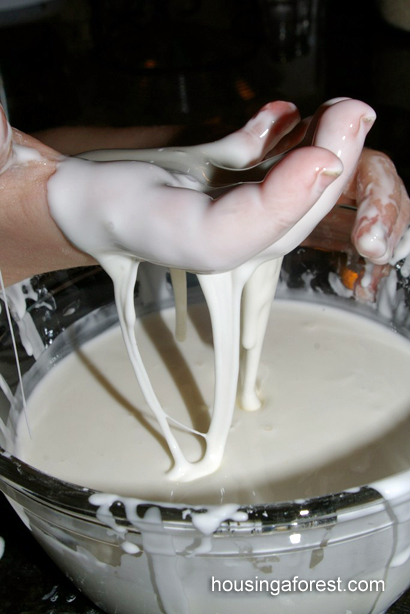
Oobleck is a suspension of cornstarch and water that can behave like both a solid and a liquid depending on how much pressure you apply. Try to grab some in your hand and it will form a solid ball in your palm just until you release the pressure, then it will flow out between your fingers.

Basic recipe for Dancing Oobleck

  • 1.5 cups of Cornstarch
  • 1 cup of Water

Pour the cornstarch into a large mixing bowl and slowly add the water. Your mixture should feel kind of like honey and tear a bit when you run your hands across the top.

My kids love playing with Oobleck.  Since it can act as both a solid and a liquid, you can also make it dance using sound.

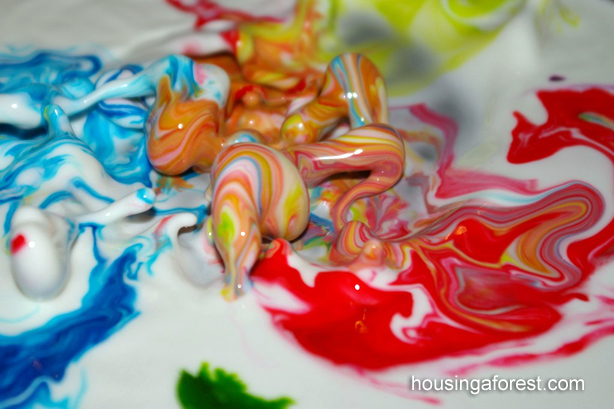
For full instructions on how we uses a sub woofer to make Oobleck dance go here.  I love how it looks when you add color!

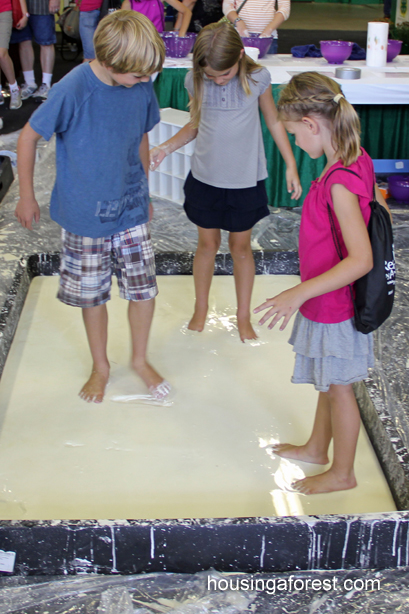
While we were at the State Fair this summer, the 4-H building had an interactive booth that they had a number of great kid experiments.  One of which was a large pool of Oobleck that they encouraged the kids to run across.  Who could turn down such a fun opportunity, not my kids!  They were off with their shoes and socks so quick; excited to try it out.

Since the liquid becomes more viscous when pressure is applied you can actually walk or run on the surface without sinking.  I would have loved to see the kids do cartwheels across it, but since this was at the beginning of our fair day, we stuck to just running.

However, once you stop moving you will begin slowly sinking into the liquid.  The kids loved feeling it squish between their toes.


Thanks 4-Her’s for setting up this fun experiment!  We have been wanting to try this out for a while.  If you are looking to do this at home, you will need large quantities of cornstarch and a cheap kiddie wading pool.  It would make a great backyard play date activity!  Although I am not sure how you would dispose of an entire wading pool of Oobleck.

Here is a link to a fun list of great experiments that my kids love.