Fluffy Bathtub Paint

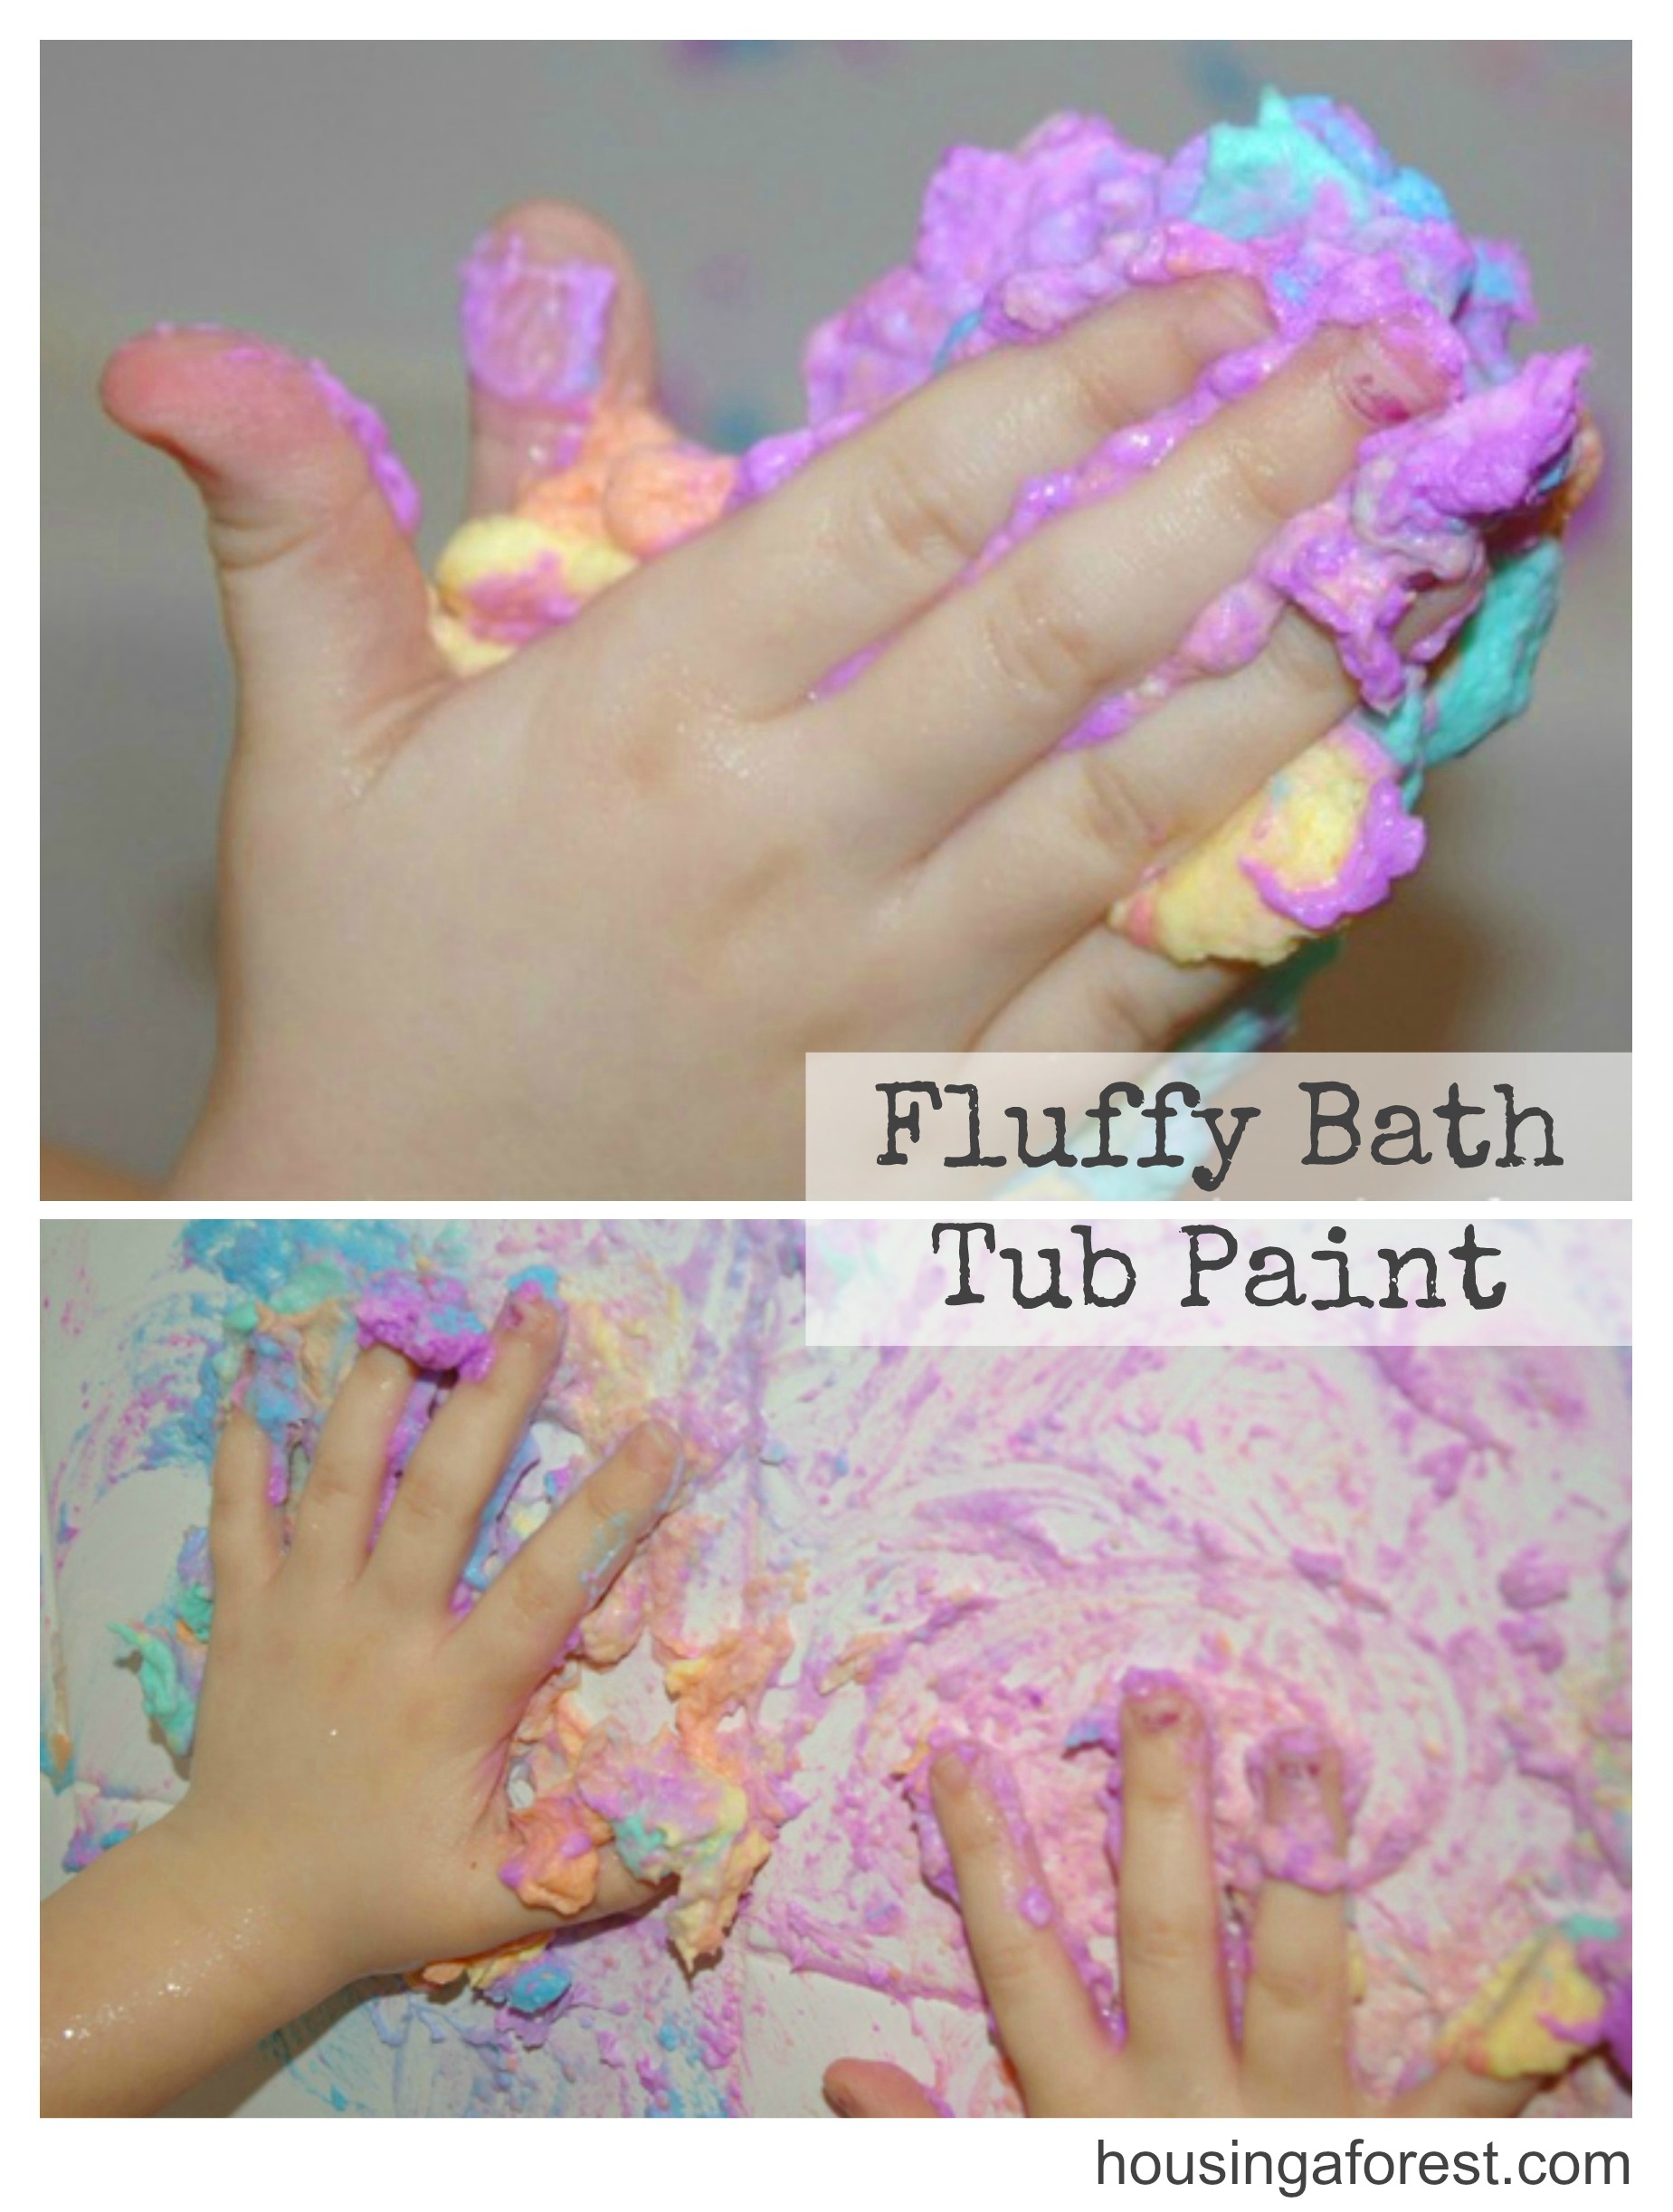
As promised here is a fun recipe for bathtub paint that will use the soap we made from yesterdays post found here.  As I mentioned earlier I could not throw the soap away, so I had to come up with something that would use this wonderful fluffy, crumbly soap.  I came across this web page that has a number of Homemade Paint Recipes, the one that caught my eye was for fluffy soap paint.  With a few changes, it became a wonderful fluffy bathtub paint.

Fluffy Bath Tub Paint

Fluffy Bath Tub Paint

To make your own Bathtub Paint, you will need:

  • A bar of microwaved Ivory Soap crumbled
  • Boiling water
  • Blender (I tried a hand mixer, but it just made bubbles and foam.  Not what we are going for.)
  • Food coloring
  • Plastic Ziploc bags

Fluffy Bath Tub Paint

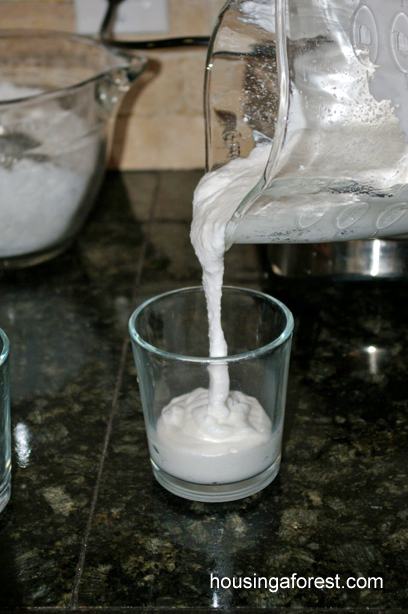
Place 1 cup of crumbled soap into the blender and add a small amount of boiling water.  If you add to much water at one time it will bubble, you are going for a creamy texture.  Pulse slowly, add more water as needed.  Repeat until all the soap bar crumbles are a yogurt like texture.

Fluffy Bath Tub Paint

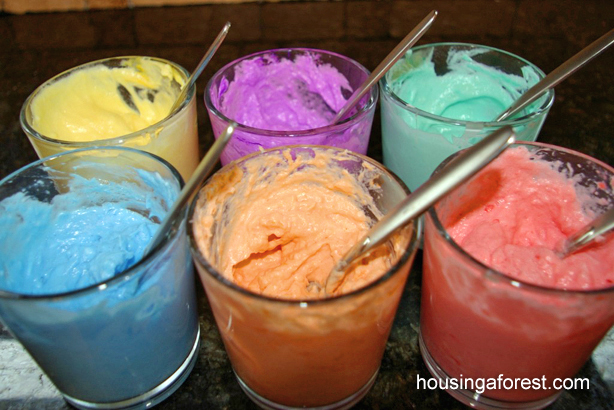
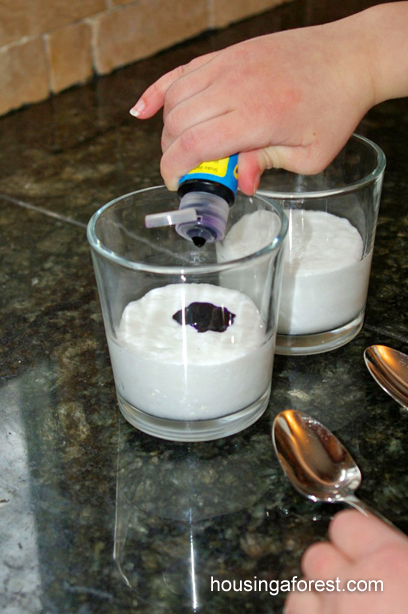
Pour into 6 separate containers.  The kids were in charge of adding the food coloring and mixing.  You will notice that a couple of colors are brighter than others.  I added a bit more hot water at this point to get a thinner texture that we could pipe like icing.

Fluffy Bath Tub Paint

Spoon into 6 ziploc bags and cut a small hole in the tip of one corner.  This will act like a piping bag, great practice for finger mobility for kiddos.  You could also leave the paint in the containers and paint with paint brushes or fingers.

Fluffy Bath Tub Paint


Fluffy Bath Tub Paint

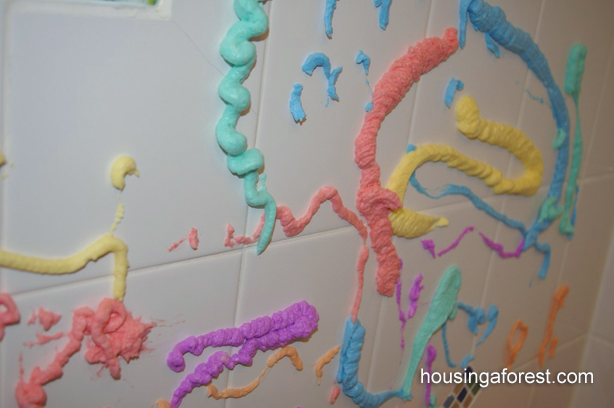
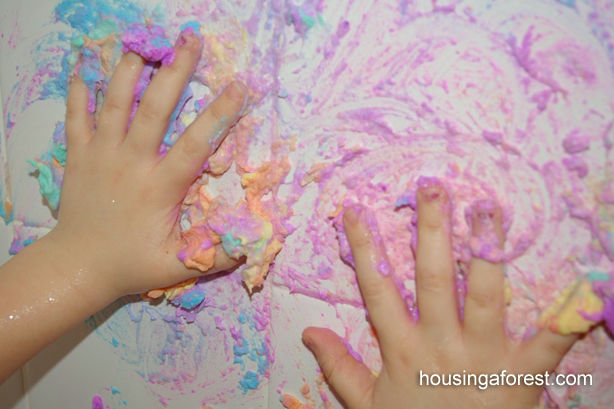
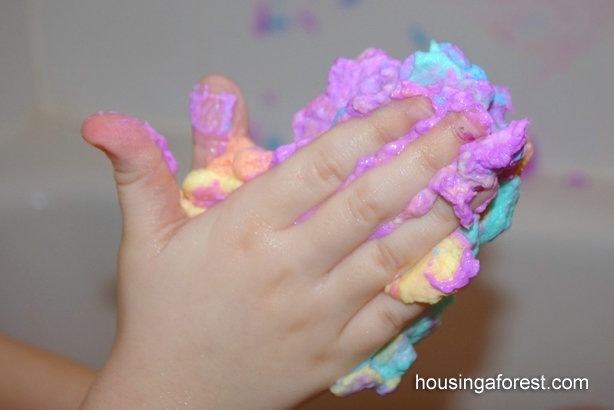
Create a beautiful master piece that can be washed away.  The kids had SO much fun piping, painting, squishing, and drawing with the paint.  After your little one is all done, simply drain the tub, turn on the shower and give your little ones small buckets and wash cloths to clean up the mess.  When the kids were all done cleaning, you would not have know that there was a colorful master piece hidden behind the shower curtain only a few minutes before.  Love it!

Here is a link to a fun list of great experiments that my kids love.

Ivory Soap Experiment

Science Experiments for Kids

I have mentioned before that Kaleb loves science experiments.  When I came across numerous videos on youtube all about the ivory soap experiment, I knew we had to try it.  This is one of the simplest experiments that you can do with your kids, and it is virtually mess free.

Ivory Soap Experiment {in the microwave} ~ Simple Science for kids. All you need is Ivory Soap and a microwave!

 This post contains affiliate links for your convenience.

Ivory Soap Experiment Supplies:

  • a microwavable plate
  • fresh bar of Ivory Soap
  • a microwave

Ivory Soap Experiment {in the microwave} ~ Simple Science for kids. All you need is Ivory Soap and a microwave!

We started our experiment by dropping our Ivory soap bar into water.  The kids were amazed that a full sized Ivory bar floated and an almost used up bar of a different brand sunk.  It would have been better to have another full sized bar, but that was the only other of bar of soap I could find in a hurry.  We are more a liquid soap family.  If you are interested in why Ivory soap floats, you can find one explanation here.

Ivory Soap Experiment

We placed the Ivory soap bar in the center of a plate and into the microwave.  All the kids stood on a bench so they could have a good view of what was happening in the microwave.  You will want to make sure everyone can see before you begin because it is amazing!

Ivory Soap Experiment {in the microwave} ~ Simple Science for kids. All you need is Ivory Soap and a microwave!

Experiment

Cook the bar for 2 minutes on high in the microwave.  Ours started to change after about 20 seconds and continued for the full 2 minutes.  When your soap cloud is finished, let it cool before letting the kids touch it.

Ivory Soap Experiment {in the microwave} ~ Simple Science for kids. All you need is Ivory Soap and a microwave!

The kids were totally amazed by the soap cloud.  Our Ivory soap totally transformed.

Ivory Soap Experiment {in the microwave} ~ Simple Science for kids. All you need is Ivory Soap and a microwave!

I didn’t want to waste a whole bar of soap, even for a cool experiment.  So instead of throwing the soap cloud in the garbage, we decided to use it in a fun new recipe that will incorporate our soap “cloud”.  We did our experiment one day and let it sit on the counter overnight before we created our Fluffy Bath Tub Paint.   Click on the link for the recipe.

Ivory Soap Experiment ~ Fluffy Bathtub Paint

For more simple kid experiments, check out our:

Walking on Eggs

Packing Peanut Experiments

Exploding Peep Geysers

Shooting Water Experiment

Microwave Puffy Paint

With a few ingredients and a microwave you can make fun art work and do a science experiment at the same time.  Your kids will love this simple Microwave Puffy Paint Recipe.

All you need is:

1/2 cup flour

2 tsp baking powder

2 tsp salt

food coloring

Enough water to make a paste

Cardboard or mat board

Just simply mix the ingredients together.  The mixing can be done by the kids, which my girls loved.  They were both convinced we were making pancakes.  “That is NOT how you make paint Mom.”  Once we added colors then they finally agreed it was paint.  Funny!  We just made one batch and divided it between the 6 different colors.

We poured the paint into squeeze bottles.  We used left over craft paint bottles and a couple squeeze bottles stolen donated from my wonderful sister-in-law.  The girls loved squeezing the paint, but you could use cotton swabs to apply it as well.  The thicker the paint is applied, the thicker the puff once microwaved!

Once the masterpiece if finished simply place in the microwave for 20 – 50 seconds depending on how thick the paint was applied.  You will see the paint puff up and dry out when it is done.  We had to microwave a couple of ours pieces 2 or 3 times to get all the paint to “cook”.  This was like magic to the girls, they giggled and giggled.  I was delighted myself, the paint looked so great all puffy, pin pricked with holes and colorful.  Although the girls are asking for pancakes after we were all done!

There are also recipes that use self rising flour, but we did not have any so we experimented with adding baking power and it worked great.  That might be why ours have the look and smell of pancakes!

Snow Ice Cream

Snow Ice Cream ~ Easy winter dessert your kids will love.

We have had over a foot of fluffy snow.  It is a winter wonderland and the kids are loving it.  I mentioned to them that this would be a great time to try making snow ice cream.  The excited sequels I’m sure could be heard down the block.  They get their sweet tooth from me, so we don’t keep a lot of sweets around.

Snow Ice Cream ~ Easy winter dessert your kids will love.

We put out a bowl (OK four bowls just to be safe!) outside to catch the falling snow.  I’m sure that I don’t need to say this, but make sure the snow is clean and white.   I found the recipe on All Recipes website.

This post contains affiliate links for your convenience.

Ingredients for snow ice cream:

It is best to freeze the milk for 30 minutes before making the ice cream.  That way everything is chilled and the snow will not melt as quickly.  Depending  on which % of milk you choose will determine how creamy your snow ice cream will be.

When you have everything ready, bring in the snow.  We mixed the sugar, vanilla and milk together and then used that mixture to pour over individual bowls of snow.  The kids each wanted to mix their own.  Serve and eat quickly since it will melt fast.  The kids loved it, but ended up using straws to finish their ice cream.  We also added a bit of chocolate syrup.  The kids LOVED this recipe.  They thought it tasted like real ice cream only runnier.

Snow Creamsicles:

When we were all done, we still had lots of the milk mixture left over so we made Snow Creamsicles.

  • Snow Ice Cream (recipe above)
  • Milk
  • Orange Juice
  • Popsicle Molds.


We stirred snow and more of the milk mixture we made earlier, and then added orange juice to taste.  The Creamsicle mixture was poured into Popsicle molds and put into the freezer.  This was a bit of an experiment since there was no recipe to follow, but the Snow Creamsicles were a big hit.


For more winter fun, check out our:

Melting Art

Creating Colorful Icicles

Indoor Snow Painting

Bringing the Snow Inside

Raised Salt Painting

Art Recipe ~ Raised Salt Painting

Ready for a simple art activity your kids will LOVE.  Seriously this is one of our favorite go to activities.  The kid love exploring and watching their art come to life.  Read on to find our how easy it is.

Raised Salt Painting ~ kids love watching the watercolor travel along the salt.  A little art and a little science!Watercolors are such a versatile medium and I LOVE them.  This time we used the liquid watercolors which I think is a bit easier for this project, but the cake variety work as well.  For salt painting you will need table salt, white glue, watercolors and thick paper (I used watercolor paper because it was what we had on hand, but I have used mat board and even cardboard works well).
Raised Salt Painting ~ kids love watching the watercolor travel along the salt. A little art and a little science!

Family Fun magazine is wonderful and has so many amazing ideas, including this one.

Raised Salt Painting ~ kids love watching the watercolor travel along the salt. A little art and a little science!

Have the kids squeeze a design that they like onto the board with white glue.  Simple shapes, and designs seem to work the best for this project.  Once their design is complete, shake table salt over the entire piece.  Don’t be afraid to use a lot of salt, you want to make sure the salt covers all sides of the glue.  Tap off the excess salt into a tray, to use again.

Raised Salt Painting ~ kids love watching the watercolor travel along the salt. A little art and a little science!

Now let the magic begin!  Gently touch the tip of your wet paint brush to the salt.  No matter how many times my kids do this they are amazed to watch the watercolor spread up the salt.  Try not to “disturb” the glue by dragging your paint brush.

Raised Salt Painting ~ kids love watching the watercolor travel along the salt. A little art and a little science!

Once the glue is completely dry, your painting will sparkle beautifully.  Unfortunately this project might not be well suited for the keepsake box since it does tend to flake off after a while, so take lots of cute pictures.  Just remember art is often about the process and letting kids explore a new medium not always the end result.

Raised Salt Painting

This one is still wet.  Beautiful!

Raised Salt Painting ~ kids love watching the watercolor travel along the salt. A little art and a little science!

After the project dries over night, it should look similar to this.  I love the results!