Touch Painting

It is time for another Paint and Play challenge with Growing A Jeweled Rose? We have been having a blast create fun process art with our kids over the last few weeks.  The focus for our series is all about the process, having fun and getting kids excited to create art with fun and unique mediums!  Our challenge this week was to create a Touch Painting.  Crystal create art with her kids blindfolded, while my kids created their art under a simple DIY Touch Painting Box. 
Touch Painting

………………………………………………………………………………………………………

Check out how we created our fun tactile painting experience.  The kids explored the sense of touch while they created art.  I created a Touch Painting Box for the kids and set out a variety of unique surfaces for the kids to paint and explore under the box.
Touch PaintingTouch Painting:

  • A large cardboard box
  • Scissors ~ to cut a hole in the end of the box
  • Dark colored felt ~ cut just lager than the hole in the box
  • Hot glue gun ~ to attach the felt to the box
  • Textured Surfaces ~ Anything goes, think tinfoil, bubble wrap, sandpaper, cotton balls etc
  • Finger Paints or Tempera Paint
  • Paint Brushes are optional, fingers are best:)
Touch Painting

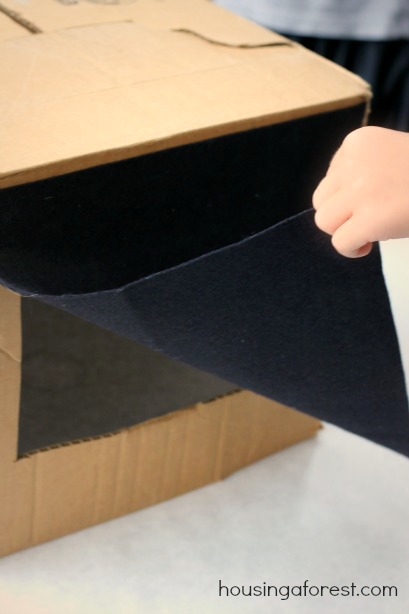
Begin by placing the box upside down and cutting a large square in both ends.  Next, cover the holes with a piece of black felt.  The felt should be just larger than the hole.  Secure the felt door to the box wit hot glue.  Think “doggy door”, you will only need to secure the felt along the top edge.  Touch Painting
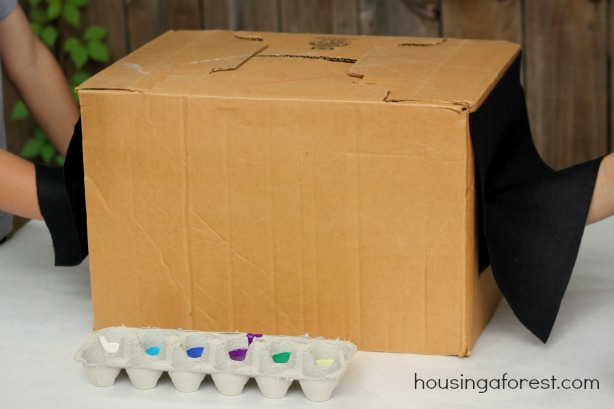
I made a Touch Door at both ends of the box so that 2 kids could paint at the same time.  They loved creating collaborative art together.

Set the box on top of the surface or paper that is to be painted.  We taped it to the table to keep it from sliding around and the kids set to work creating.

Touch Painting

Some of the kids used paintbrushes and some enjoyed painting with their fingers.  Both ways, the kids explored painting through the sense of touch while they could not see what they were creating.
Touch Painting

The sense of touch can also be enhanced by the surface that your kids are painting on.  We tried painting on all different types of surfaces from bumpy to smooth and rough to slick.   Touch Painting

I love this shot of our simple paint pallet.  Egg cartons are great for crafting with and they make the perfect paint pallet.
Touch Painting

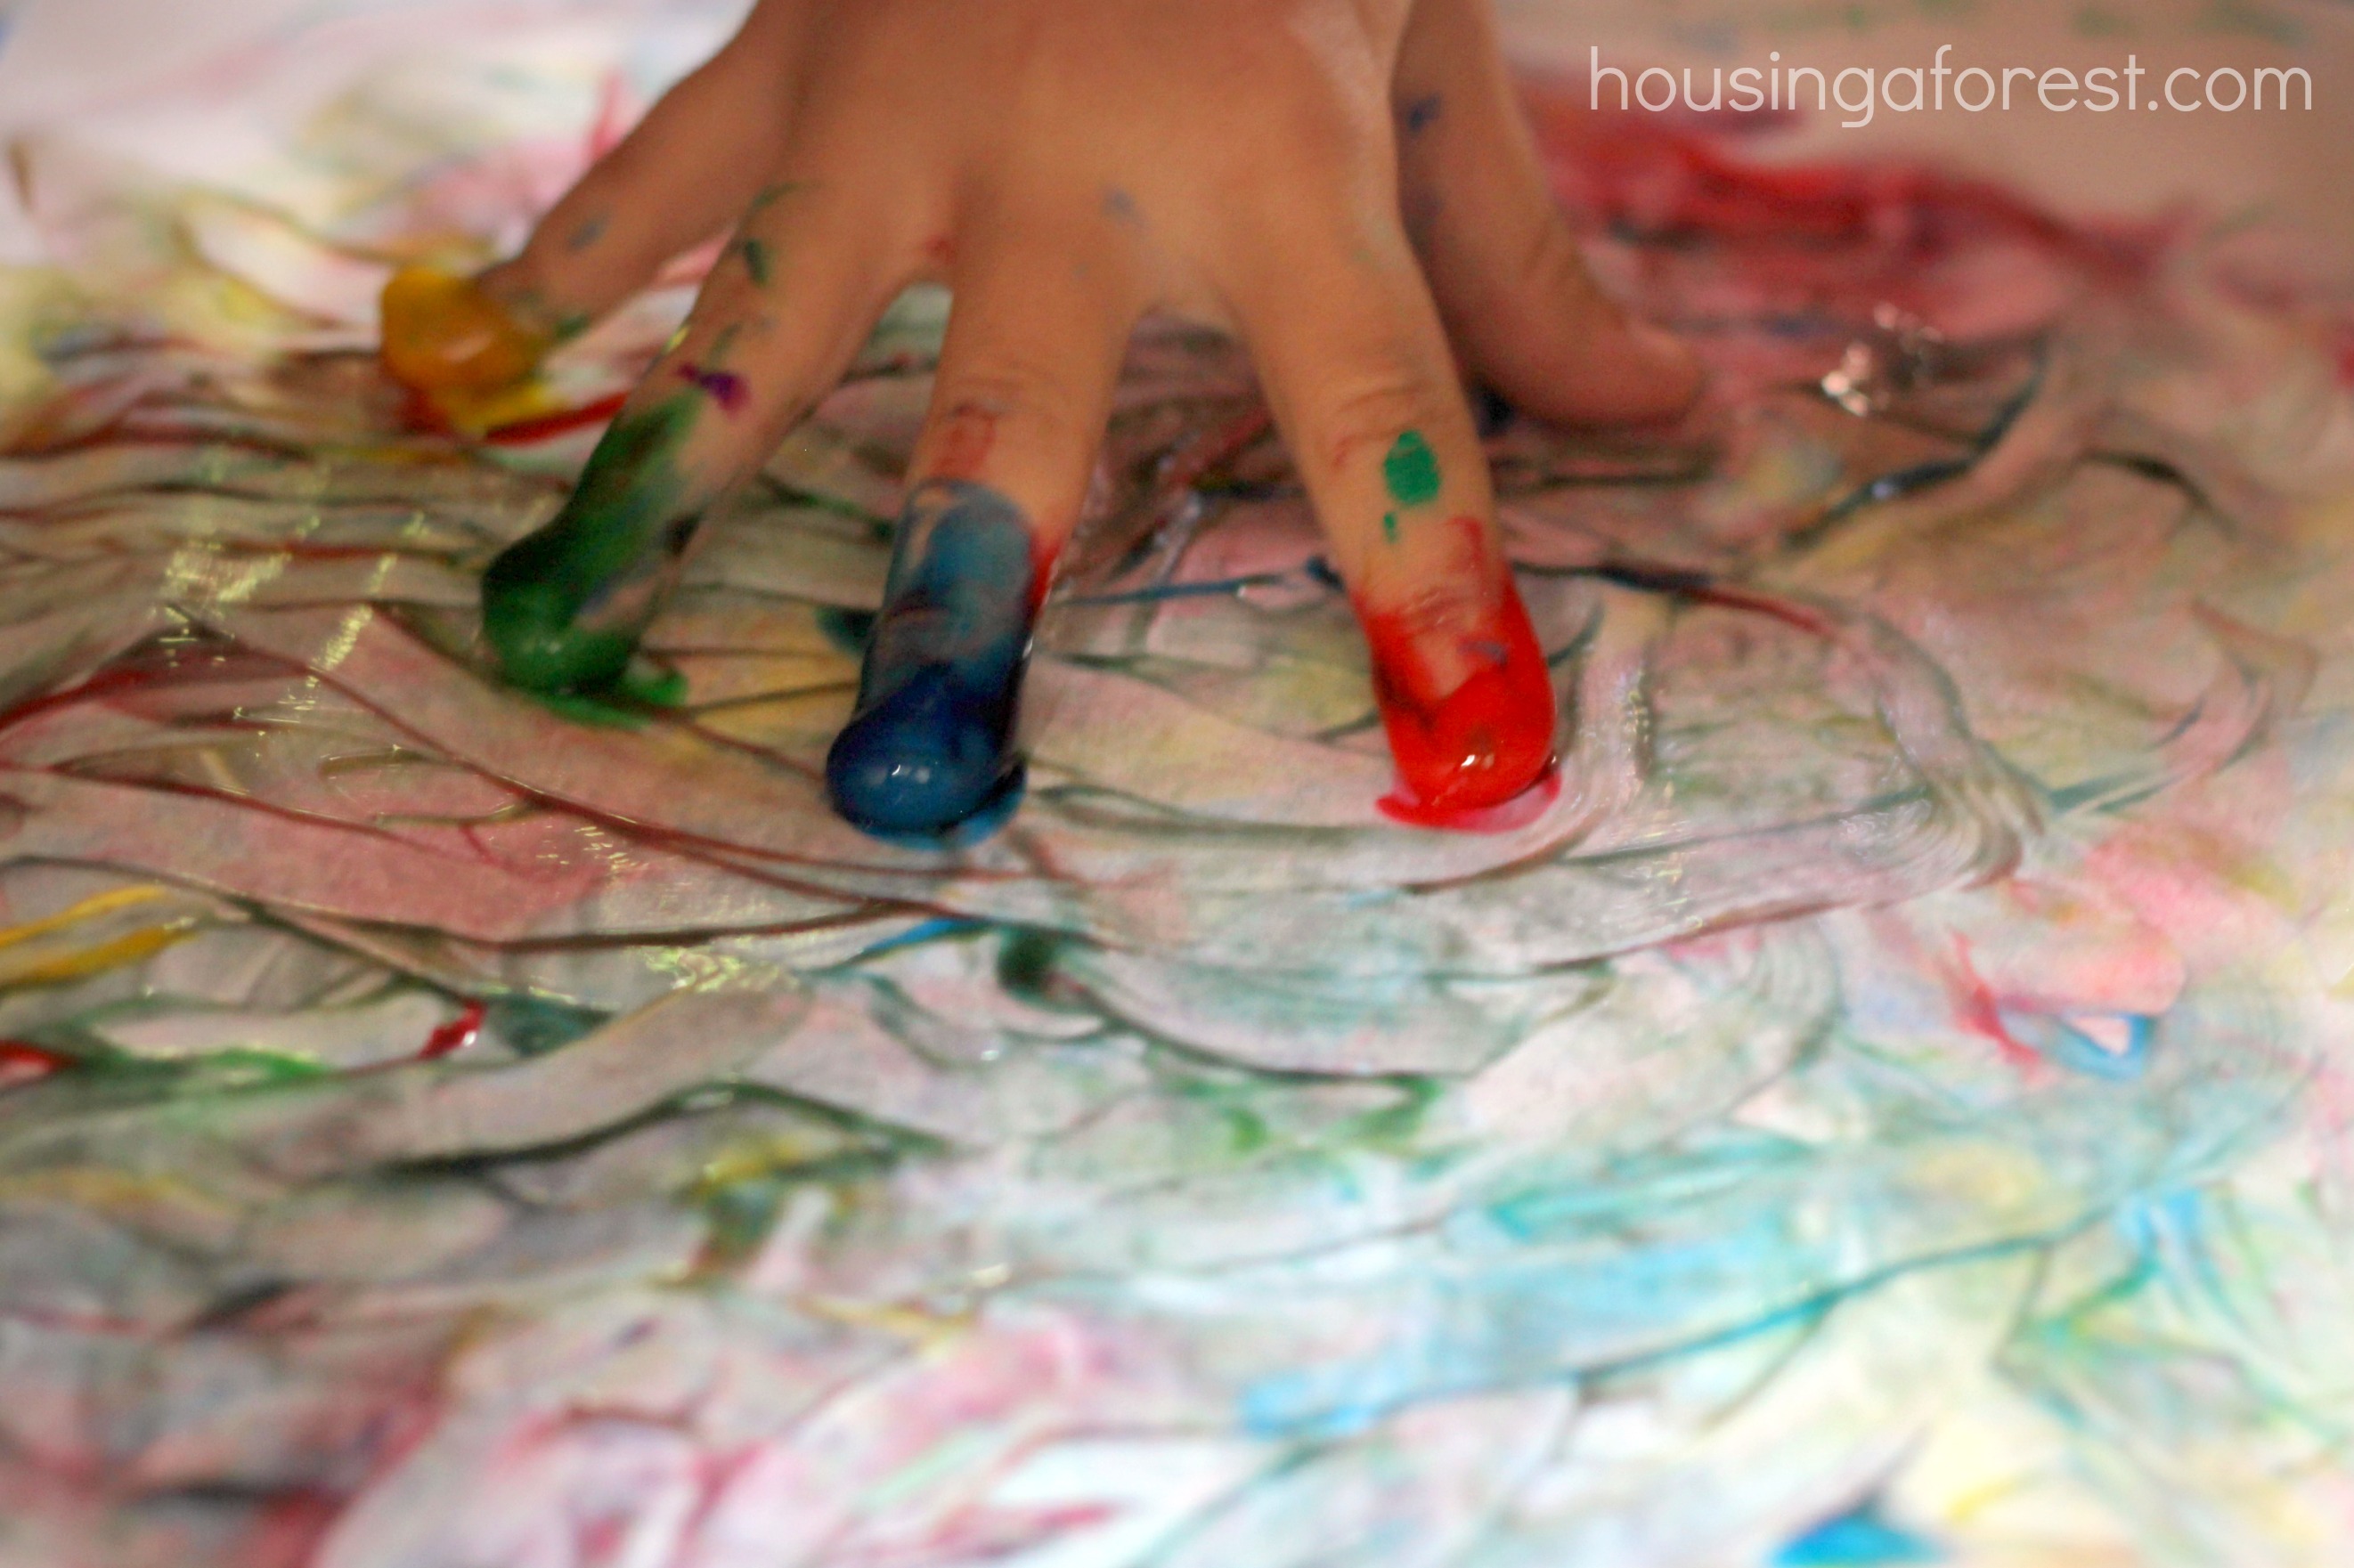
 We painted on the slick, smooth surface of tinfoil.  The kids loved feeling the paint as it slid across the slippery surface.  They could not resist wiggling and dancing their fingers as they glided across the painting.
Touch Painting

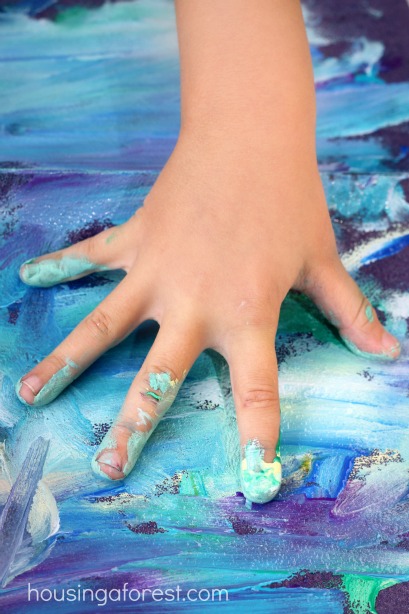
The rough surface of sandpaper was fun and unique surface to finger paint on.  I have never tried finger painting on sandpaper before, it was a little rough and scratchy but the kids loved it.  It was fun listening to them giggle as the rough paper tickled their fingers as they painted.  They liked scratching their fingernails on the sandpaper.
Touch Painting

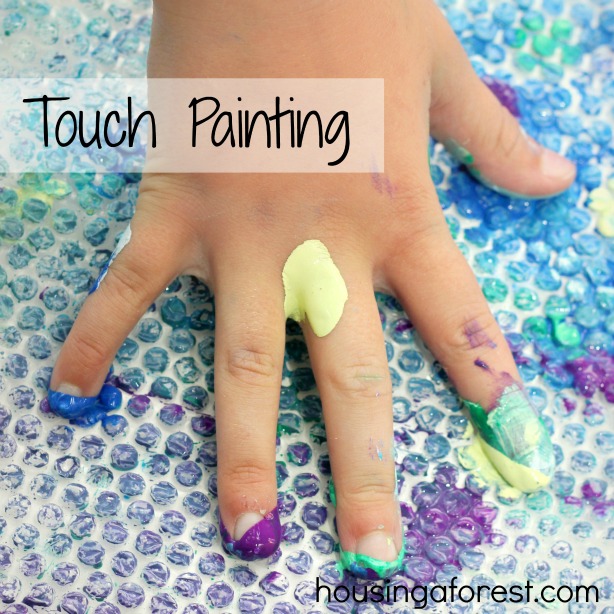
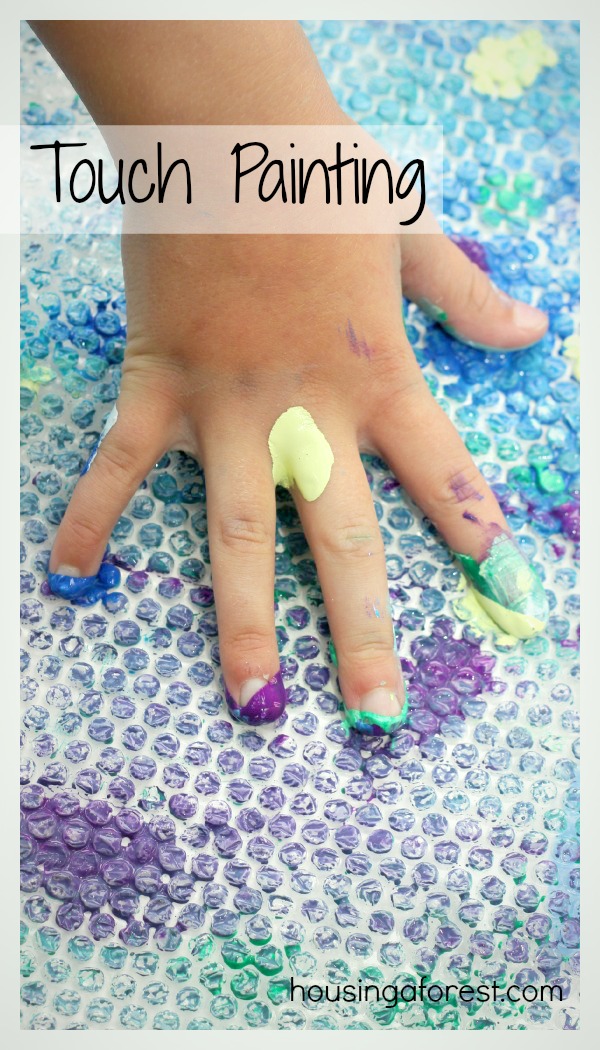
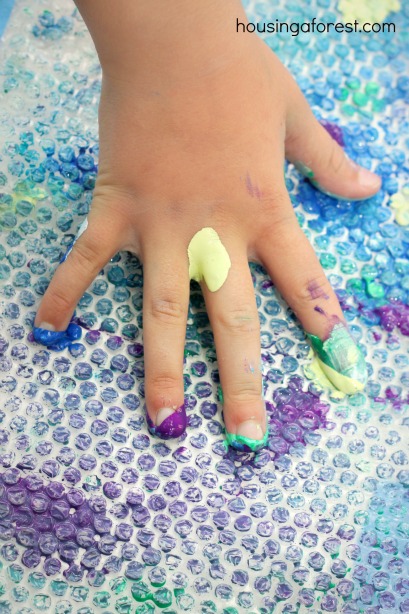
We also painted on the textured surface of bubble wrap.  This was the kids favorite surface.  They loved the bumpy texture, and were continually popping the bubbles as they painted, double the fun!

I would love to hear how your kids explore the sense of touch while creating art.

 ………………………………………………………………………………………………………

Make sure to stop by Growing A Jeweled Rose to check out their Touch Painting.  You will love how they explored paint together!
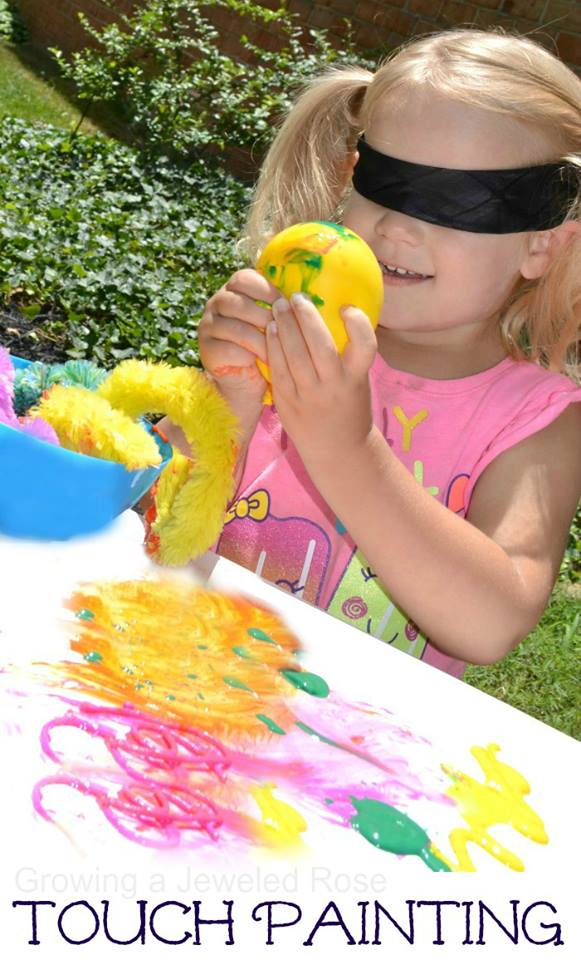
Touch Painting

………………………………………………………………………………………………………

Don’t miss out on any of our Paint and Play series:

Balloon Painting 5 Ways and Super Creative Balloon Painting

Homemade Spin Art Machine and A Spin on Spin Art

Tire Swing Pendulum Painting and Glowing Pendulum Painting 

Painting with Candy and Painting with Candy

Glowing Ice Painting and Summer SCENTsory Ice Paints

Marble Maze Painting and  Ice Marble Painting Activity

Make sure you stop back in next week for more Paint and Play!

………………………………………………………………………………………………………

If you love process art like us, then check out my Painting Without Brushes Pinterest board.  It is packed full of fun ideas.
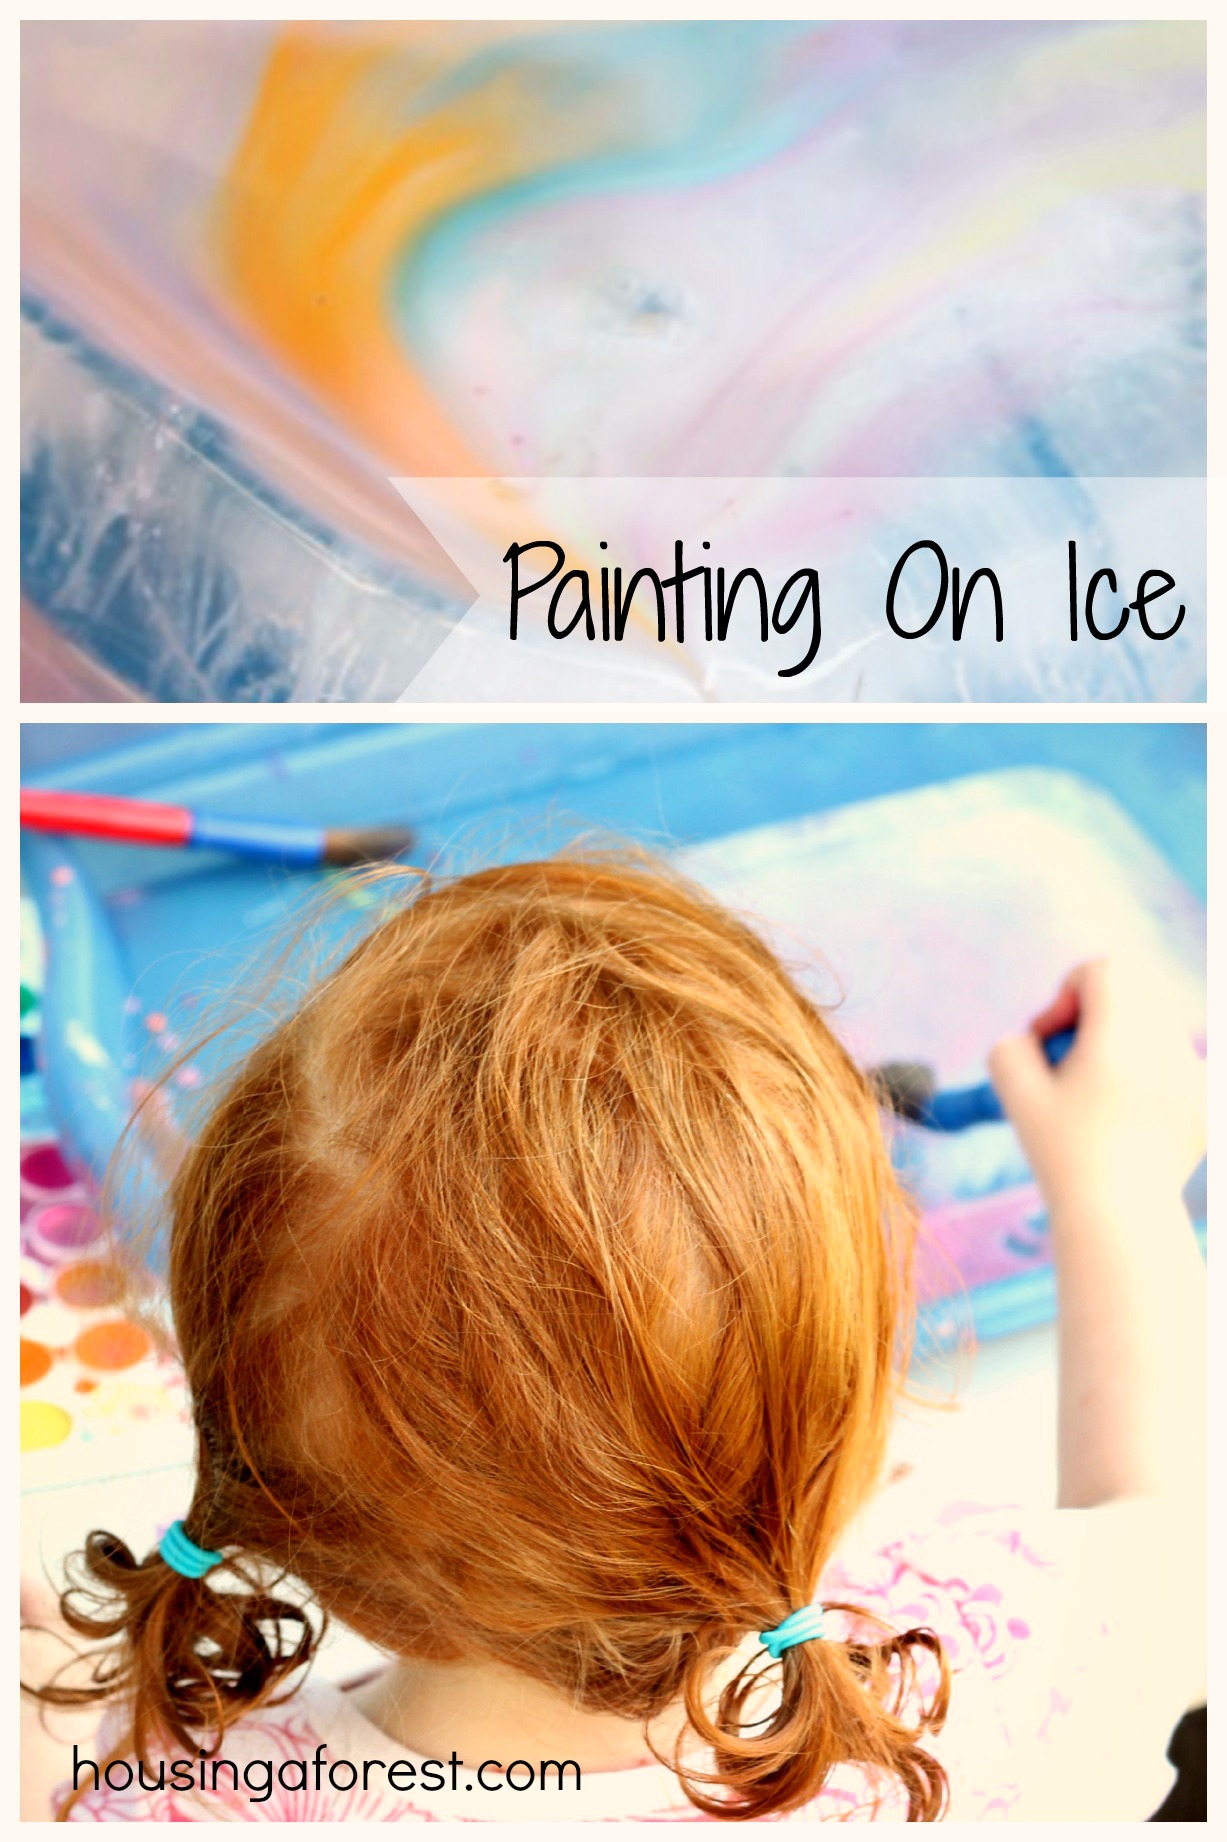
Painting on Ice

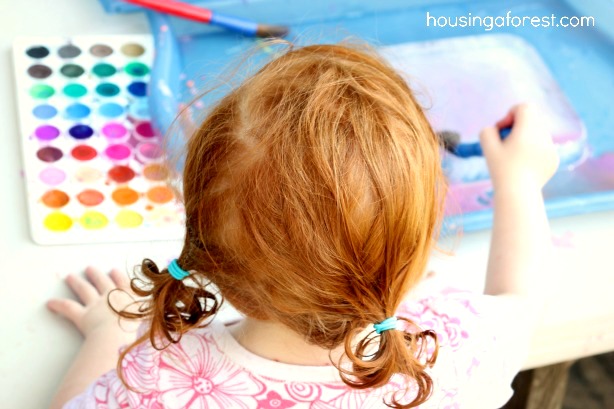
We had so much fun exploring ice as we are trying to stay cool this summer!  Today we decided to do a little outdoor painting project.  The kids thought that Painting on Ice was so much fun and watching the colors pool as the ice melted was beautiful.

Painting On Ice ~ Perfect for Summer

What you will need to create your own Ice Painting:

  • A block of ice ~ we froze ice in Tupperware containers the night before, but you could by a large block of ice as well.
  • Water Colors ~ we used our little watercolor cakes, but liquid watercolors would work great too.
  • Paint Brushes
  • Trays are not necessary, but it did help keep the ice from slipping off the table.

Painting On Ice ~ Perfect for Summer

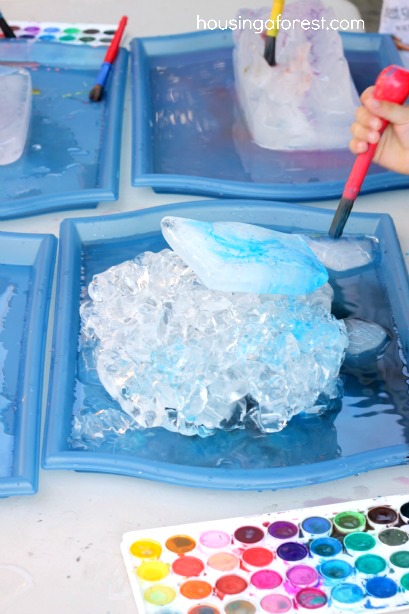
The set up was simple.  I set the ice blocks on the trays, handed the kids the paints and brushes and let them create. Simple invitations to create are the best.  Just let the kids explore and have fun!

Painting On Ice ~ Perfect for Summer

One of the kids made an ice sculpture before he started painting.  Love it!

Painting On Ice ~ Perfect for Summer

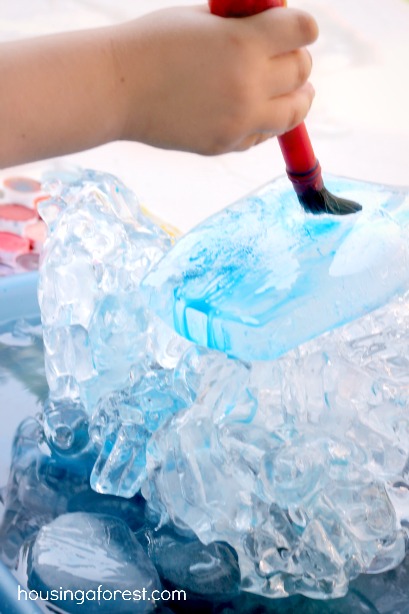
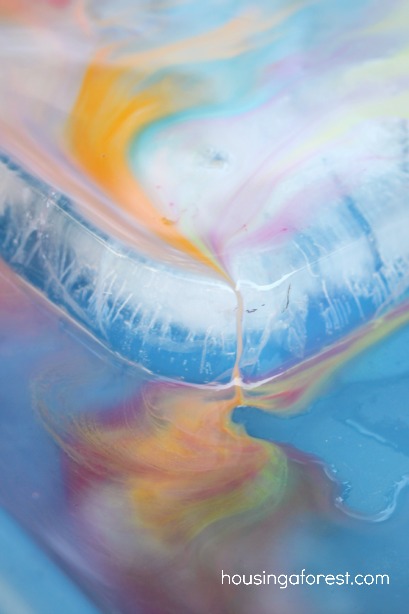
I love that as the ice blocks melted, it took the color with it.  The kids had a continually fresh canvas to paint on.

Painting On Ice ~ Perfect for Summer

Even out littlest artist had a blast.

Painting On Ice ~ Perfect for Summer

Rainbow of melted colors.

Painting On Ice ~ Perfect for Summer

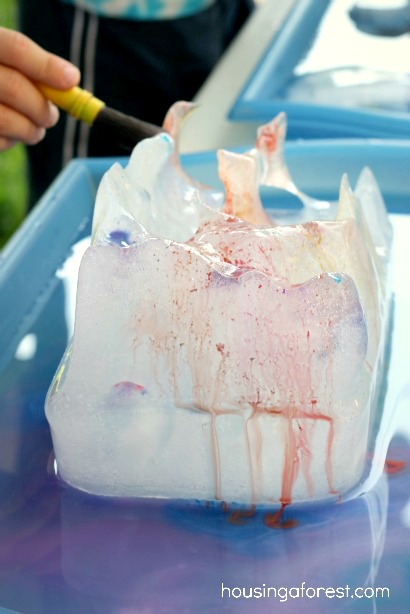
The kids loved watching the cools pool and run off the ice as it melted and they were presented with a blank canvas again.  The vibrant little swirls of color make me smile.

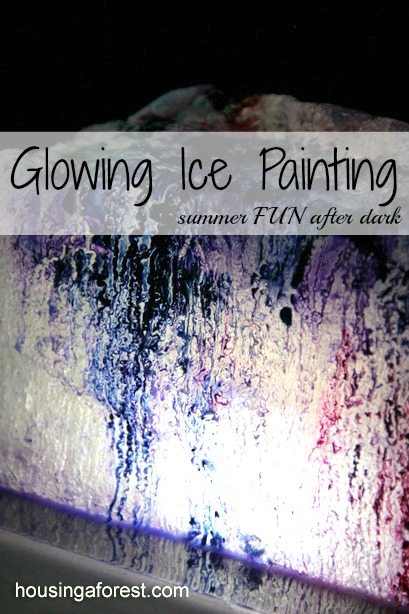
You can also do this activity in the dark.  The kids had so much fun painting in the dark and creating this amazing Glowing Ice Painting.

Glowing Ice Painting

Summer fun after dark!

I would love to hear your favorite way to play with ice!  We are always looking for fun ideas to say cool in the summer.

Marble Maze and Water Play

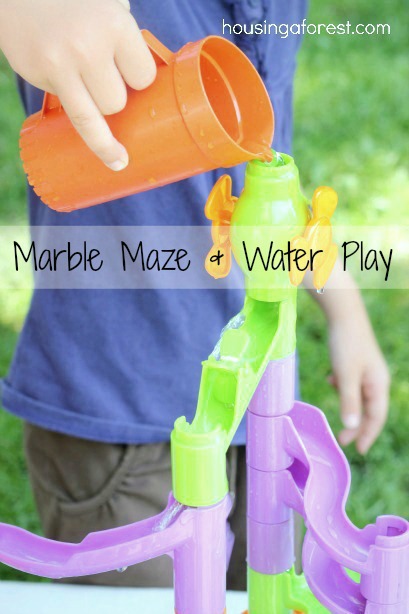
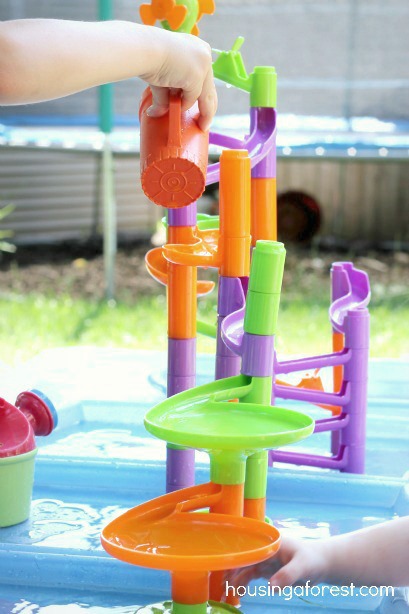
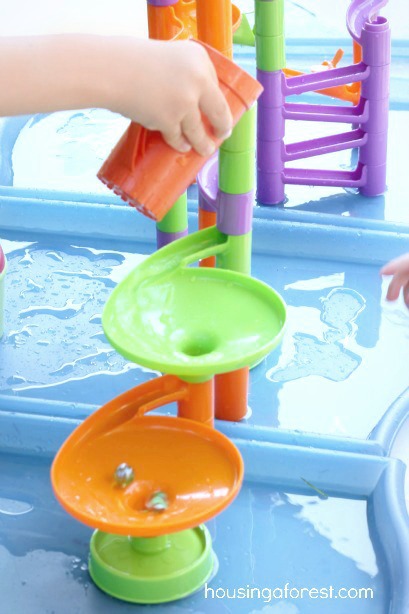
We love finding new ways to play with toys we already own. The marble maze has always been a hit with my kids, but recently it has spent more time in closet than being played with. In hopes to breath new life into an old favorite, we brought our Marble Maze outside to try something different. By simply adding water, it became a whole new activity. The kids LOVED it and played with it way longer that I expected. We will be revisiting this simple Marble Maze and Water Play again soon.

Marble Maze and Water Play

Marble Maze and Water Play

  • Plastic Marble Maze
  • Marbles
  • Water
  • Pouring utensils ~ such as cups, tea pots, buckets, bottles etc
  • Trays to build your Maze on ~ not necessary, but it helps to catch the water so you can reuse it over and over.

Marble Maze and Water Play

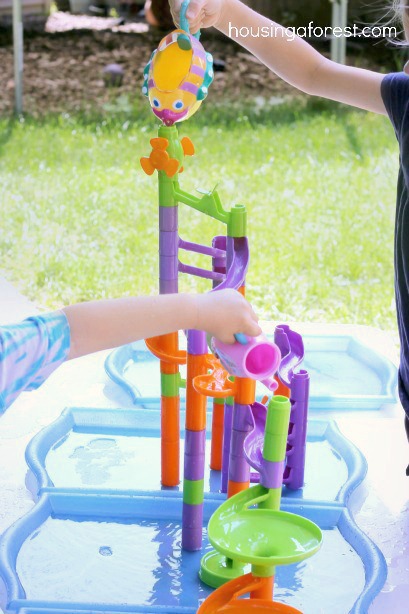
The kids set up the Marble Maze outside and they set right to work playing. Once they started pouring water they were hooked.

Marble Maze and Water Play

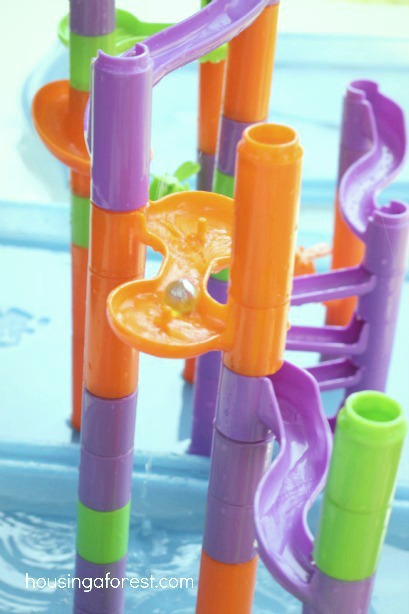
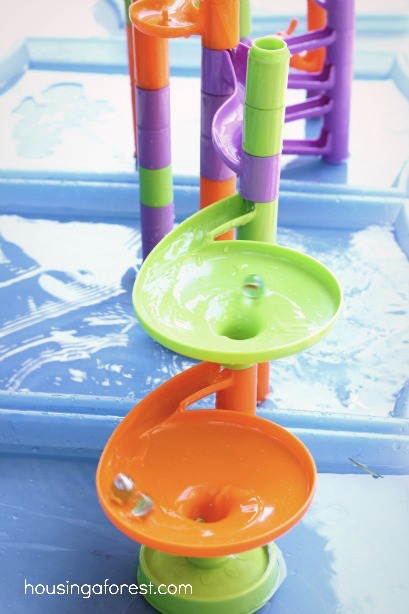
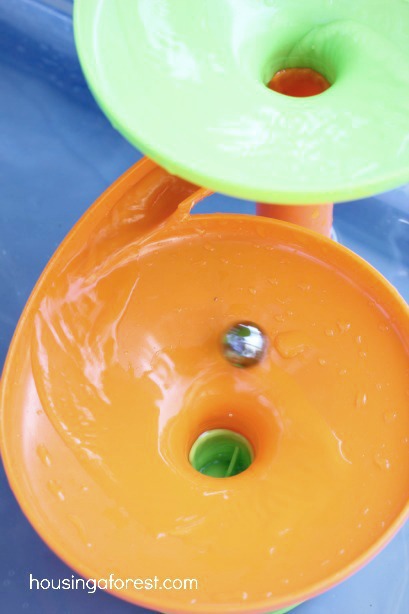
They loved watching the water flow and carry the marbles down the slippery track.

Marble Maze and Water Play

This is fun activity that practices both fine motor control and hand eye coordination. It was fun watching the kids concentrate as they poured the water into the small tubes.

Marble Maze and Water Play

Lots of water splashed over the edge as the raced the marbles down the track, but getting wet is half the fun.

Marble Maze and Water Play

This activity is so simple that I am surprised that we have not tried it sooner.

Marble Maze and Water Play

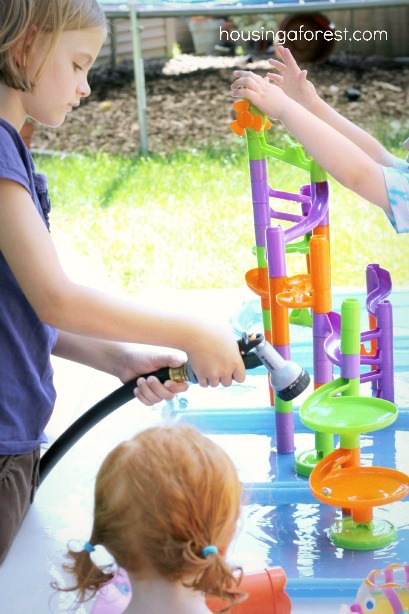
Soon the kids grabbed the hose to help the marbles go faster. I’m sure it was just an excuse to play with the hose, but they had a blast!

Marble Maze and Water Play

The kids were soaking wet by the time they finished playing, and they were all wearing huge smiles. I take that a sign of a great activity. This is the perfect activity for the backyard on a hot day. Lots of simple learning and fun summer playing.

We have also enjoy painting with marbles.  The kids had so much fun creating their Marble Maze Painting, and marble painting in a container is always a hit!

Have you found any other fun ways to use your marble run or paint with marbles?

Animal and Bug Crafts for Kids

Do you have a little animal or bug lover in your house?  Our bug house is almost always full, and the kids are continually asking for our mini microscopes to check out their latest discovery.  You might be surprised to learn that I actually don’t like bugs after our little Cicada Adventure!  Shhhhh…don’t tell the kids:)  I love watching them from a distance, or from behind my camera.   I love all the simple and engaging Animal and Bug Crafts for Kids linked up to last weeks Kids Co-op!

Animal and Bug Crafts for Kids

Animal and Bug Crafts for Kids

………………………………………………………………………………………….

Cicada Molting

We were at the park the other day and Bree comes running back with this crazy looking bug.  She has a love of all animals, but especially bugs.  I had never seen a bug quite like it before and had no idea what it was.

That’s where you all come in.  I posted the picture below on my Housing A Forest Facebook Page and asked if anyone knew what it was.  The response was AMAZING.  This is where we finally determined that we had a Cicada Nymph.

Cicada Molting

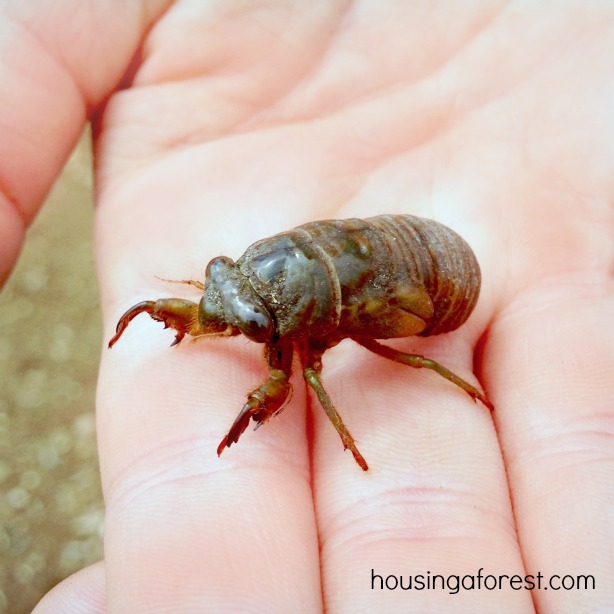
This little nymph is pretty sweet looking!  In the nymph stage, this little guy lives underground feeding on root juice for a number of years.  Check out those crazy front legs he uses for digging!  After a while, the nymph will dig an exit tunnel and that is where Bree found this little guy.  Walking on a dirt road just after he can up out of his tunnel.

Bree was so excited when she saw this sweet video (in the comments) of a cicada nymph molting that she asked to bring it home to see if we could observe our little nymph molt.

Cicada Molting

We have a decent sized Butterfly house, so we placed the little nymph in there along with a few sticks and things that Bree thought he (I have no idea if it is a boy or girl we just started calling it a “he”) might like.  We went in for lunch and by the time we came back out, he had already molted.

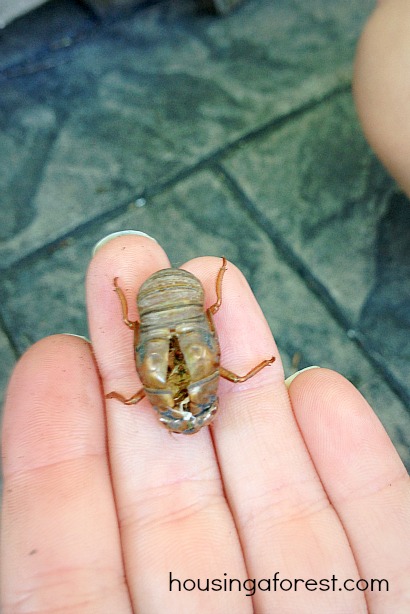
The above picture is of his abandoned exoskeleton.  Pretty fascinating!  Bree could not believe that the Cicada actually fit into the little exoskeleton just moments before.

Cicada Molting


After we witnessed this little miracle, we released our cicada friend.  This is Bree giving it one last good-bye before it flew off.

Cicada Molting


What a cool experience and I am so glad that we got to witness part of the process.  I hope that we can find another nymph again and maybe we witness it actually shedding its exoskeleton.