Nail Polish Art

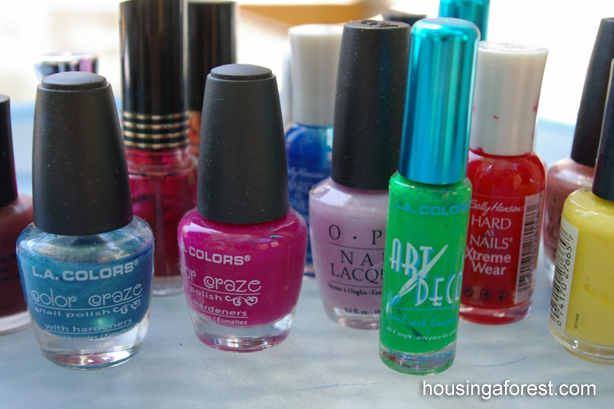
My girls love nail polish.  We have an ever growing collection of colors.  To help “use up” some of the older bottles, we decided to experiment with them.

Nail Polish Marbling

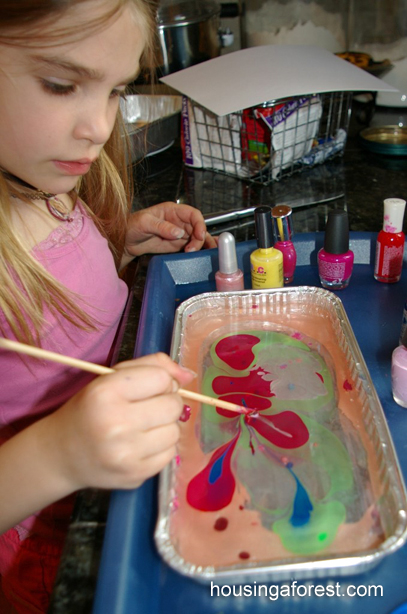
First we tried marbling paper.  You will need a pan of room temperature water, nail polish, and an orange stick. Make sure you are in a well ventilated area, we tried it outside, but the polish dried to quickly.

To make your Nail Polish Art, you will need:

  • Old bottles of nail polish
  • Shallow Pan
  • Water ~ Room Temp.
  • Stick (or something similar) to stir the polish
  • Paper

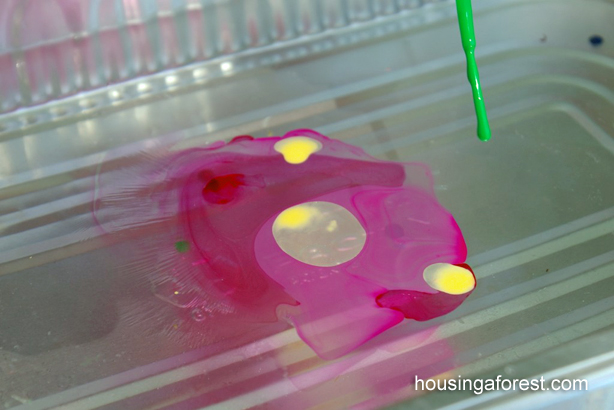
Simply pour a small amount of polish straight from the bottle into the water.  It should form a “skin” on the top of the water.  Working quickly drip more colors into the center of the skin.  We found that some polishes spread better than others, but both produced interesting results.

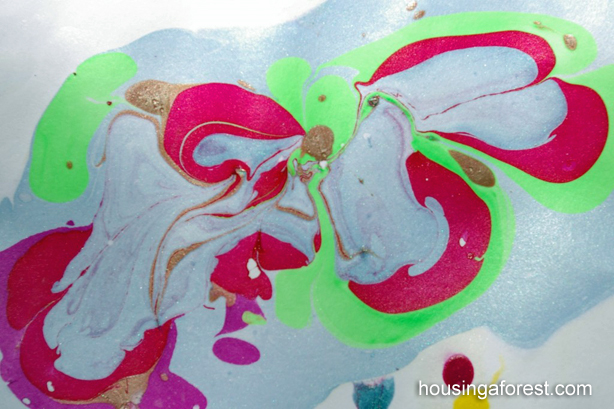
Once you have a few colors, gently drag an orange stick (or skewer) through the polish.  We found that it worked best to start near the outside of the skin and drag to the center, wiping the stick as you go.  Next simply dip your paper into the water and pull it out to reveal a beautifully marbled piece of paper.  After each paper is finished, use your orange stick to swirl around the water to gather all the left over polish.  The younger kiddos had a harder time with this one, but still enjoyed it.

Blot Art

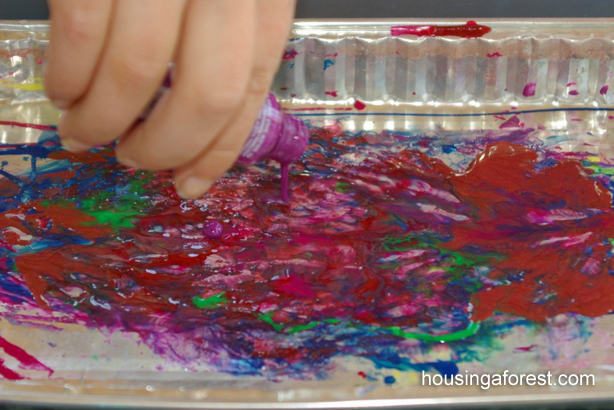
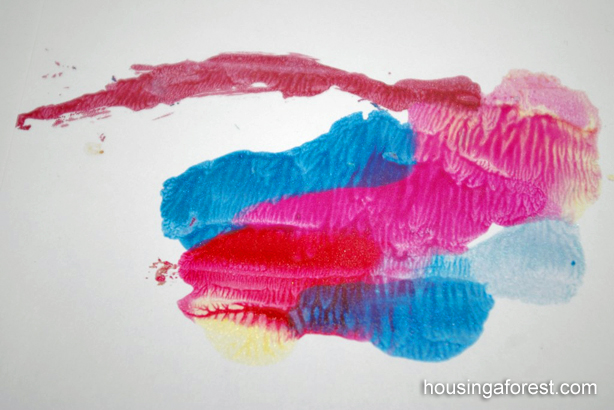
Next the kids tried pouring polish straight into the pan with no water.  They swirled the colors with the orange stick and then set the paper into the polish.  The kids loved the process of dumping the colors and swirling it around.  There was lots of giggles as they tried to determine what each shape was.

This one was named the speeding bunny.  Love it!

Painting Hosta Leaves

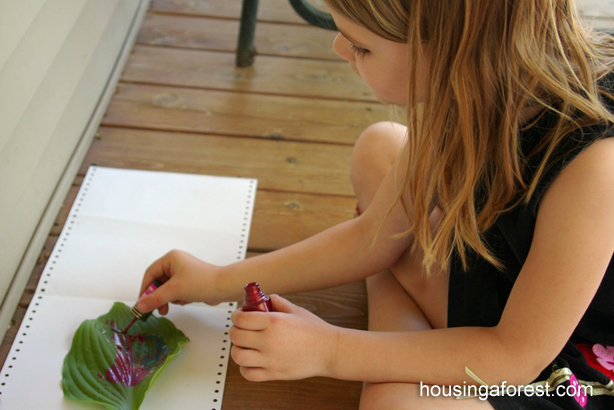
I was about to clean up the project when one of the girls asked if they could paint on a Hosta leaf instead of paper.  This brought renewed excitement.

The girls painted directly onto their leaf with the nail polish.  They soon decided that the leaves were fans.  Every pretty princess needs a sparking, colorful fan to keep them cool in the summer:)  It was fun watching the kids use everyday items in a new way.

Water Color Pencils

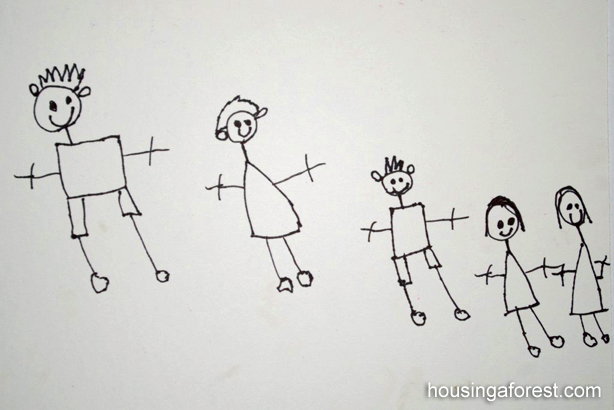
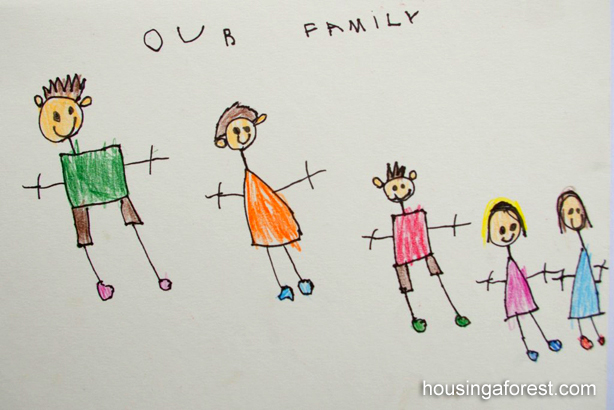
I love how kids draw people.  There is just something about them that makes me smile every time.  Annika made this beautiful drawing of our family today with a fine black sharpie.  I love everything about it.

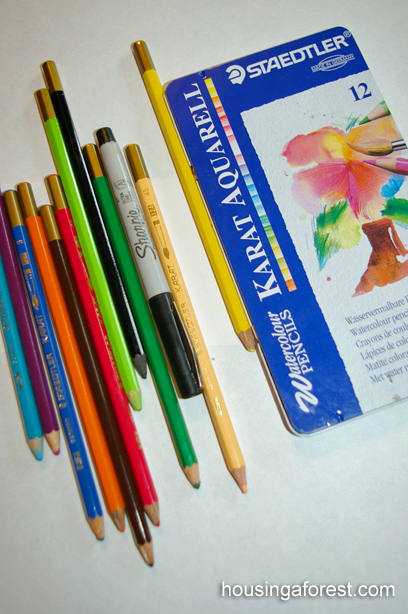
As always, she wanted to add some color.  I was hesitant to make a big mess with paint since I was cleaning up the house for a dessert party.  So we pulled out the water color pencils.  I LOVE watercolor pencils because they are easy for kids to control, no mess and they look wonderful.

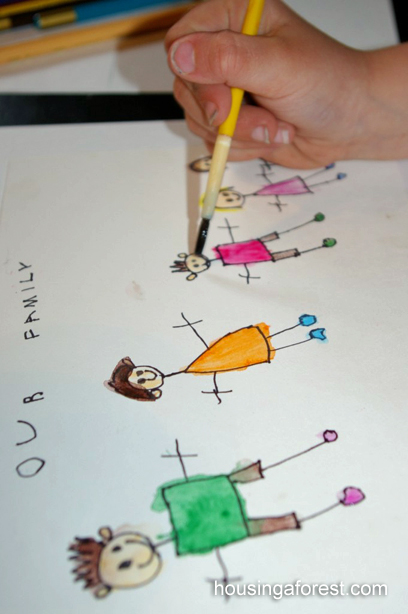
Annika colored everything with the water color pencils.  Cute!

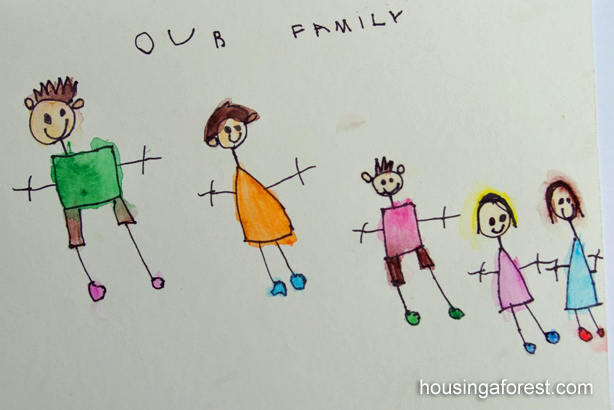
I love how the colors get brighter and you no longer see the pencil lines.  It looks just like water colors.

We also bring the watercolor pencils in the car so the kids can paint while we are driving.  Instead of a paint brush and water, we use the Blender Brushes from Stampin’ Up so there is no water to spill.  Also if your kiddos enjoy the coloring books you can buy for water painting, you can create your own with watercolor pencils.  Simply color the page with the water color pencils, and then let the kiddos “paint” it with water.

Stamping with foam

After reading That Artist Woman’s post about Stamping With Foam, we decided to give it a try.  We have stamped with foam stickers, but I love the idea of using the foam to create your own design.  She has an excellent tutorial on what she did.  We made a few changes just because of the supplies we had on hand.

To make your Foam Stamps, you will need:

  • Craft foam sheets
  • Milk jug or bottle top lids
  • Scissors
  • Pen ~ to make the impression in the foam
  • Paint
  • paper

We pushed the milk lid directly into the foam so the girls had a guide to cut out the right size of stamp.  I was surprised how easily the foam took the imprint.

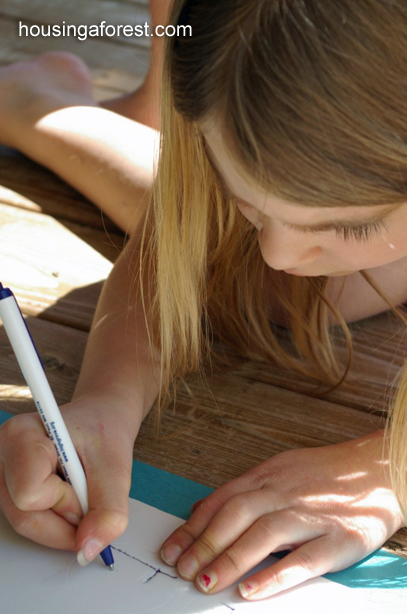
The girls loved designing their stamps.  They found it easiest to draw the design with a pen and then cut out the circle to fit on the recycled lid.    They went over the lines a few times with the pen to get a deep impression, just to be safe.

After the girls drew their design, they cut the foam to fit the back side of the milk lid and taped it on.  We put arrows on the inside of the lid to show which way was the top of their design.  If you are looking to save your stamps, you may want to use glue instead of tape.

Using our homemade stamp pad, the girls chose a few colors of acrylic paints.  We use our stamp pad quite often.  I love that you don’t have a stack of store bought stamp pads to store, plus depending on the paint you choose it is fully washable.

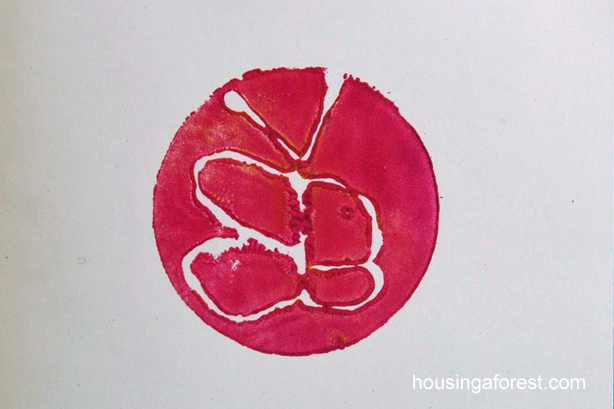
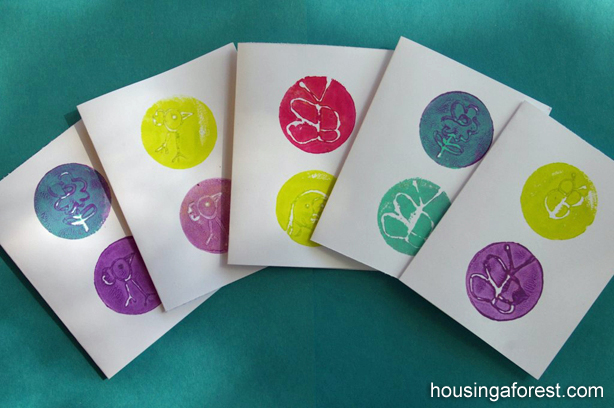
I love the negative image the stamp creates.  The cards that the girls made turned out so cute!

We love stamping, here is a few of the stamping projects that we enjoyed.  (just click on the red link)

Guest Posting at Thrifty Decorating

I was so excited when Nicole from Thrifty Decorating asked if I would be interested in guest posting at her bog.  Ummmm….YES PLEASE!  She has a wonderful blog full of inspiration.

I was giggling when she posted her last project.  I had been trying to decide how how to hang all the girls hair bows and clips.  I have an old window and some chicken wire and I was debating if I could turn it into a place to hang all the girls accessories.  Well, I am no longer debating after seeing Nicole’s daughters room.  The window is perfect.  You really need to go check it out!  This is something that I will be doing soon.


Art Birthday Party

Art Birthday Party ~ Creative Art Stations and Decorations

Annika’s Art Birthday Party was a huge success!  She has a love for all things art related, so an Art Birthday Party was the perfect choice for her and all her little friends.  They all loved creating together.
Art Birthday Party ~ creative art stations and decorations


Color Wheel Ceiling

Art Birthday Party ~ creative art stations and decorations

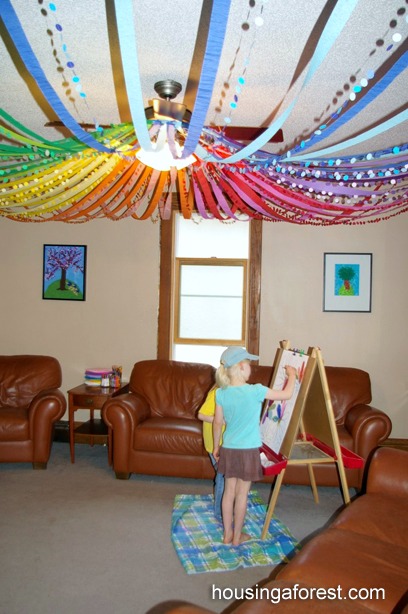
The color wheel ceiling was dramatic when you first walked in the door.  I love how it instantly brightens the space.  It created a large impact for very little money, which I love.  You can read about how we created our Color Wheel Ceiling here.  It was a bit time consuming to create, but it could easily translate into a number of different party themes.
Art Birthday Party ~ creative art stations and decorations

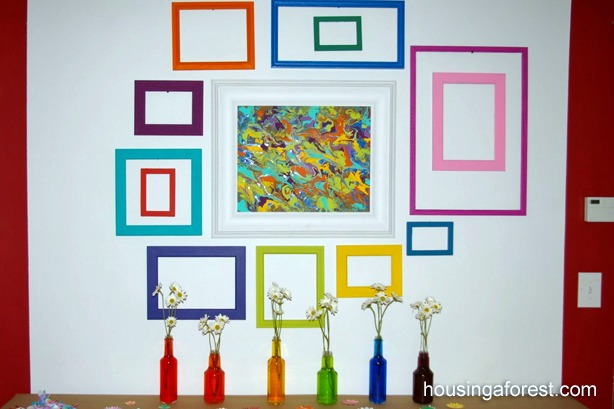
Colorful frames seemed like the perfect decoration for an art party.  Annika chose all the bright colors, I love the statement they created in our dining room.  The dinning room was painted a very dark red a number of years ago.  We will be removing the plaster walls and installing new drywall in a few weeks.  This small remodel is perfect timing for party decorating since I don’t have to be concerned about holes in the walls or if I love the new paint color.  It is all changing soon.  With that in mind, I decided to paint a white rectangle on the wall creating the perfect back drop for all the colorful frames.  (My wonderful hubby did the painting for me.  I love it that he goes along with all my crazy plans!)
Art Birthday Party ~ creative art stations and decorations

Art Party Decorations

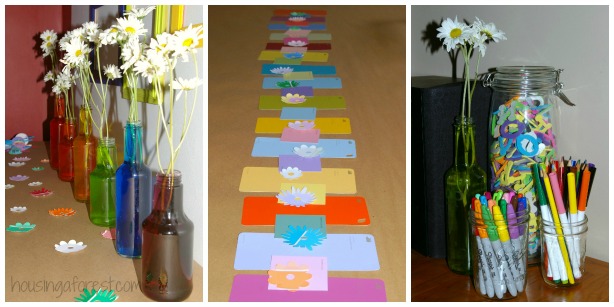
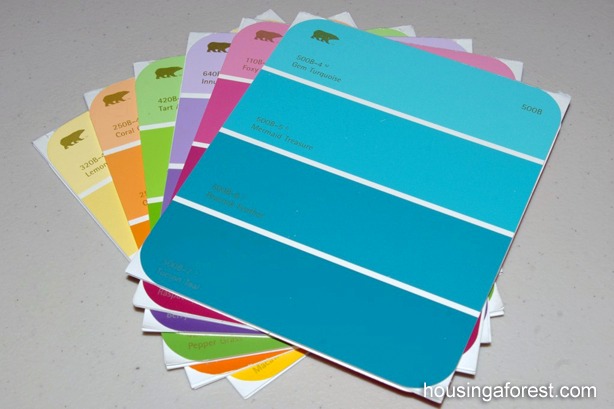
The flowers were placed in glass bottles filled with colored water.  The simple experiment of color changing flowers never ceases to amaze me:) It is so easy to do and creates the perfect backdrop for our little art party.  We also used paint chips (that we picked up at our local hardware store) to line the table.  I also cut a few of the paint chips into flowers and  scattered them around like giant confetti.  To continue with our frugal theme, we filled numerous jars with art supplies we already had on hand.
Art Birthday Party ~ creative art stations and decorations

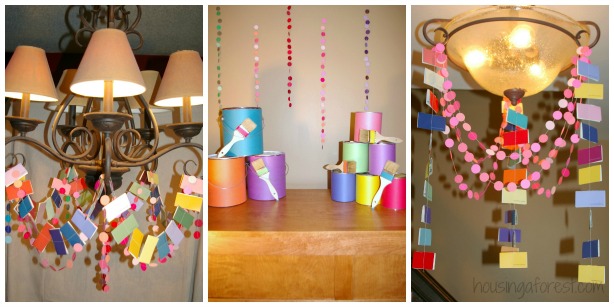
We have a budding little seamstress in our house.  Bree (who is 6) sewed all the dots and paint chips together into long strips.  They were the perfect furgal solution for draping throughout the house.  I love it!  We also covered old paint cans and chip brushes in bright paper to create a display in the entry way.
 

Art Birthday Party ~ creative art stations and decorations


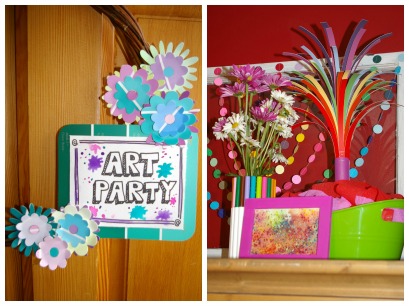
The wreath was created using more paint chips,  I love the little paint chip flowers.  No place was left untouched, I even attacked above the art armoire.  Again I used more sewn dots, a paint chip color burst and a vase covered in markers.
Art Birthday Party ~ creative art stations and decorations

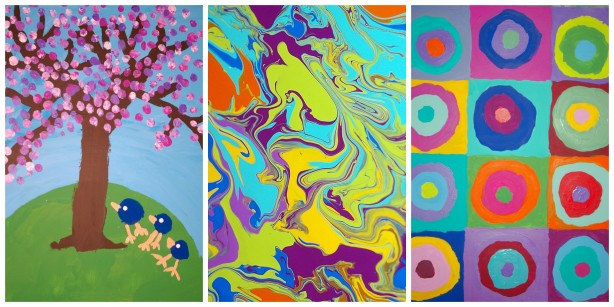
Annika had a gallery wall of a few of her master pieces.  To find out how we created the sweet spring tree and pour painting click on the links.  I also love her version of Kandinsky’s Concentric Circles.  All pieces are easy to create and what better time to show off your art work than at your own art party:)
Art Birthday Party ~ creative art stations and decorations

I wanted a special keepsake for Annika painted by all her friends, so I drew a quick sketch of flowers on mat board and divided it 12 equal sections.  The kids each painted one section of the painting.  This is a super cute idea.  One painting that all her friends helped create that can be hung in her room.  The easel was set up in the corner of the living room, it was super cute watching them paint under the color wheel ceiling.

Art Stations for an Art Birthday Party
Art Birthday Party ~ creative art stations and decorations

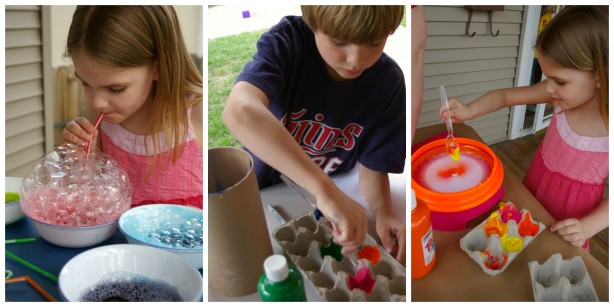
The kids loved all the few painting stations that I set up outside.  The kids loved bubble painting, marble painting and creating spin art.  I had one helper at each station which worked great.  Notice all the paint filled egg cartons, they make the perfect paint pallet.

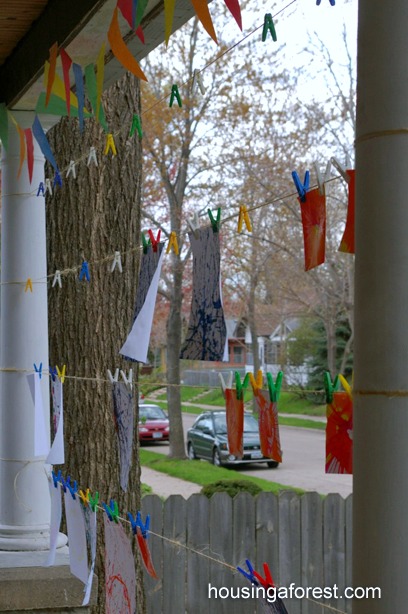
SInce we had so many little hands creating art work at the same time, I needed a simple drying rack that could house everything.  I was surprised how easy our outdoor art clothes line worked.  It made a perfect spot to dry the art work, but also added a fun pop of color.  The kids art work looked so great all strung up waving in the breeze.
Art Birthday Party ~ creative art stations and decorations

I also hung a sewn string of colorful pendants around the porch.  Who knew leftover Easter Egg Dye and a bunch of old school computer paper (the kind with the holes up the side) would create such beautiful pendants.  I love all the bright colors.
Art Birthday Party ~ creative art stations and decorations

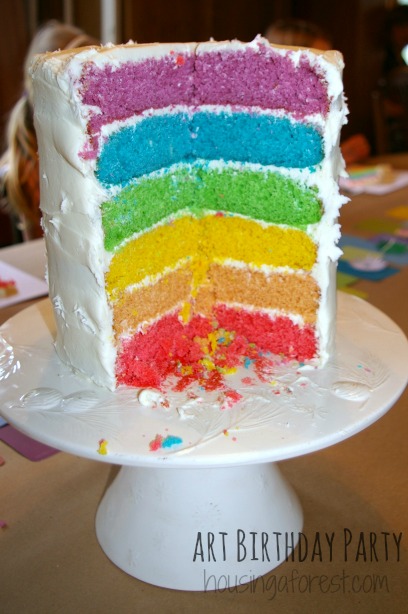
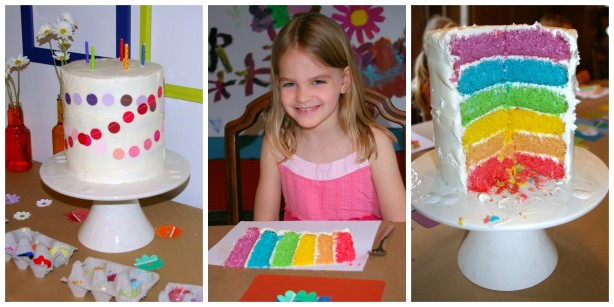
Annika wanted a colorful rainbow cake like all the ones we saw around St. Patrick’s Day.  It was really easy to create, although I will worn you, with all the layers it can get a bit tall.  As I was putting it together, I realized I should have used less batter in each layer.  I really so love the over sized statment it made, but next time I will make sure not to use 2 cups of batter for each color.  One problem that we ran into because of the size was how to serve it.  The cake was simply too big for regular plates so a friend suggested that we serve it on card stock.  I really love the idea, it is an art party after all!  I also served white grape juice with purple grape juice ice cubes.  The ice cubes melted fast, but they did create a fun color effect as they melted into the white grape juice.

Kid Painted Wall Mural
 

Art Birthday Party ~ creative art stations and decorations

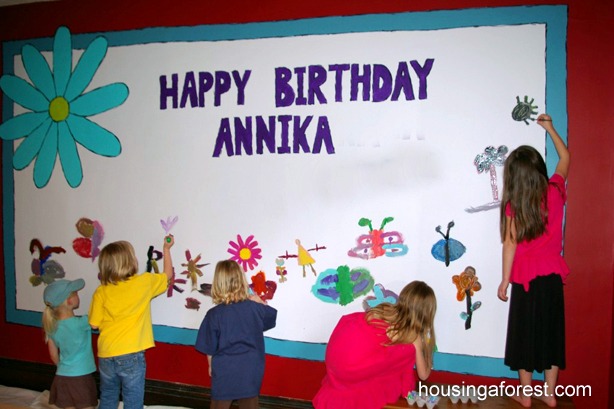
The favorite activity of the party was the master piece art wall.  Like I mentioned before, our plaster walls are being demolished soon, so it was a perfect time to create a giant canvas for the kids to paint.  It took a few coats of a stain blocking paint to cover the deep red, but it was totally worth it.  I then painted a simple frame, a large flower and Happy Birthday Annika to begin the mural.  The kids did the rest.
Art Birthday Party ~ creative art stations and decorations

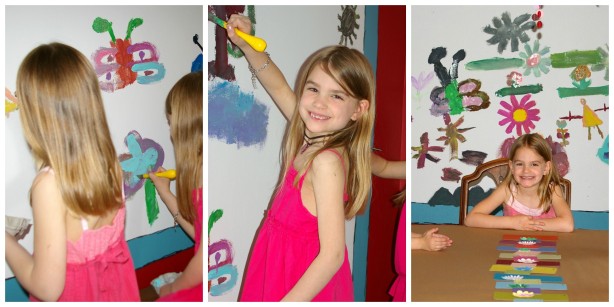
They enjoyed all the stations, but kept coming back to this one.  I think that being able to paint on a wall which is normally discouraged, and having such a large area to work on was a real draw for the kids.  They each had half of an egg carton that they used as their painting pallet.  There were numerous colors of craft acrylics that the kids could choose from.  The colors got a bit muddy since there was not real good way to have them rinse out their brushes between colors.  I LOVE the wall and I am going to have a hard time when we have to demolish all their hard work to put up the new drywall.  This would be such a fun idea for a play room, always changing art work.
Art Birthday Party ~ creative art stations and decorations

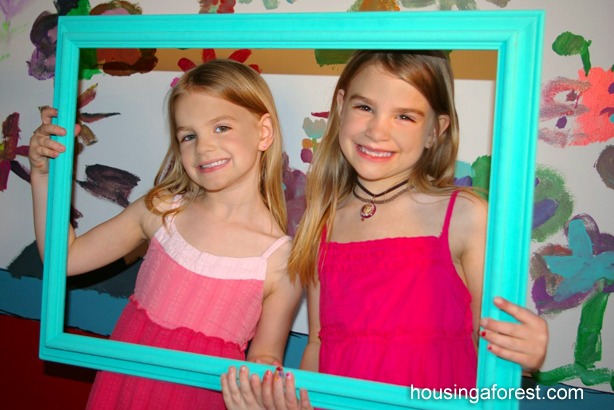
I saw the idea of using a frame to take pictures at a wedding and I loved it.  Such fun memories, and I love that you can see some of the kids hard work behind the girls.
Art Birthday Party ~ creative art stations and decorations

For party favors, the girls took home all the art work they created as well a cute little paint chip notebooks, I included a pencil and some gel pens.  The paint chip notebooks were super simple to create.  All you need is paper cut to the size of your paint chip and padding paste.  They turned out so cute!