Kool-Aid Pumpkins

Fall Play Recipe ~ Pumpkin Craft

We LOVE crafting with Kool-Aid.  Check the cool Easter Egg dye we made not too long ago.  l  Not only does Kool-Aid come in wonderfully bright colors, but it is “only pennies a glass!”  My kids favorite part is the slightly overwhelming fruity smell each packet contains.  Totally perfect for this adorable this Kool-aid pumpkin activity.
Kool-Aid Pumpkin craft ~ simple fall play recipe that smells great!

Kool-Aid Pumpkins:

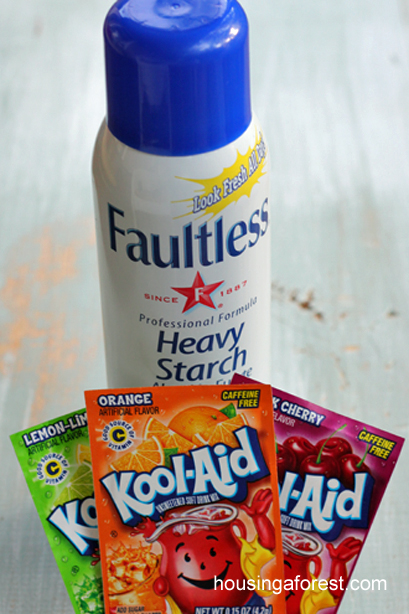
  • Unsweetened Kool-Aid – we used a mix of orange and cherry for the pumpkins and lemon-lime for the stem.  Don’t use the lemon flavor, it is too light to show any color. We have also used Jello in the past with great results.
  • Old salt shakers to make it easy for sprinkling the Kool-aid.
  • Spray Starch – found in the laundry isle.
  • Plastic report cover, or any slippery surface.
  • Heavy Card Stock.

Kool-Aid Pumpkin craft ~ simple fall play recipe that smells great!

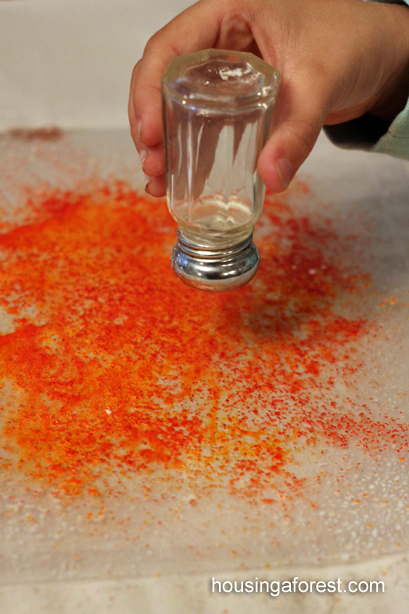
Tape the report cover down to keep it from slipping around.  Spray it generously with starch, and sprinkle with the Kool-aid.  Old salt shakers work great for helping little fingers sprinkle the Kool-aid.  This step causes the wonderful wafting smell of Kool-aid to fill the room.
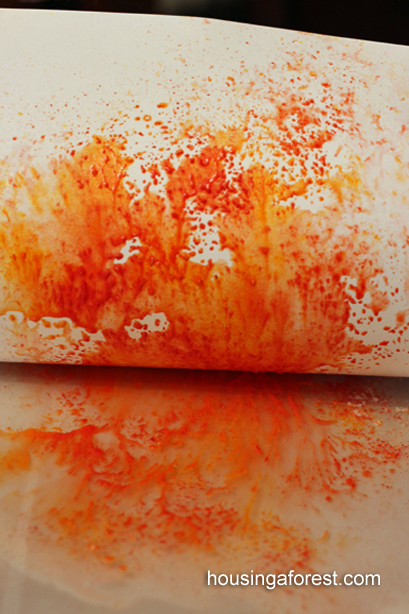
Kool-Aid Pumpkin craft ~ simple fall play recipe that smells great!

Lay your card stock on top of the starch/Kool-Aid and gently rub it to make your print.  Set the print aside and allow to dry completely before cutting into your desired shape.  We chose to make pumpkins since fall is right around the corner, but you could use this technique for just about any shape, or simply use it as a background.

There is not need to wipe the report cover between prints.  Just simply spray with more starch and sprinkle again with Kool-Aid.  The residue from the last print will only add to the new one.
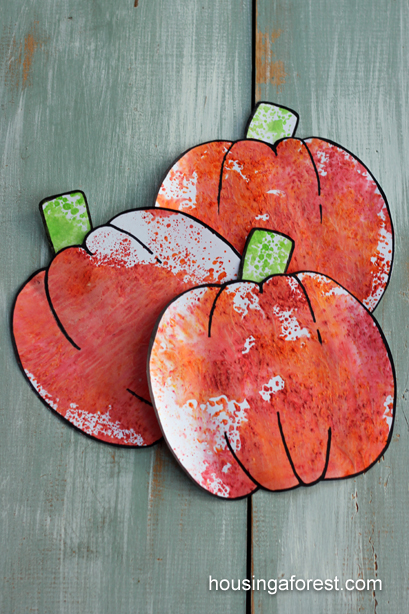
Kool-Aid Pumpkin craft ~ simple fall play recipe that smells great!

Once the prints dried I used a sharpie to create a simple pumpkin shape.  If you are not comfortable drawing your own shape simply do a search for pumpkin coloring images and use that as your template.

For more pumpkin inspiration, check out our yarn pumpkins, paper plate pumpkins and a list of 36 No Carve Pumpkin Techniques you will love!
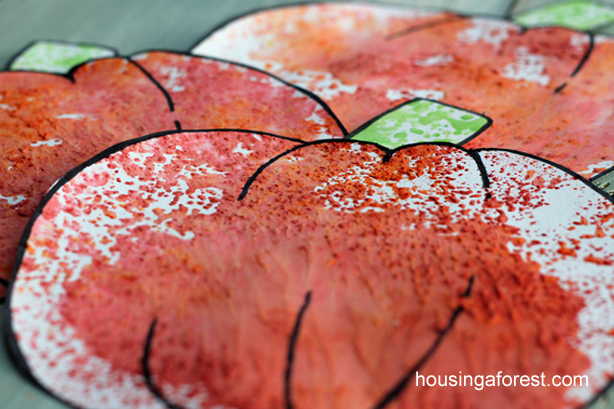
Kool-Aid Pumpkin craft ~ simple fall play recipe that smells great!

Check out the beautiful texture that the Kool-Aid created!  The irregular and unpredictable patterns are simply stunning.
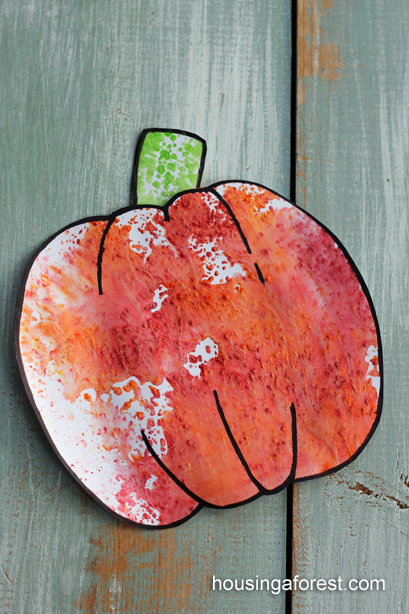
Kool-Aid Pumpkin craft ~ simple fall play recipe that smells great!

These would be so cute hung on twine as a banner.  I love how they turned out, and my kids can’t stop smelling their creations.
For more Fall Pumpkin Inspiration, check out our…

Yarn Pumpkins

36 Creative No Carve Pumpkin Ideas

Pumpkin Sensory Dough

5 Minute Paper Plate Pumpkin

Pine Cone Spider Webs

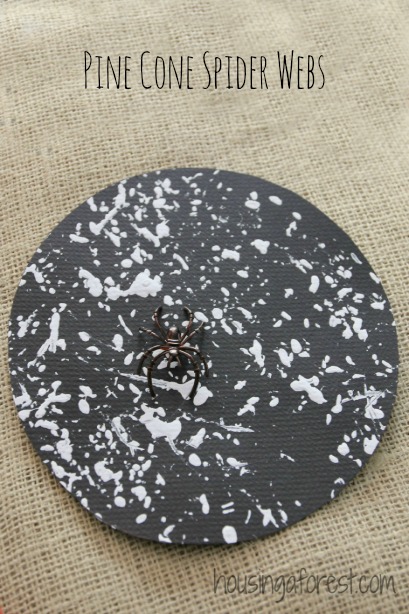
It is time for another Paint and Play Challenge alongside Growing A Jeweled Rose, Mess for Less and Blog Me Mom.   Today our challenge was to get messy and have fun Painting with Nature.  I absolutely adore Pine Cones and love that the kids collect them everywhere we go.  There is something magical about all the varieties of shapes, sizes and textures.  We created spooky Pine Cone Spider Webs that are perfect for Halloween.

Pine Cone Spider Webs ~ Simple Halloween Craft

The kids gathered a bunch of beautiful Pine Cones from our walk and we set to work painting.

Pine Cone Spider Webs ~ Simple Halloween Craft

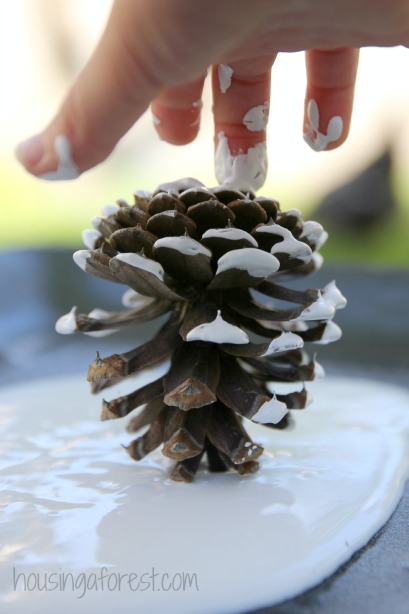
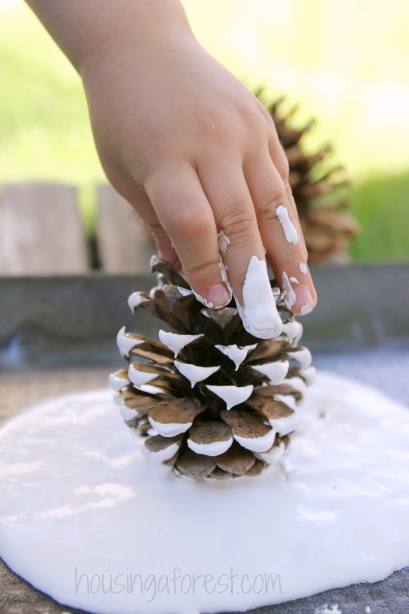
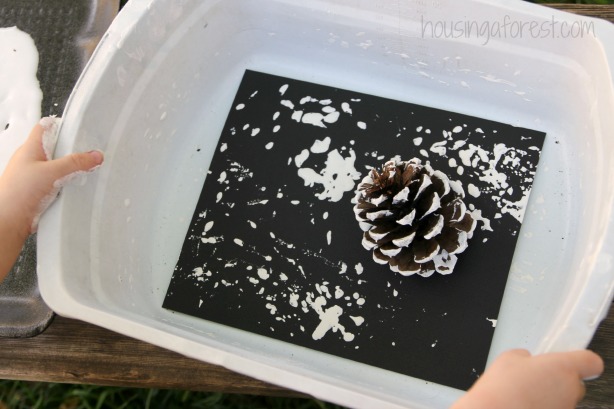
The kids rolled the Pine Cones in white paint.

Pine Cone Spider Webs ~ Simple Halloween Craft

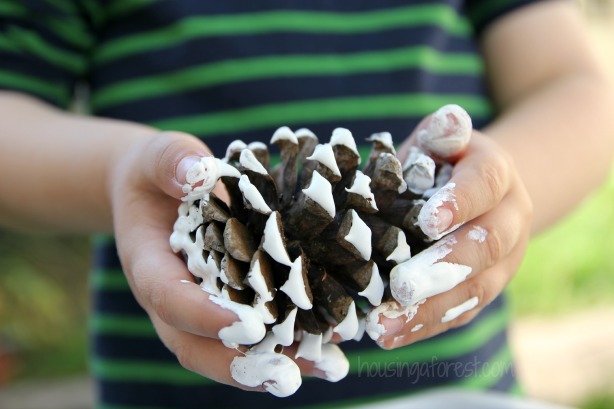
I love paint covered little fingers, can you tell:)

Pine Cone Spider Webs ~ Simple Halloween Craft

Once the kids were satisfied by the amount of paint on the pine cone, they set it on the paper.  The kids loved rolling their little pine cones in paint.  I may have to set up a little station just for pine cone rolling soon.  The kids had a blast just playing in the thick paint with the pine cones.

Pine Cone Spider Webs ~ Simple Halloween Craft

We used a lightweight tub with a piece of paper taped to the bottom.

Pine Cone Spider Webs ~ Simple Halloween Craft

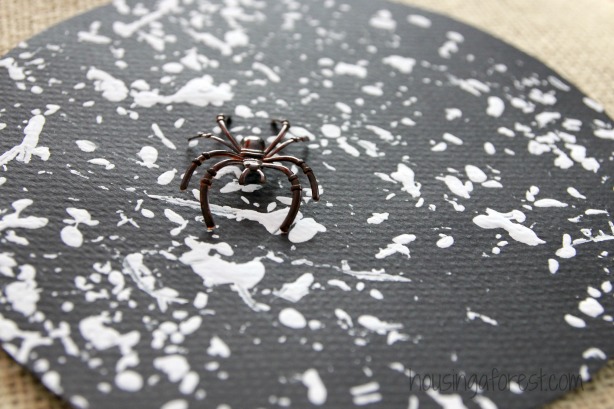
The pinecones left interesting tracks and dots all over the black paper.

Pine Cone Spider Webs ~ Simple Halloween Craft

We cut the beautiful spiderweb filled paper into a circle and added a few plastic spiders.

Pine Cone Spider Webs ~ Simple Halloween Craft

I love the texture that the pine cones gave to these little webs.  They may not have the traditional look, but I love them!


Pine Cone Spider Webs ~ Simple Halloween Craft

My kids also had a blast with these little Handprint Spiders and Spider Sensory Bin.

Pine Cone Spider Webs ~ Simple Halloween Craft

For more inspiring was to Paint and Play with Nature check out

Nature’s Ghosts and Monsters from Blog Me Mom

Fall Tree Window Painting from Mess for Less

Fall Crayon Art from Growing A Jeweled Rose

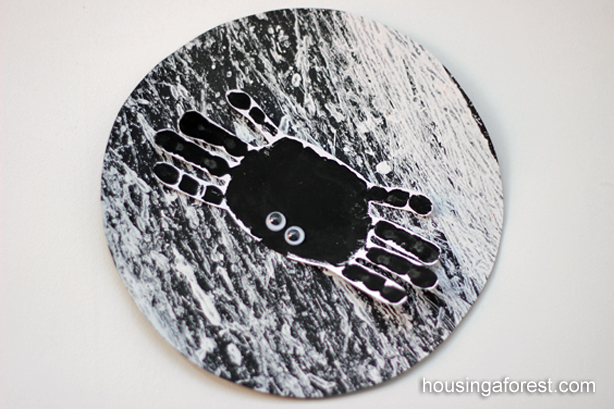
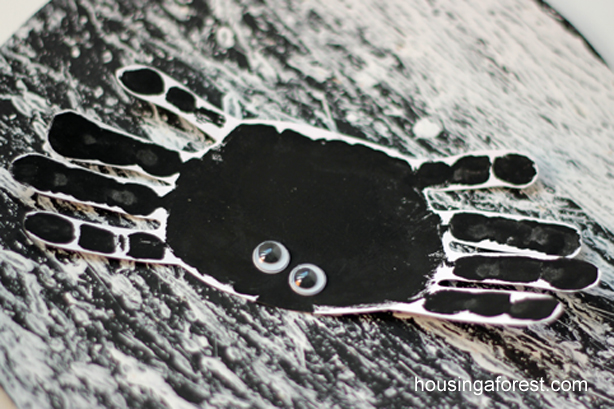
Handprint Spider

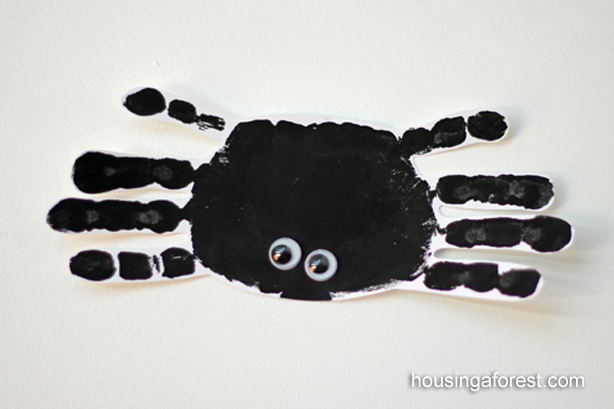
This simple Handprint Spider is a perfect decoration for Halloween and a wonderful reminder of how tiny your little ones hand are.  How cute would an entire spider family be hanging on the wall…a giant Daddy spider right on down to little baby spiders.  There is nothing better than little hand prints and this simple Halloween spider is a classic.

To create a handprint spider:

All you will need is some white paper and black tempera paint.  You can also mix a bit of liquid dish soap into your paint to make clean up a little easier.

This is the perfect craft for a Halloween play date or a Spider Party.

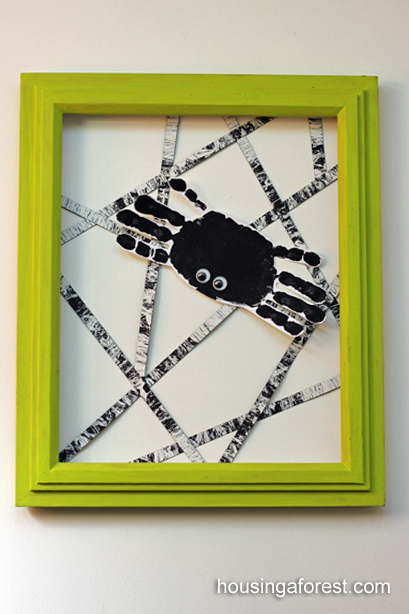
Simple Handprint Spider ~ marble painted spider web and green frame.

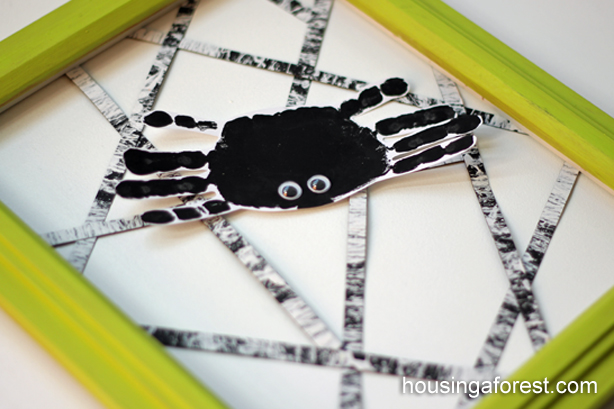
Simply paint or dip your child’s palm and four fingers with black paint. No need to paint the thumb since spiders only have 8 legs;)  Print onto the paper and repeat with the other hand, making sure to over lap their palms.  Add a couple googly eyes and your little spider is done!

Simple Handprint Spider ~ marble painted spider web and green frame.

I love the little marble web the spider is nesting upon.  Marble painting is such an easy activity for little ones.  With younger kids, I like to marble painting in an oatmeal container.  It contains the mess and I know that I am not going to have painty marbles rolling all over my house.

Mable Painted Spiderwebs:

  • Place your black paper into the oatmeal container
  • Dip marbles into white tempera paint
  • Drop the paint covered marbles into the container
  • Seal the lid on and shake.

Simple Handprint Spider ~ marble painted spider web and green frame.

It is such an easy process and it turns out great each time.  You can find other marble painting projects that we have done here and here.

Simple Handprint Spider ~ marble painted spider web and green frame.

To hand your creep spider, why not frame it with a pop of color.  I love how the green frame looks and just the hint of webbing makes a cute statement.  I cut the marble painting into thin strips and then had the kids attach it to the back of an open frame.

Simple Handprint Spider ~ marble painted spider web and green frame.

For more inspiring activities, check out our favorite Fall and Halloween activities.

Have you seen my Halloween Pinterest board?  It is PACKED full of creative ideas.

Exploding Peep Geysers

Exploding Peep Geysers ~ Candy Experiment

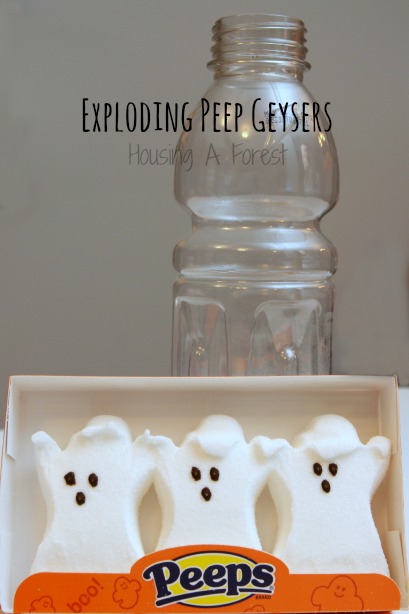
I had no idea that Peeps are now making festive Halloween Ghosts until I found myself wandering the to the candy isle at Target.  Now that is a dangerous isle!  My kids have been wanting to try this Microwaved Peep Experiment for a while, so we decided to take it to the next level.  My kids were totally memorized watching our simple Exploding Peep Geysers.  

Exploding Peep Geysers ~ Candy Experiment

Exploding Peep Geysers:

  • Empty plastic bottle ~ we used a small Gatorade bottle
  • 3 Peeps
  • A Microwave

Exploding Peep Geysers ~ Candy Experiment

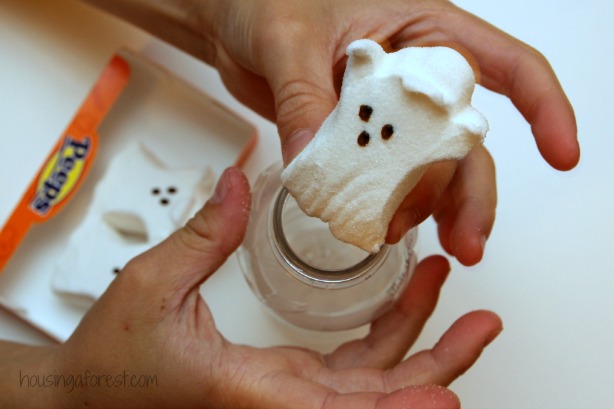
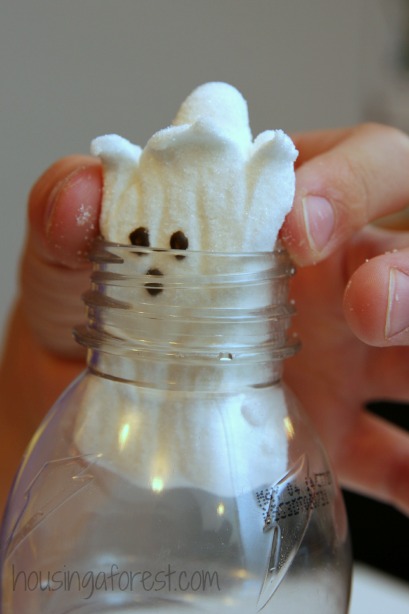
 Squish your little peeps into the bottle.

Exploding Peep Geysers ~ Candy Experiment


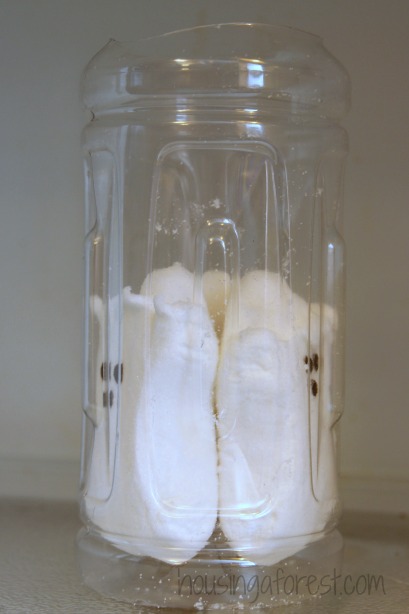
Once the peeps were all snug in their new home, we realized that our bottle almost touched the top of the microwave.  It would have been easier to do this step first, but oh well.  Cut a few inches off the top of the bottle.  You will see why this is a good idea as you scroll down.

Exploding Peep Geysers ~ Candy Experiment


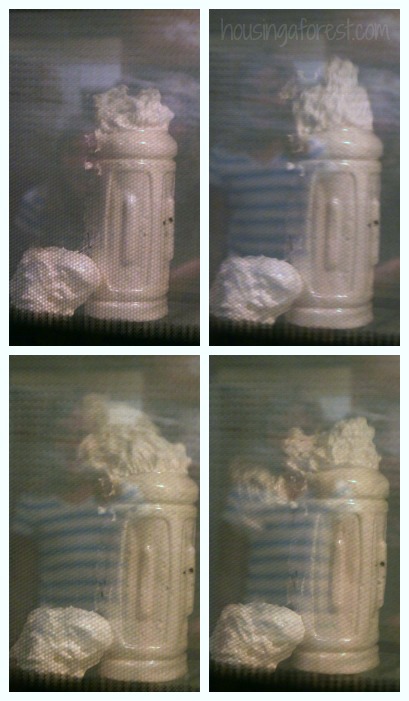
I asked the kids what they thought was going to happen when we microwaved our little ghosts.  They predicted that the Peeps would expand to the top of the container.  Surprisingly, our little Peeps did more than just expand.  Who knew they would explode right out of the bottle. 

Exploding Peep Geysers ~ Candy Experiment


Place your peep filled bottle in the middle of the microwave.  It will only take about 30 seconds before the explosion is over so be ready.  The peeps actually fly out of the bottle. How cool is that!  The kids loved it, although were bummed by how quickly the whole experiment was over.

Exploding Peep Geysers ~ Candy Experiment


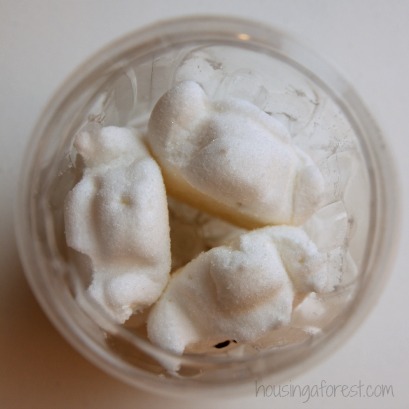
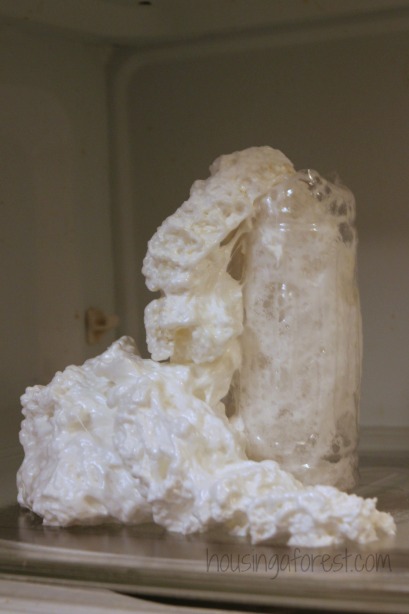
This was a shot immediately after the microwave door was opened.  The puffy, gooey mess deflated quickly as it cooled.

Exploding Peep Geysers ~ Candy Experiment

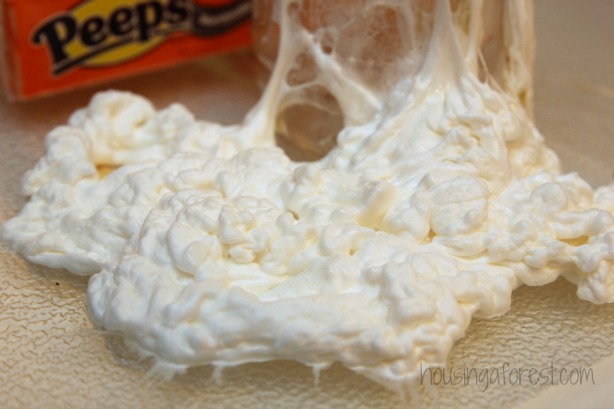
Just like regular Marshmallows, this sticky pile became hard as it cooled.  Surprisingly it was not all that hard to clean up.  Thank goodness for dishwashers.

Exploding Peep Geysers

If you kids love this experiment, then they will also love to try this simple Exploding Ivory Soap experiment.  It is one of my kids favorites.  The best part is, you can make Fluffy bath tub paints once you are done.  2 projects for the price of one!

………………………………………………………………………………………………….

Make sure to click on the links below for more exciting ways to Experiment with Candy:

Balancing with M&M’s from Inspiration Laboratories

Candy Corn Catapults from Frugal Fun4 Boys

Balloon Experiments with Candy from Learn Play Imagine

Candy Chromatography from Mama Miss

Dissolving Gobstoppers from Mama Papa Bubba

For more fun inspiration follow my Kids Science board on Pinterest.

Starburst Candy Sculptures

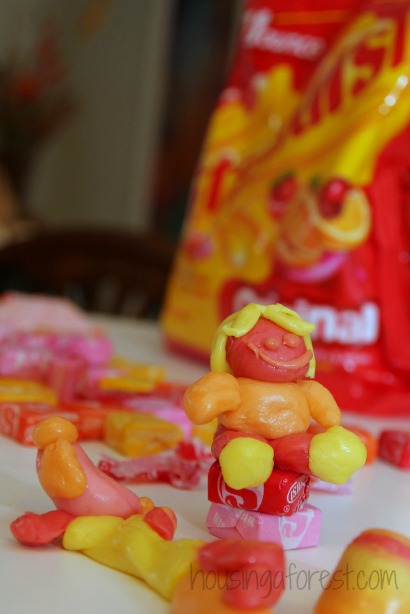
Edible Sculptures ~ Create Art with Starburst Candy

We are back with Day 4 of our Candy Series. We have had a blast Painting with Licorice; playing scientist while we mixed up a batch of candy potions and getting creative with magnets and Pixi Stix. Today we are sharing a super simple and edible way to create Starburst Candy Sculptures.

Edible Sculptures ~ Create Art with Starburst Candy

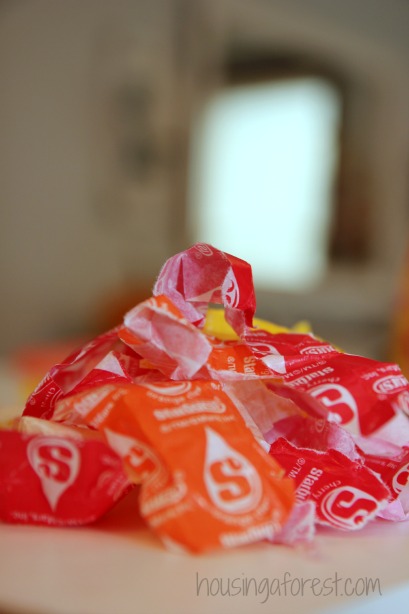
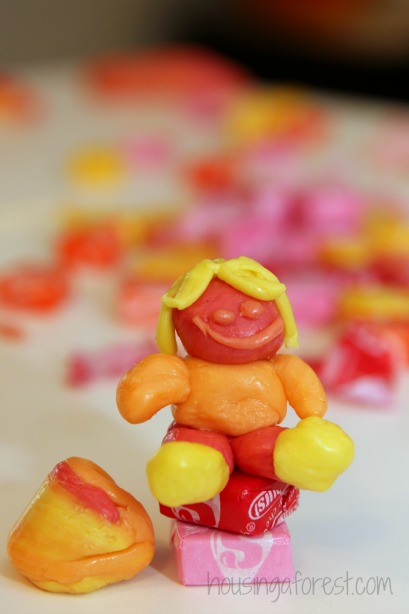
This might be the easiest play recipe that we have made so far. Are you ready for it…open a bag of Starbursts, unwrap the candy, don’t eat and start sculpting. That’s it:)

Edible Sculptures ~ Create Art with Starburst Candy

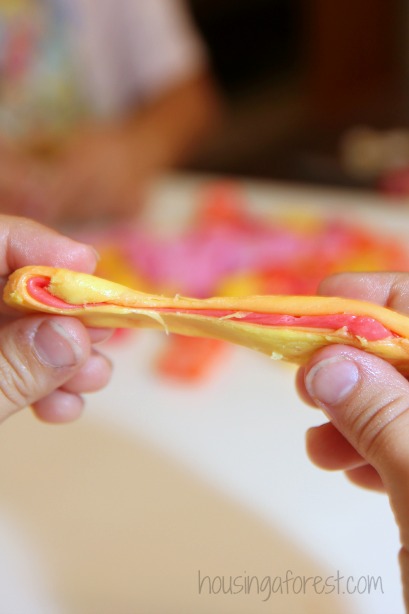
The Starbursts are firm at first, but become pliable as you work with them. You might be surprised to find out how easy Starbursts can be to sculpt with. If you are creating with little ones, you may want to make the “dough” workable for them. Edible Sculptures ~ Create Art with Starburst Candy

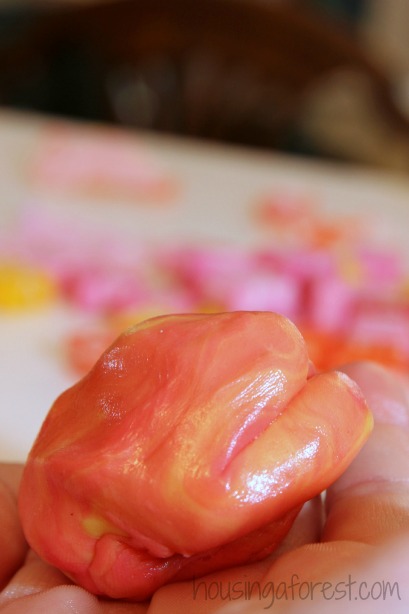
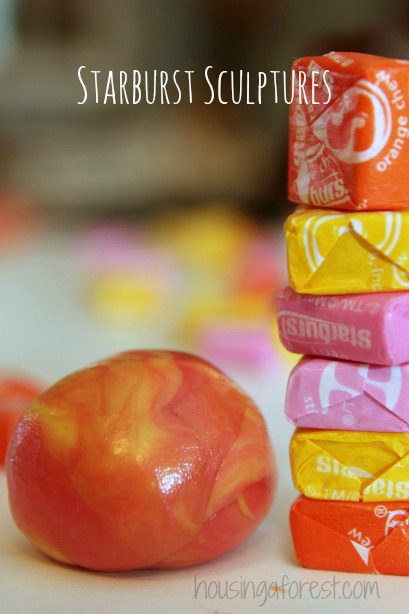
Combining 2 or more colors is super simple. All you need to do is gently fold and stretch the Starbursts squares together. The kids loved watching the colors mix together and slowly create new colors. They were also surprised to discover the dough became shinny the longer it was played with. They actually started gently rubbing the dough like they were shinning shoes. Love it.

Edible Sculptures ~ Create Art with Starburst Candy

I love the marbled effect that the colors create as they blend together.

Edible Sculptures ~ Create Art with Starburst Candy

Campfire Glow by Annika

Edible Sculptures ~ Create Art with Starburst Candy

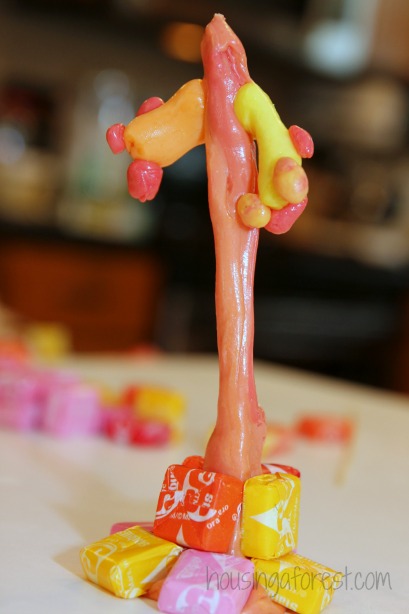
Lone Fall Tree by Bree

Edible Sculptures ~ Create Art with Starburst Candy

Marble Cube by Kaleb

Edible Sculptures ~ Create Art with Starburst Candy

………………………………………………………………………………………………….

Make sure to click on the links below for more inspiring ways to create Art with Candy:

Candy Jewlery from Mama Papa Bubba

Candy Pumpkin from Blog Me Mom

Erupting Art for Kids from Learn Play Imagine

Starburst Candy Mosaic from Mama Miss

Candy Headbands from Meri Cherry

Tomorrow we will each be exploring Exciting Science Activities.

For more fun inspiration follow myPainting without Brushes board on Pinterest.