Symmetry Heart Valentines

Simple Valentines Day Art Project

I love this quick and simple art project.  Symmetry art is a classic toddler activity, that combines art with a little math.  Love that!  Thanks for posting your inspiring Valentine Love Hearts, Nurture Store!  The kids can’t wait to make these simple Symmetry Heart Valentines again.
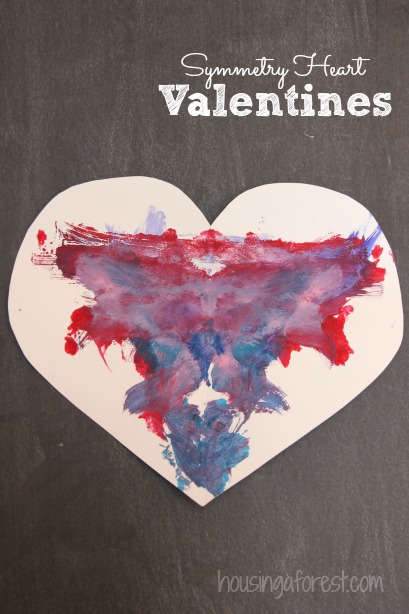
Valentine Symmetry Heart ~ Simple art project for kids

 Let’s learn about Symmetry

The kids really didn’t have the patience for a full geometry lesson (and honestly I’m no math expert)!  However, your never to young to enjoy the beauty of symmetry.  We briefly talked about butterflies wings and how both sides match.  If Symmetry is your thing (or you have an older kiddo), you might enjoy our mirror symmetry lesson.
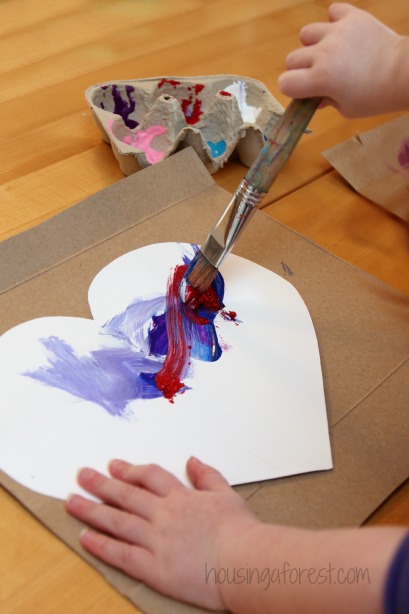
Valentine Symmetry Heart ~ Simple art project for kids

 I filled the kids paint pallets with shades of red, pink, blue and purple.
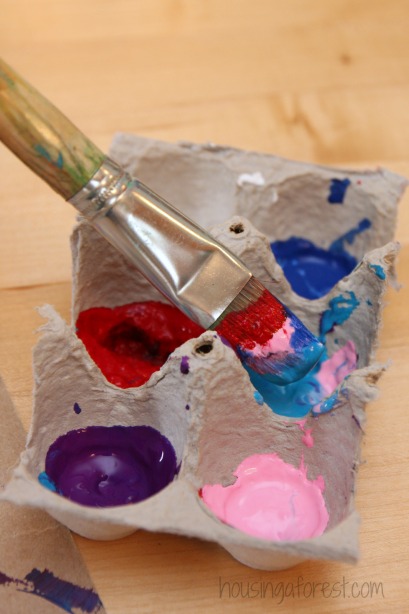
Valentine Symmetry Heart ~ Egg Carton Paint Pallet

 I have shared before that egg cartons make the perfect paint pallet.  They are free, and can be divided into any size you need.  Plus the clean-up is so simple!  Valentine Symmetry Heart ~ Simple art project for kidsI encouraged the kids to load their bushes with lots of paint.  This made the next step easier.

Valentine Symmetry Heart ~ Simple art project for kids

Once the kids were happy with their project, they folded their painted heart over…pressing the 2 sides together.  A few of the kids were hesitant to “wreck” their master piece.  However, once they saw how their friends turned out, they were excited to give it a try.
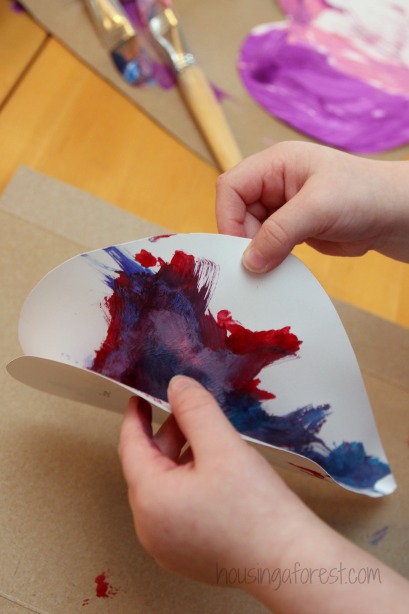
Valentine Symmetry Heart ~ Simple art project for kids

Symmetry Heart Valentines ~ simple kids art

There were tons of giggles and squeals as the hearts were opened up.  They loved the transformation that their painting took.  The colors mingled and mixed in a beautiful way.

Valentine Symmetry Heart ~ Simple art project for kids

 Have you tried symmetry art or smoosh painting (as it is sometimes called)?
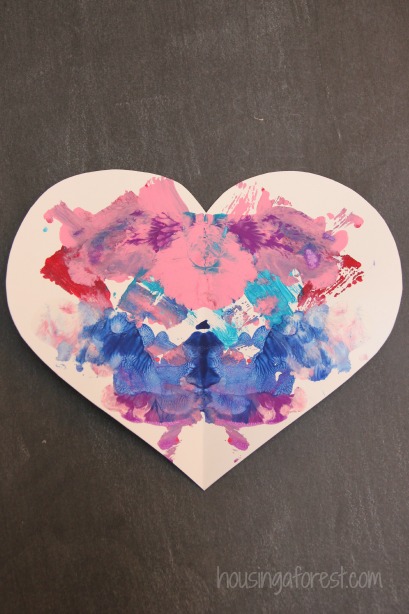
Valentine Symmetry Heart ~ Simple art project for kids


Looking for more Heart Crafts?  Check out our:

Paper Strip Valentines

7 simple Heart Animals

15 Origami Hearts

Glitter Tissue Paper Hearts

10 Heart Stamp Activities

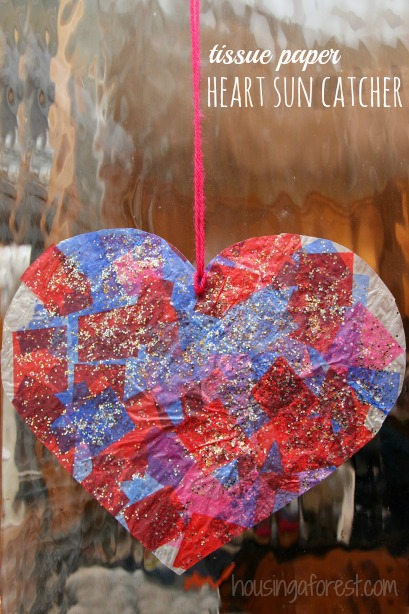
Tissue Paper Heart Sun Catcher

Heart Sun Catcher ~ Preschool Valentines Crafts

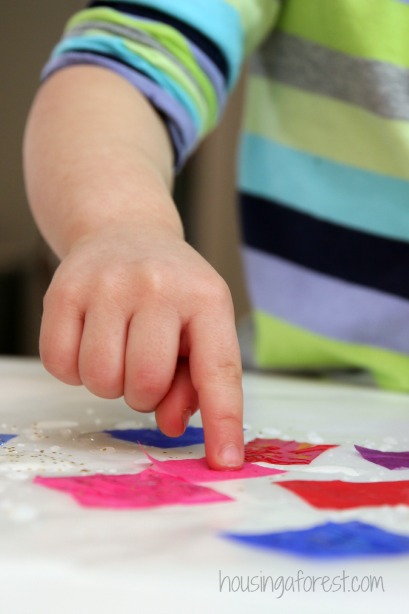
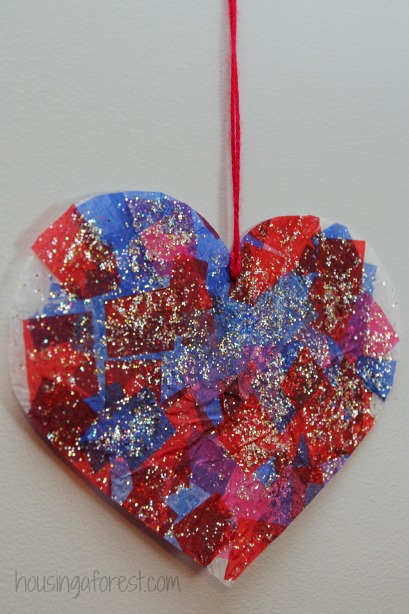
We love making simple preschool Valentines crafts. Brighten your windows with this Glittery Valentines Day craft.  You might be surprised to learn what we used to create them.  I had the tissue paper ready to go before I realized I was out of contact paper.  So whats a girl to do…improvise.  I love the results and the kids totally enjoyed the process.  Read on to find out what we used to make these simple Heart Sun Catchers!

Tissue Paper Heart Sun Catcher ~ Preschool Valentines Crafts

Toddler Window Decoration ~ perfect for Valentines Day

  • Liquid Starch ~ You could also use craft glue
  • Glitter
  • Tissue Paper
  • Wax Paper

Tissue Paper Heart Sun Catcher ~ Preschool Valentines Crafts

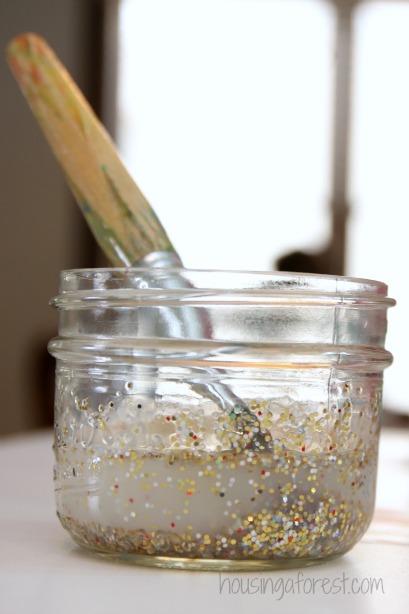
 2 ingredient Glitter “Glue”

To make our simple glitter “glue,” pour Liquid Starch into a container and stir in Glitter.  Quick and simple!  One of our easiest recipes so far.  The glitter will settle to the bottom over time, but just give it a stir and your good to go.

Regular glue would work instead of Liquid Starch, however the starch is slippery where glue is sticky.  These properties make the starch easier to paint onto the wax paper.

Tissue Paper Heart Sun Catcher ~ Preschool Valentines Crafts

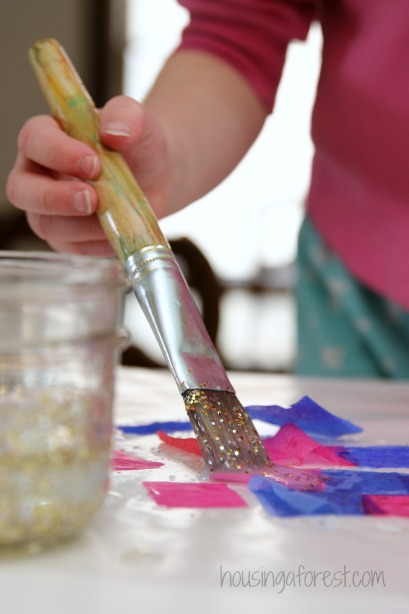
The kids painted the glittery starch glue straight on the to the wax paper.  The kids loved the feel of how the paint brush slid across the wax paper.  It was funny listening to the kids giggle about how the glue “felt” as they painted.

Tissue Paper Heart Sun Catcher ~ Preschool Valentines Crafts

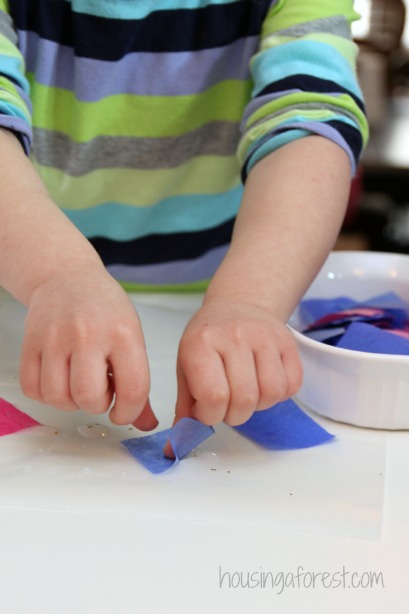
Once the kids are satisfied with the position of their tissue paper squares, we set the project aside to dry.  The wax paper was quite wet, so we left it to dry overnight.  Once the project was dry, I helped the kids cut it into a heart shape.  The kids loved how their glittery hearts sparkled in the sun.

Tissue Paper Heart Sun Catcher ~ Preschool Valentines Crafts

I love projects that force me think outside the box.  Contact paper would have worked great.  However, running out caused me to get creative.  Honestly, I’m so glad I did.  The process of painting glittery liquid starch was so fun and something we will be trying again soon.  If you are just joining us, make sure to check out our favorite glitter projects.

Tissue Paper Heart Sun Catcher ~ Preschool Valentines Crafts

Looking for more Sun Catcher Crafts?  Check out our

Painting on Wet Glue

Nature Sun Catcher

Melted Crayon Cross

Borax Crystals

Yarn Pumpkins

Glitter Shamrocks

Stained Glass Nativity

Paper Strip Hearts

Simple Valentines Toddler Craft

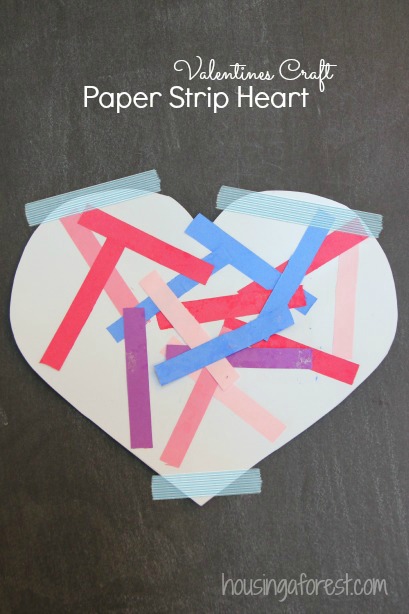
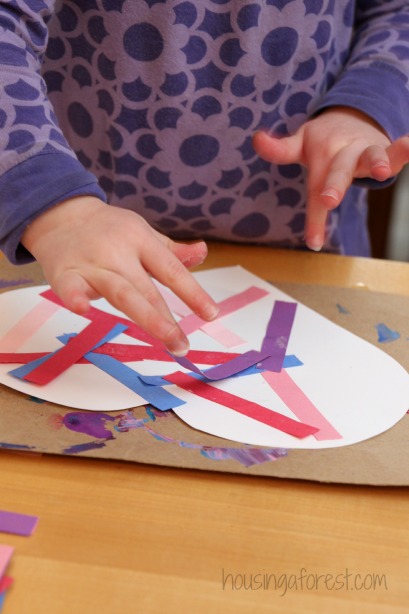
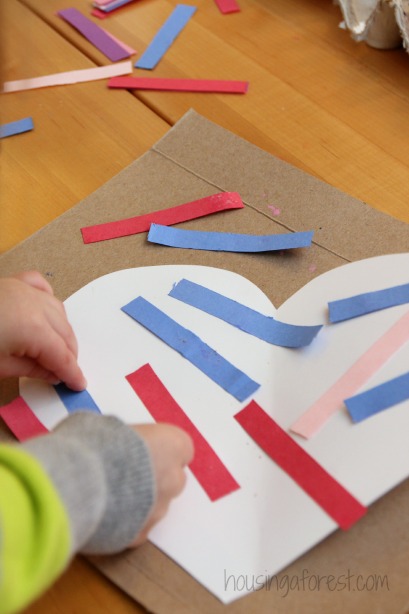
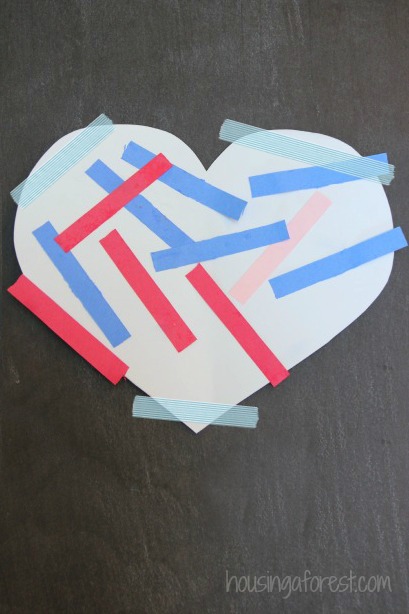
Are you looking for a simple Valentines Day craft to create with your little one?  Our simple Paper Strip Hearts are quick to create making them perfect for Toddlers.  They loved using our Glue Sponges, making this project basically mess free as well.  No sticky glue puddles or drippy projects.  Love that!

Paper Strip Heart ~ simple Valentines Craft for Toddlers

Paper Strip Hearts ~ Valentines Craft

  • Paper cut into a heart shape
  • Strips of colored paper
  • Glue sponge ~ you can find our tutorial on how to make your own here

Paper Strip Heart ~ simple Valentines Craft for Toddlers

Our little Glue Sponges are perfect for this project.  No more sticky messy glue puddles or excessive use of glue.  No more fighting caps on glue sticks and having them dry out.  They are so easy to make that I can’t believe I didn’t so it sooner.

Paper Strip Heart ~ simple Valentines Craft for Toddlers

I cut the paper strips ahead of time.  However, this would be a great project to work on scissor skills.

Paper Strip Heart ~ simple Valentines Craft for Toddlers

I love how these little hearts turned out.

Paper Strip Heart ~ simple Valentines Craft for Toddlers

Looking for more Valentines Day Crafts?  Check out our:

7 simple Heart Animals

Glitter Marble Painting

15 Origami Hearts

DIY Valentines Day Stamp

Glitter Tissue Paper Hearts

10 Heart Stamp Activities

Sewn Valentines

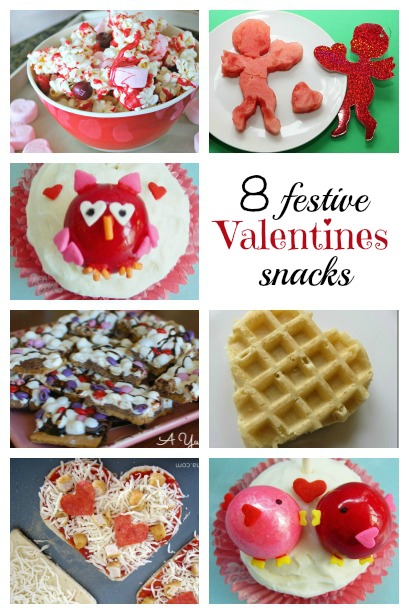
8 Festive Valentines Day Snacks

Valentines Day Snacks your kids will love

Valentines Day is only a few short weeks away.  In preparation of the upcoming parties, school lunches and festive play dates, I am doing a round-up of simple Valentines Day Snacks linked up to last weeks Kids Co-op.  There are so many fun and festive ideas that we can’t wait to try.  The kids are drooling over the Valentines Day Popcorn, and the Valentines Smore’s Bark perfect for making Valentines Day special.

Festive Valentines Day Snacks fro kids

Easy Valentines Day Treats for kids

If you were featured this week feel free to grab Housing A Forest’s Blog Button.

{If you are checking us out for the first time, we would love for you to follow along on Facebook or check out our Pinterest account.  We love sharing new ideas to play and learn with your kids. }

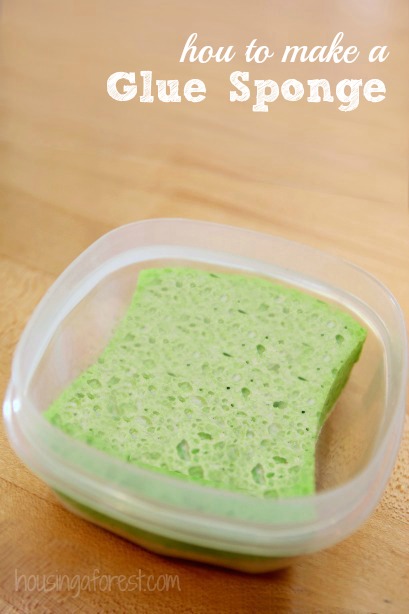
How to Make a Glue Sponge

How to make a glue sponge ~ no more messy glue bottles

Have you seen all the glue sponges floating around on Pinterest recently?  I have been meaning to make one for a while and I finally got around to it.  I have to say, I wish I would have done it sooner.  It is so easy to make, super cheap and eliminates excess use of glue.  Totally a win in my book.  Read on for our full tutorial on how to make a glue sponge.  There are tips and tricks at the end of the post for reusing your glue sponge for years to come!

How to make a glue sponge ~ no more messy glue bottles

Glue-soaked Sponges are Perfect for Classrooms

These little glue sponges are super cheap to make and surprisingly last a long time.  I picked up a pack of 2 sponges at the Dollar Store along with the plastic container.  I used approximately a 4oz bottle of glue for each sponge.  Total project cost ~ under $4.

No more sticky messy glue puddles or excessive use of glue.  No more fighting caps on glue sticks and having them dry out.

Glue sponges are perfect for preschools, art teachers, summer camps, art camps, day cares etc.  Really anywhere where you are using lots of glue.  Imagine how easy the next paper mosaic or cut and paste project will be.

How to make a glue sponge ~ no more messy glue bottles

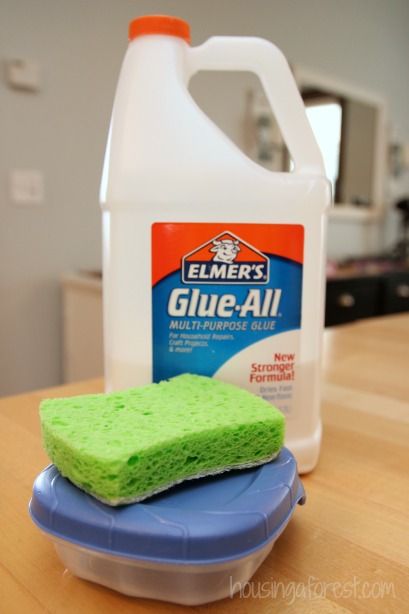
To make your own glue sponge, you will need:

  • A shallow, tight sealing container ~ I found ours at the dollar store.  Make sure that it is about the size of your sponge and not too deep.
  • Regular household cleaning sponge
  • Elmer’s glue ~ really any white school glue will work, I just love Elmer’s
  • a few drops of Tea Tree Oil ~ optional, but will help keep bacterial from growing on your sponge.

How to make a glue sponge ~ no more messy glue bottles

Ready for the easiest tutorial ever?

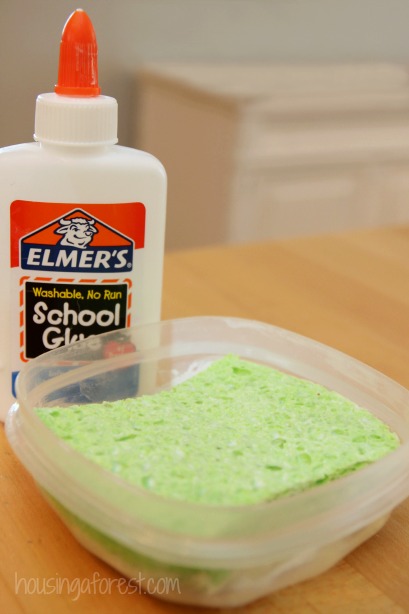
  • Pour enough glue into the bottom of your container to cover the bottom.
  • Dampen your sponge and place it in the gluey container.
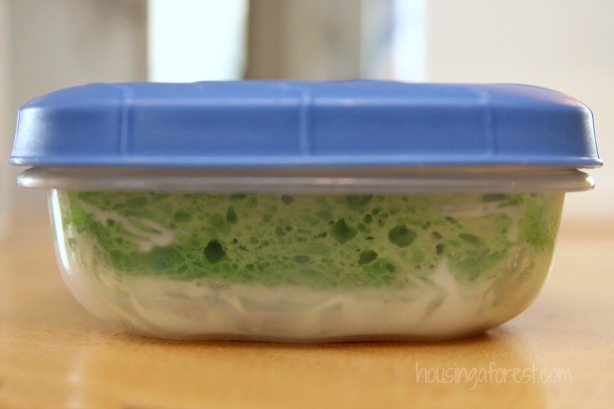
  • Pour more glue on top of the sponge.  You will end up using about a 4oz bottle of glue to achieve a fully saturated sponge.
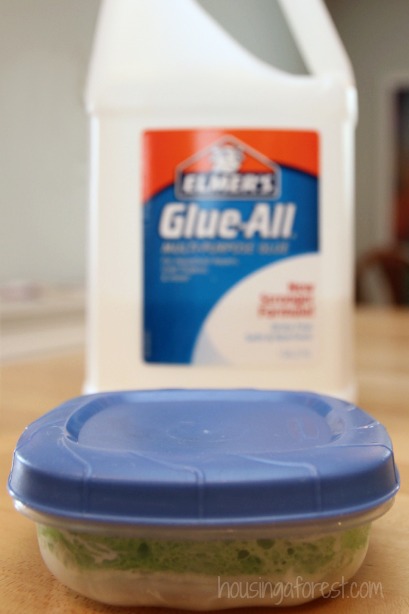
  • Place the lid on the container and set aside overnight.

You can use the glue sponge right away, however it will work the best once the glue has fully penetrated the whole sponge.

How to make a glue sponge ~ no more messy glue bottles

Glue sponge tips and tricks:

  • Keep your sponge is well saturated with glue.  This will help keep shapes from being crumpled when being pressed into the sponge.  Kids won’t have to press their paper so hard into the sponge if it is well saturated.  A gentle tap should be all you need.
  • A few drops of Tea Tree Oil will help mold, funky smells or bacteria.  Not everyone uses Tea Tree Oil and have reported no problems.  You can use your best judgment.
  • If you use a deeper container, you can stack 2 sponges on top of each other.  Although this will result in almost double the amount of glue needed to fully saturate the sponges.  I recommend a container as close to the size of the sponge that your are using.
  • Spray the sponge with a little water after each use.  This will help it to stay moist and not dry out.
  • If you notice that the sponge is not super gluey, just flip the sponge over.
  • Add glue as needed to the top of your sponge and let sit overnight.
  • Check out this informative video from the Kindergarten Smorgasbord.

How to make a glue sponge ~ no more messy glue bottles

Looking for more inspiring ideas to do with glue?  Check out our

Painting on Wet glue

Mixing Glue and Yarn

Marble Painting with Glue

Raised Salt Painting