Colored Pine Cones

Simple Nature Art ~ Pine Cone Painting

 This fall we created simple Pine Cone Spider Webs that were a huge hit.  The simple white tipped pine cones looked great as a simple center piece.  However, we decided to spice things up a bit and add a little color.  We could have gone the traditional route of painting, but we decided to try something new.  The kids loved the process of creating these simple colored pine cones.
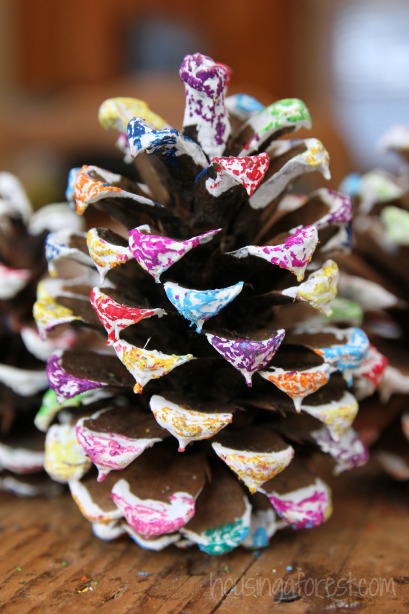
Nature Art ~ Oil Pastel Pine Cones

Colored Pine Cone Art

We turned to one of our favorite art materials…Oil Pastels.
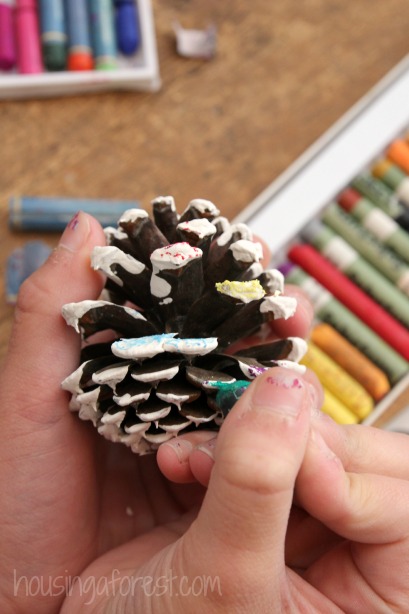
Nature Art ~ Oil Pastel Pine Cones

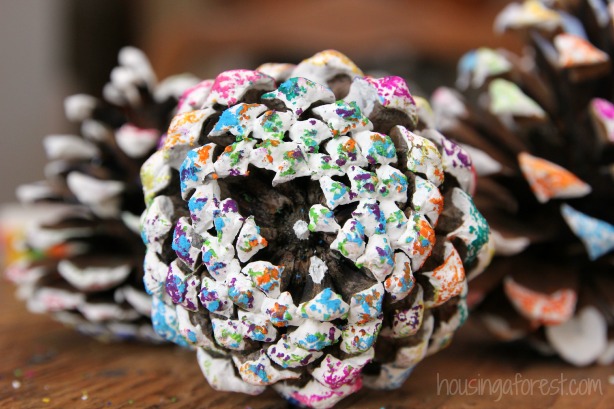
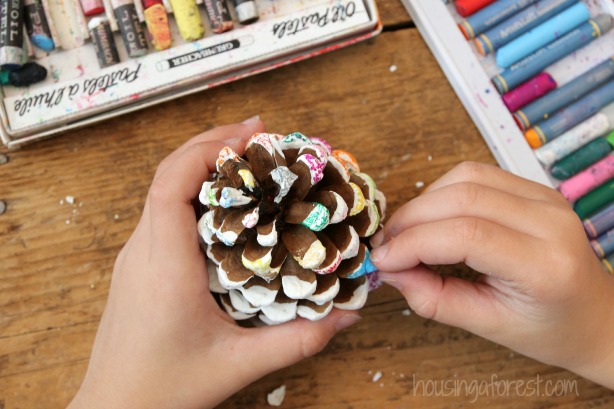
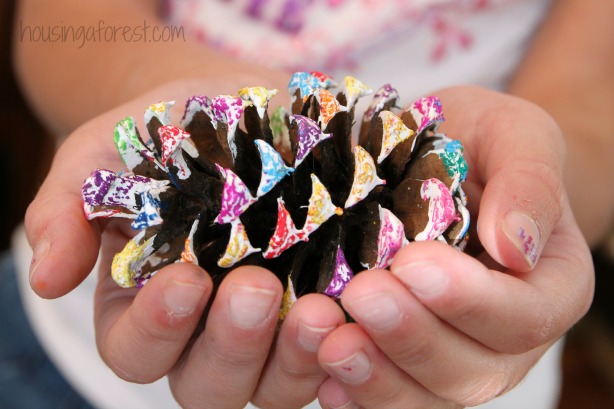
Our pine cones were already tipped in white (learn how we did it here). So adding color was simple.  Grab your favorite oil pastel color and begin coloring.  Yep that’s it.
Nature Art ~ Oil Pastel Pine Cones

The kids loved the process.  It was something we could do together as we giggled around the table.  We had a wide age range of kiddos creating and they all enjoyed it.  It was easy enough for little fingers, yet my 7 through 10 year olds loved it too.
Nature Art ~ Oil Pastel Pine Cones

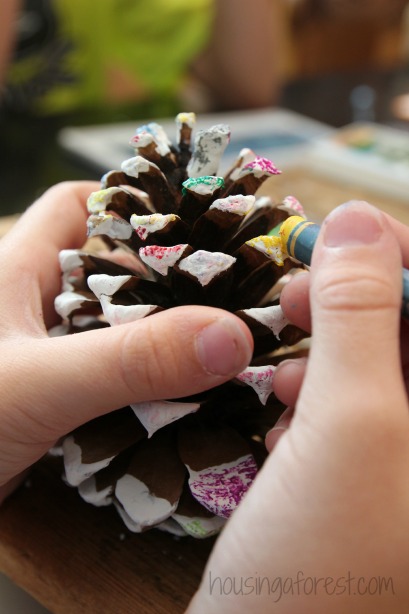
 I love the contrast of the bright pastels against the pine cone.

Nature Art ~ Oil Pastel Pine Cones

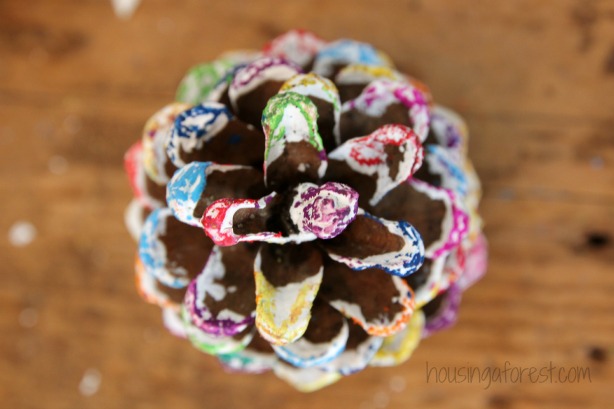
The base of the pine cone was a particularly interesting area to color.  I think because the kids could turn the pastels on their side and color a large area at one time.
Nature Art ~ Oil Pastel Pine Cones

 Simply beautiful.

Nature Art ~ Oil Pastel Pine Cones

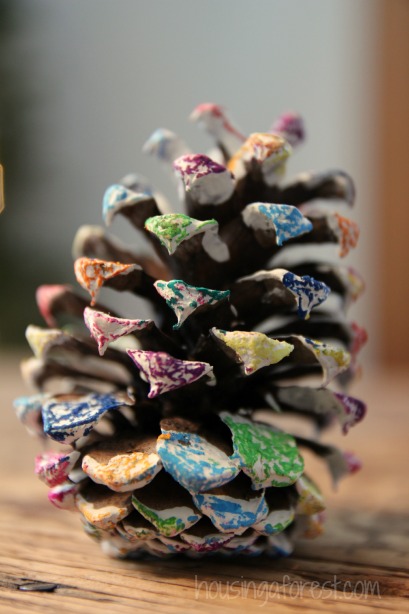
I love all the colors as they mingle together.
Nature Art ~ Oil Pastel Pine Cones

I love pine cones, but these colored beauties are a work of art.  The kids are so proud of their master piece.

We love creating art with nature.  You can learn how to paint with rain, create beautiful nature waving looms, or try your hand at making simple nature prints.  Quick easy project straight from the great outdoors.
Nature Art ~ Oil Pastel Pine Cones

How would you display this simple work of art?  Currently they are residing in a bowl on my counter.
15 Origami Hearts

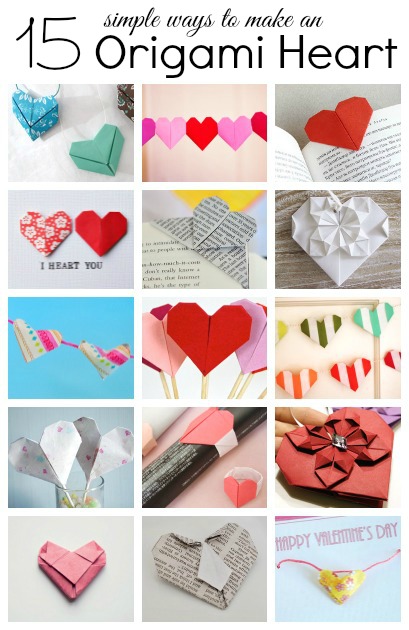
15 simple ways to create Origami Hearts

Valentines Day is right around the corner, and the kids have been working on making a few simple decorations.  They have made a few of the classic heart crafts including heart animals, created delightful heart stamps and covered hearts in glitter.  Since my kids have a little origami obsession, so I did a little Pinterest surfing and found a few delightful origami projects that I know they will love.  They can’t wait to create each one of these 15 origami hearts.  Some will take a little more determination than others, but I know that they can do it!

15 simple ways to make an origami heart

DIY origami heart round-up

Winter Sensory Bin

Create an indoor snowman without any snow

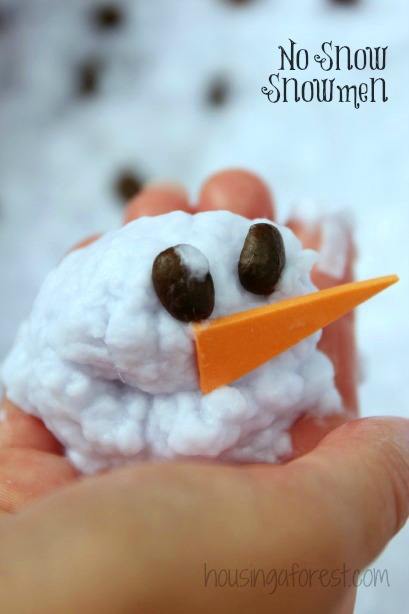
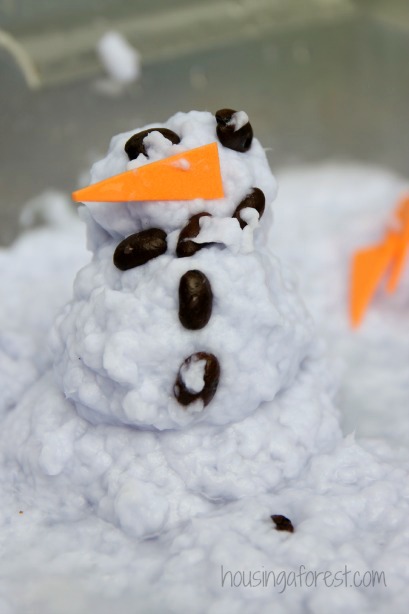
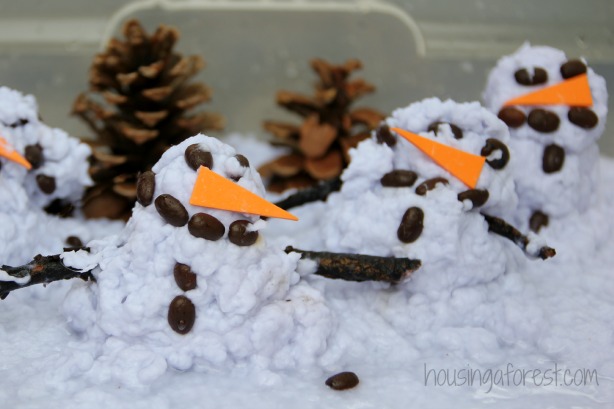
My kiddos had a blast making these simple sensory snowmen.  No snow needed, just a few simple household items.  This simple Winter Sensory Bin is is perfect for building snowmen even if it never snows where you live.

Winter Sensory Bin ~ Create an indoor snowman without any snow.

Happy little snowmen;)

Winter Sensory Bin ~ Create an indoor snowman without any snow.

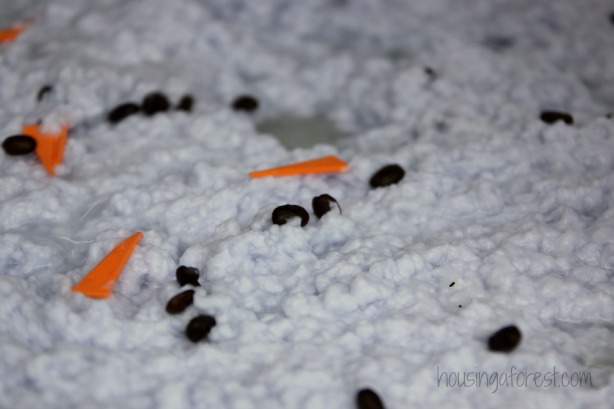
Any guesses on what we used to make our snow?

Winter Sensory Bin ~ Create an indoor snowman without any snow.

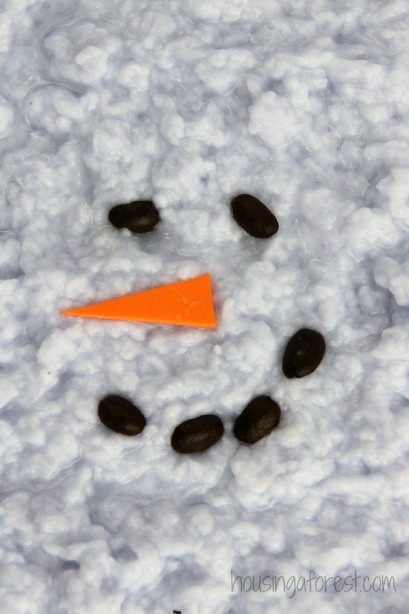
Melting snowmen.  Everything the kiddos need to build an adorable indoor snowman.

Winter Sensory Bin ~ Create an indoor snowman without any snow.

Winter Sensory Bin

  • Paper Pulp
  • Coffee Beans ~ for eyes, mouth and buttons
  • Foam Triangles ~ for noses
  • Sticks ~ for arms

Winter Sensory Bin ~ Create an indoor snowman without any snow.

We’ve used paper pulp in our Halloween Sensory Bin and it was a huge hit!  Check out our beautiful fall leaf craft and simple fall centerpiece all created with paper pulp.  Who knew that paper pulp could be so versatile.

Winter Sensory Bin ~ Create an indoor snowman without any snow.

To make paper pulp

You will need a bunch of shredded paper.  My kids love using the paper shredder and this is a great excuse.  Fill a tub with shredded paper and cover with boiling water.  We let the paper mixture sit over night so that it loosens up the paper fibers.

Working in small batches, add the paper mixture to the blender.  You may need to add extra water to each batch.  How easy is that?  You now have a bin of paper pulp that is perfect for a ton a different projects.  However my kids love just squishing it in a sensory bin.

If you want to make snowmen, but don’t have time to make paper pulp.  We have you covered.  Check out these simple Shredded Paper Snowmen.

Winter Sensory Bin ~ Create an indoor snowman without any snow.Check out our favorite way to play and create snowmen.  Snow or no snow, these little snowmen will be a hit.