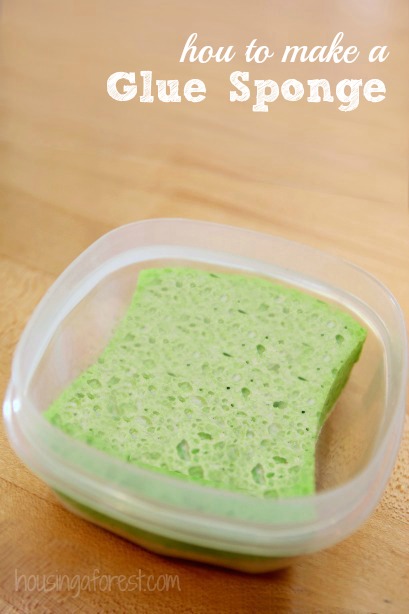
How to make a glue sponge ~ no more messy glue bottles
Have you seen all the glue sponges floating around on Pinterest recently? I have been meaning to make one for a while and I finally got around to it. I have to say, I wish I would have done it sooner. It is so easy to make, super cheap and eliminates excess use of glue. Totally a win in my book. Read on for our full tutorial on how to make a glue sponge. There are tips and tricks at the end of the post for reusing your glue sponge for years to come!
Glue-soaked Sponges are Perfect for Classrooms
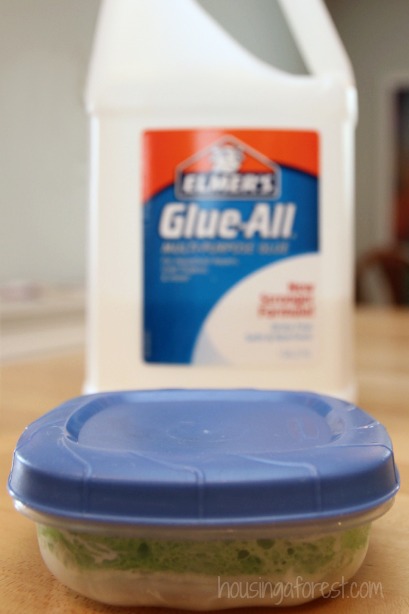
These little glue sponges are super cheap to make and surprisingly last a long time. I picked up a pack of 2 sponges at the Dollar Store along with the plastic container. I used approximately a 4oz bottle of glue for each sponge. Total project cost ~ under $4.
No more sticky messy glue puddles or excessive use of glue. No more fighting caps on glue sticks and having them dry out.
Glue sponges are perfect for preschools, art teachers, summer camps, art camps, day cares etc. Really anywhere where you are using lots of glue. Imagine how easy the next paper mosaic or cut and paste project will be.
To make your own glue sponge, you will need:
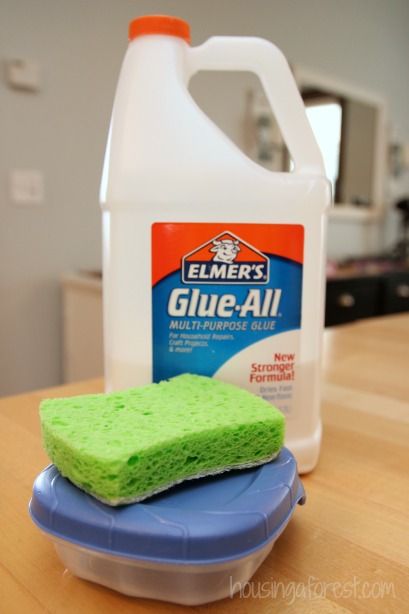
- A shallow, tight sealing container ~ I found ours at the dollar store. Make sure that it is about the size of your sponge and not too deep.
- Regular household cleaning sponge
- Elmer’s glue ~ really any white school glue will work, I just love Elmer’s
- a few drops of Tea Tree Oil ~ optional, but will help keep bacterial from growing on your sponge.
Ready for the easiest tutorial ever?
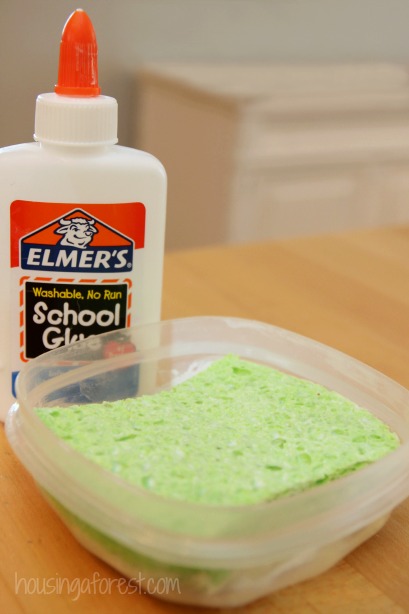
- Pour enough glue into the bottom of your container to cover the bottom.
- Dampen your sponge and place it in the gluey container.
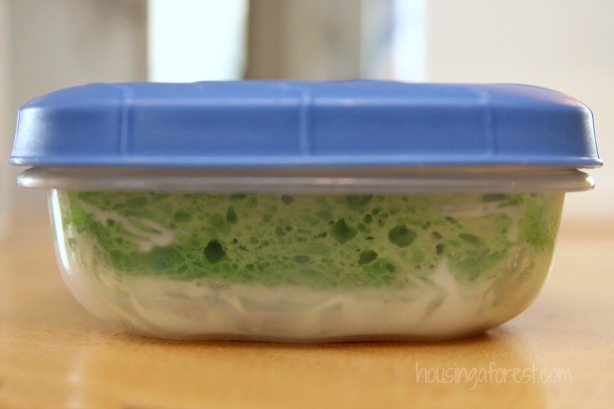
- Pour more glue on top of the sponge. You will end up using about a 4oz bottle of glue to achieve a fully saturated sponge.
- Place the lid on the container and set aside overnight.
You can use the glue sponge right away, however it will work the best once the glue has fully penetrated the whole sponge.
Glue sponge tips and tricks:
- Keep your sponge is well saturated with glue. This will help keep shapes from being crumpled when being pressed into the sponge. Kids won’t have to press their paper so hard into the sponge if it is well saturated. A gentle tap should be all you need.
- A few drops of Tea Tree Oil will help mold, funky smells or bacteria. Not everyone uses Tea Tree Oil and have reported no problems. You can use your best judgment.
- If you use a deeper container, you can stack 2 sponges on top of each other. Although this will result in almost double the amount of glue needed to fully saturate the sponges. I recommend a container as close to the size of the sponge that your are using.
- Spray the sponge with a little water after each use. This will help it to stay moist and not dry out.
- If you notice that the sponge is not super gluey, just flip the sponge over.
- Add glue as needed to the top of your sponge and let sit overnight.
- Check out this informative video from the Kindergarten Smorgasbord.




I guess this is a good idea for someone who doesn’t have kids but the nice thing about glue bottles for kids. It helps them develop the fine motor skills they need for a lifetime. I’m pro glue bottles for kids. The messier the better. Kids love messy activities and they learn more when they can freely explore. I wouldn’t advertise this for preschools/childcare centers.
I do storytimes at our public library, and I saw this pinned on Pinterest, so had to come by and read more about it. I’m always looking for good, easy, safe, and clean up easily ways of using glue. I, of course, have a lot of preschoolers who come to my storytimes. I’m not sure I really understand how the kids would use this – they don’t pick it up, right? Are they to turn their paper over and lay it on the sponge? Am I assuming this would be used for LARGER projects? I guess I need another picture showing how to use the sponge! 🙂 Thanks!
I’m going to try this out at our homeschool cooperative. I have small pieces needing to be glued on to larger pieces that I think will work out just fine.