Glitter Rainbow Playdough Recipe

 Rainbow Playdough Recipe

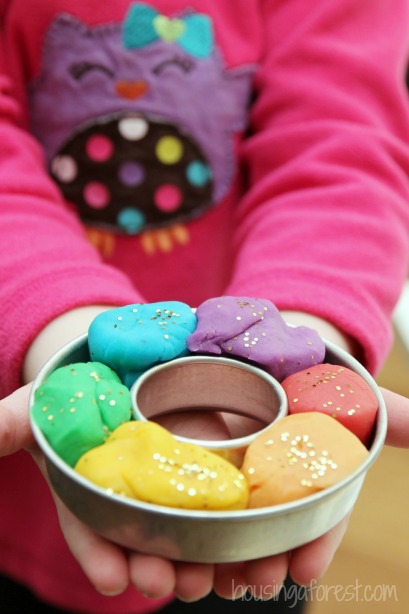
I am excited to share our favorite homemade playdough recipe.  My favorite part is that this recipe doesn’t use much salt.  Meaning, this dough does not leave your hands feeling all dry and coated like a play dough traditional recipe.  It is moist and feels very similar to a store bought Play Doh which I love.  Most recipes have double or triple the salt, so I was surprised when I discovered that it was unnecessary.  I hope you enjoy our Glittery Rainbow Playdough Recipe (recipe at the end of the post).
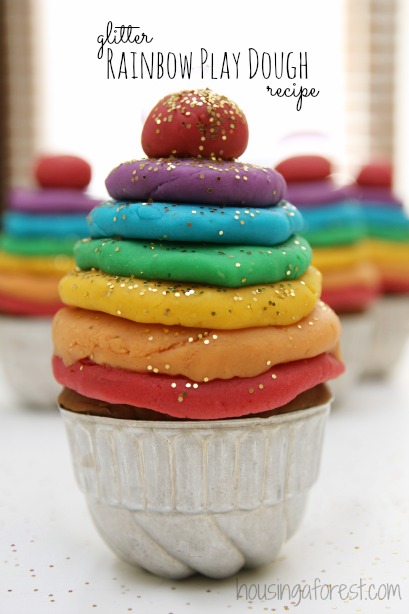
Glitter Rainbow Play Dough ~ I love this simple reduced salt recipe.

We love making homemade play dough.  Although this is the first time that we have make such a variety of colors all at once.  It was a total hit with the kids.  There is something about all the bright colors that just draws a person in (or maybe that was all the sparkly glitter).  It feels like we are celebrating something.  I may just need to pull out the party hats and make up something to celebrate.
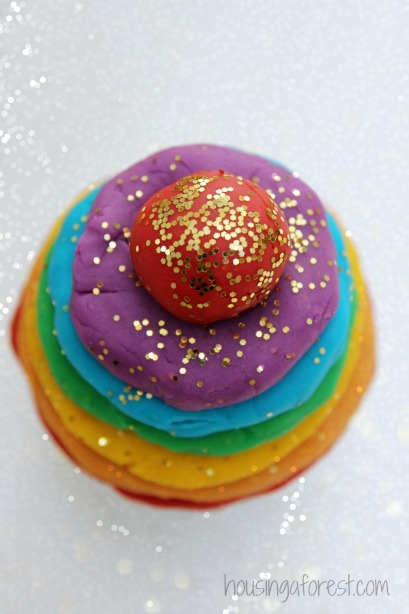
Glitter Rainbow Play Dough ~ I love this simple reduced salt recipe.

We have created a few St. Patrick’s inspired Leprechauns and rainbow crafts so far this year. Although I have to say, I think this was one of the kids favorite projects.  Squishing, building and creating all combined with a sprinkle of glitter is my kiddos perfect combination.
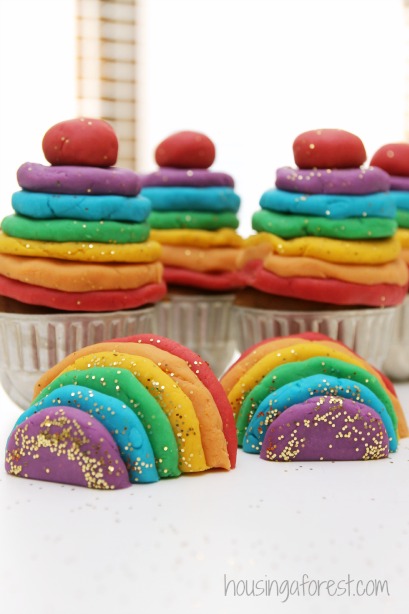
Glitter Rainbow Play Dough ~ I love this simple reduced salt recipe.

The kids had so much fun building playdough rainbows and colorful icing for the pretend cupcakes.  If you house is anything like ours, you can loose track of time when you are creating with play dough.
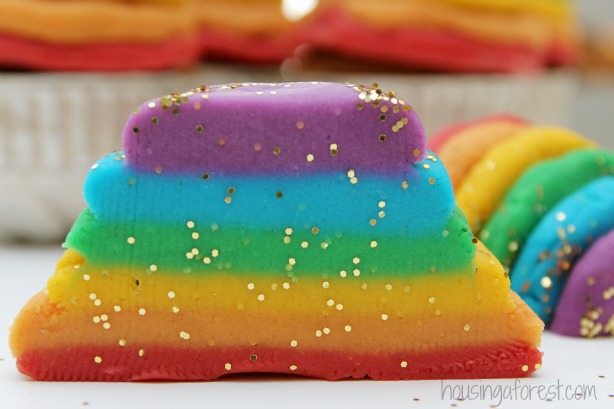
Glitter Rainbow Play Dough ~ I love this simple reduced salt recipe.

To make the rainbows, the kids piled graduating circles on top of each other.  They then cut the circles in half, producing adorable half circles or rainbows.  The kids were totally amazed by this simple discovery.  They had no idea that if you cut a circle in half, you would create a rainbow shape.  I love looking like a genius, since all too soon they will realize that they are smarter than me.  I am soaking up being amazing (in my kids eyes) while I still can.
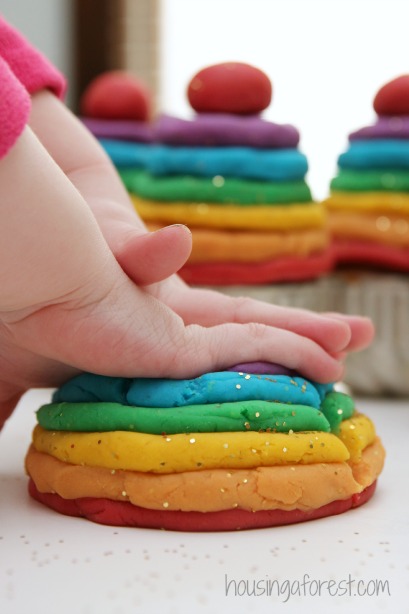
Glitter Rainbow Play Dough ~ I love this simple reduced salt recipe.

Kids love squishing and mixing playdough colors.  This is the perfect activity for that.  I mean, what is a play dough rainbow if you can’t squish all the colors together?  The swirls of color were simply beautiful.
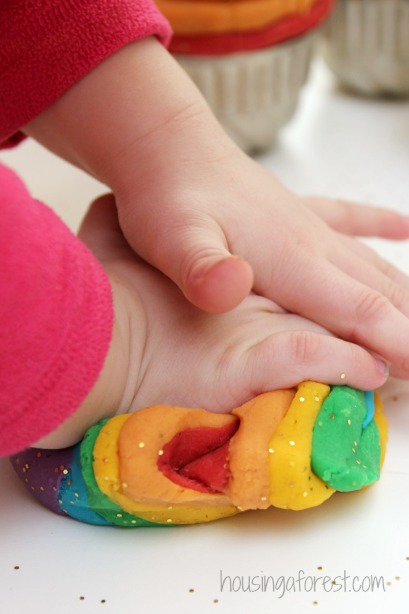
Glitter Rainbow Play Dough ~ I love this simple reduced salt recipe.

 I love all the wonderful layers of color.  It almost looks like sparkly taffy.  Beautiful!
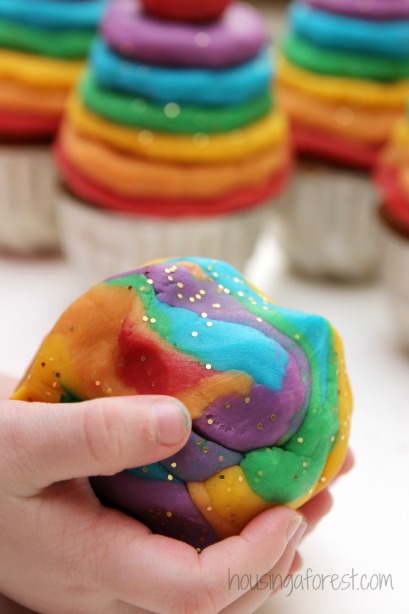
Glitter Rainbow Play Dough ~ I love this simple reduced salt recipe.

I acquired these vintage tins a while ago and I am completely in love.  Although I only just recently discovered that they are the perfect size for pretend play.  We are excited to have a few added to our play dough bin.

Now on to our glittery rainbow play recipe!
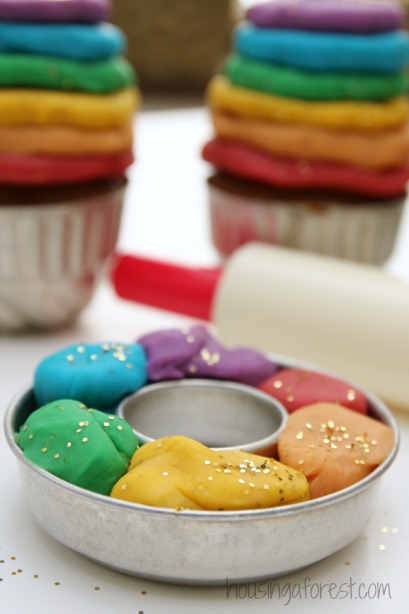
Glitter Rainbow Play Dough ~ I love this simple reduced salt recipe.

Glitter Rainbow Playdough Recipe

This recipe is easy to make, and very similar to store bought Play Doh.

  • 1 cup Flour
  • 1/4 cup Salt
  • 2 tsp Cream of Tartar
  • 1 cup Water
  • 1 1/2  or 2 TBSP Vegetable Oil ~ I have used both measurements successfully and love how soft it makes the dough feel.
  • Food Coloring ~ adding it to the wet ingredients helps to help get even color
  • Gold Glitter ~ we used a larger glitter flakes, but any glitter will work (Thanks to Craft Project Ideas, who gave us a wonderful pack of free craft supplies, including the glitter we used.)
  • Sauce pan, wooden spoon and a stove

Glitter Rainbow Play Dough ~ I love this simple reduced salt recipe.

How to make Playdough

  • Mix all ingredients in a sauce pan~ I like to mix the dry ingredients and the wet ingredients separately, but I know lots who just dump and pour.  It is no really that technical so just go with what works for you.
  • Stir until you have most of the lumps out and the mixture looks similar to cake batter.
  • Cook over medium heat, stirring constantly.
  • It will not take very long for the mixture to start thickening.  Make sure that you continue to stir.
  • Stir, stir and stir some more.
  • Once the mixture forms one large “clump” (I’m sure that is the technical term) you are good to go.
  • Remove from the heat, and knead by hand.
  • Caution…let cool before you let little fingers touch it.  It will be very hot at this point.

You can add sprinkles to the cooking dough, but my kids love to add them later.  Both methods work great.  Although my kids love pouring and mixing the glitter on their own.  I am sure by letting my kids do it, we end up using more glitter but I also know that they love doing it.
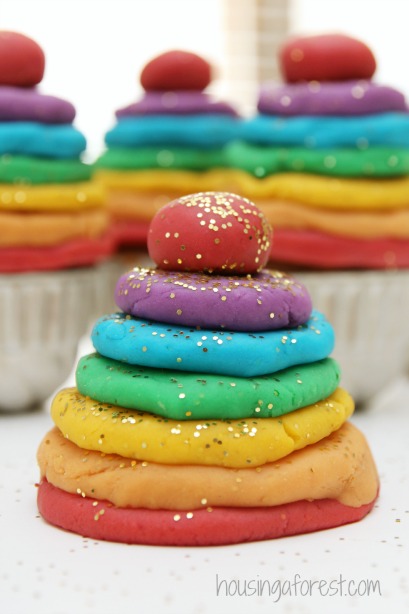
Glitter Rainbow Play Dough ~ I love this simple reduced salt recipe.


Playdough Tips and Tricks

  • Each recipe produces about 1 1/2 cups of playdough.  I generally make one batch per color.
  • If the dough is looking to wet/sticky; you may not have cooked it long enough or you did not measure the ingredients correctly.
  • If the dough is stored properly, it will last up to 6 months.  Store the dough in a plastic Ziploc bag and remove as much air as possible.  This will help to prevent the dough from drying out.
  • Store your sealed dough in the refrigerator.
  • Glitter, glitter and more glitter (according to my kids) made this the best playdough recipe ever.  You can never have too much glitter.
For more rainbow activities, check out our:

Rainbow Bubble Snakes

Paper Plate Rainbow

Rainbow Q-tip Painting

Credit Card Art

Art Birthday Party

St Patricks Day Activity ~ Heart Shamrock Craft

Heart Shamrock Craft ~ St Patricks Day Activity

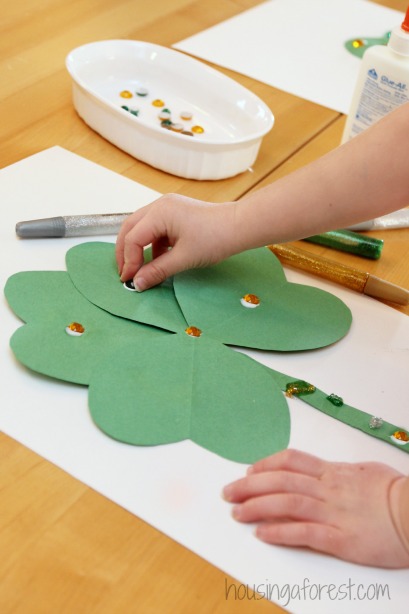
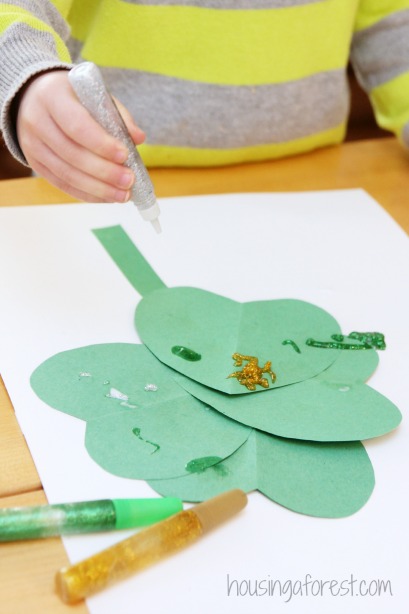
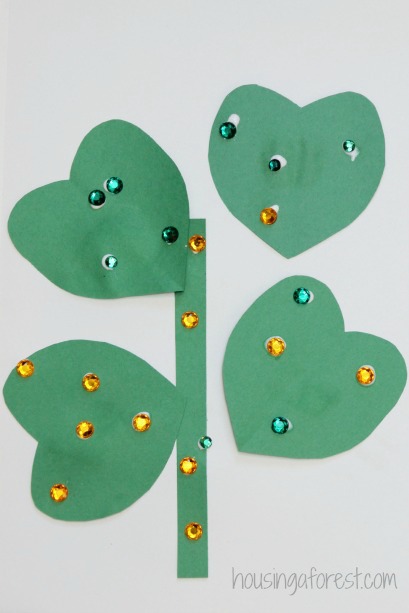
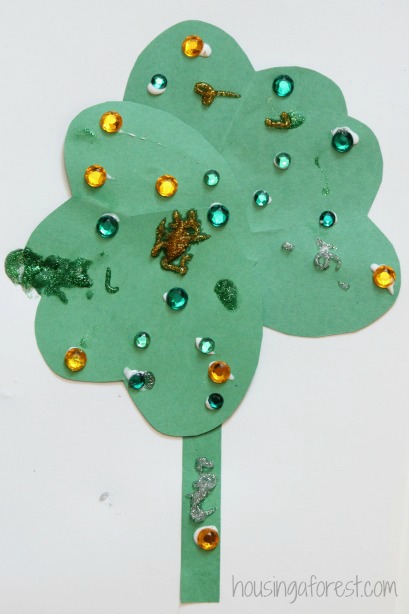
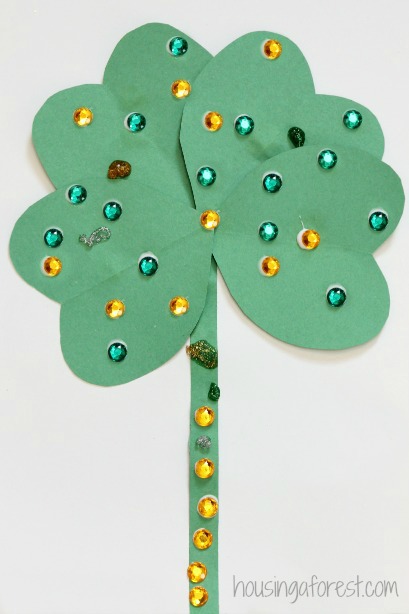
Since St Patrick’s Day is right around the corner, we have been making a number of “green” crafts.  Check out this adorable 4 leaf clover that the kids made.    According to the kids, the jewels and glitter really transformed this simple St Patricks Day Activity into something magical.

Heart Shamrock Craft ~ St Patricks Day Activity

 Heart Shamrock Supplies:

  • 4 green paper hearts and a stem
  • Glue
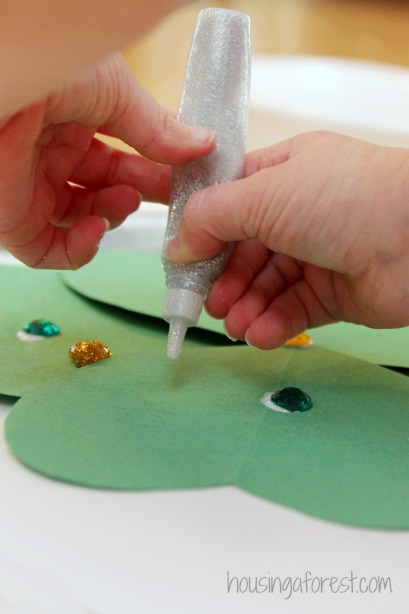
  • Glitter Glue
  • Green and Yellow flat backed Jewels

Heart Shamrock Craft ~ St Patrick's Day Activity

Creating with Heart Shapes

Our simple shamrock craft was inspired by our Valentines Day heart animals.  We had so much fun discovering how versatile a heart shape can be.  It surprised us that so many things can be made using a few heart shapes, including a four leaf clover.

Heart Shamrock Craft ~ St Patrick's Day Activity

There is not really too much to share about how to make this project.  No new recipe, or tricky art process to explain.  I just handed the kids the supplies and they started creating.

Heart Shamrock Craft ~ St Patrick's Day Activity

We are all about glue and jewels at craft time.  I cant count how many times the kids ask to add a little sparkle to their project.  It’s really too cute.

Heart Shamrock Craft ~ St Patrick's Day Activity

Have you seen our adorable paper Leprechauns?  They would be the prefect companion to our glittery and jeweled Shamrocks.

Heart Shamrock Craft ~ St Patrick's Day Activity

I love how each clover is different, and reflects the personality of its creator.  It is fascinating to watch kids create and see how they use the materials.

Heart Shamrock Craft ~ St Patrick's Day Activity

Looking for more St Patrick’s Day Crafts?  Check out our

Leprechaun Craft

Stained Glass Shamrocks

Rainbow Q-tip Painting

Racing Balloon Leprechauns

Shamrock Crystals

Leprechaun Craft

St. Patrick’s Day Leprechaun Craft

With Saint Patrick’s Day is right around the corner, we are gearing up with lots of festive science experiments, rainbow art and fun activities.  To kick things off, we made a simple paper Leprechaun Craft.  These little guys are completely adorable, and oh so fun to create.  I hope you enjoy our easy St. Patrick’s Day kids craft.

St. Patrick's Day Leprechaun Craft ~ Simple Paper craft for kids

 How to make a Paper Leprechaun

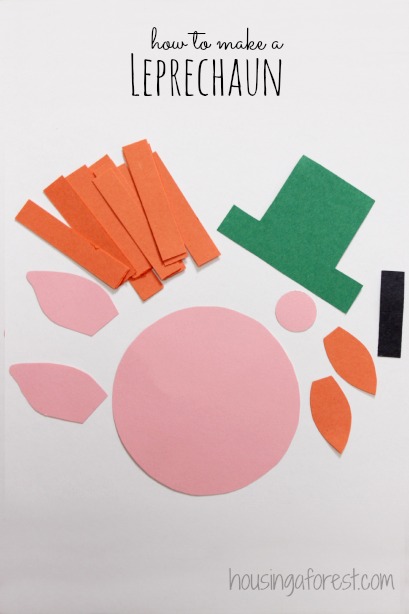
  • Paper shapes outlined in the below image
  • Googly Eyes
  • White Glue either in a bottle or a Glue Sponge


St. Patrick's Day Leprechaun Craft ~ Simple Paper craft for kids

Sorry I didn’t create a PDF template for this craft, but the shapes are really simple.  In the image above you will find all the piece you need to create our simple Leprechaun.  I just free hand drew our shapes free hand, but you could always do a search for Leprechaun printable.

St. Patrick's Day Leprechaun Craft ~ Simple Paper craft for kids

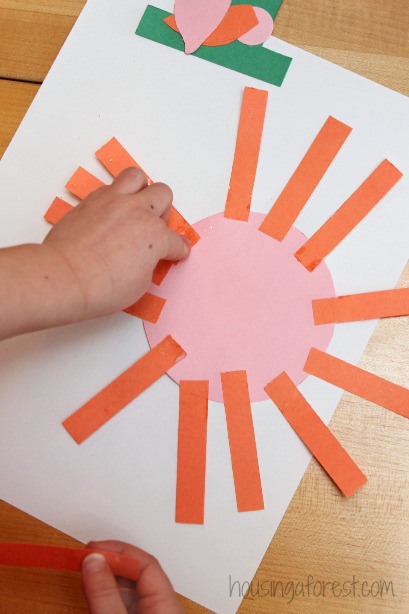
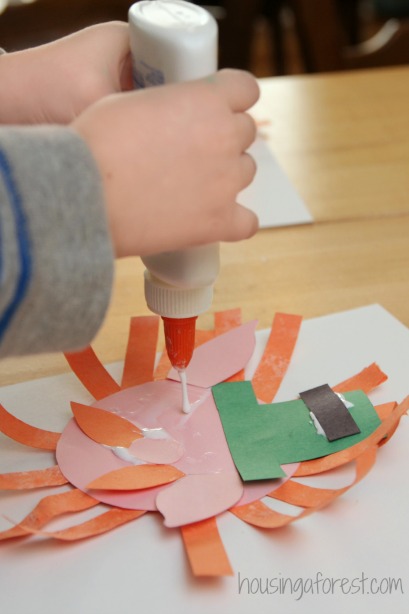
  Start by gluing the orange strips to the back of the Leprechaun’s head.

St. Patrick's Day Leprechaun Craft ~ Simple Paper craft for kids

 The kids loved squishing LOTS of glue as they assembled their Leprechaun faces.

St. Patrick's Day Leprechaun Craft ~ Simple Paper craft for kids

 I am in love with these extra large googly eyes, perfect for a Leprechaun.  Thank-goodness for Craft Project Ideas, who gave us a wonderful pack of free craft supplies, including the adorable over-sized eyes that we used.

St. Patrick's Day Leprechaun Craft ~ Simple Paper craft for kids

 I am in love with these simple Leprechauns.

St. Patrick's Day Leprechaun Craft ~ Simple Paper craft for kids

St. Patrick's Day Leprechaun Craft ~ Simple Paper craft for kids

Looking for more St Patrick’s Day Crafts?  Check out our

Stained Glass Shamrocks

Borax Crystal Shamrocks

Glitter Shamrocks

Racing Balloon Leprechauns

Shamrock Sprouts

Paper Plate Rainbow Craft

Simple Spring Preschool Craft

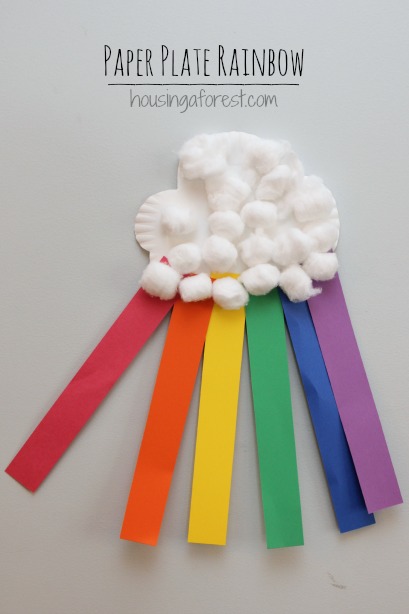
Spring can’t come soon enough.  I miss the smell of flowers, freshly cut grass and rain.  To help brighten our walls and encourage the snow to melt, we made a simple paper plate rainbow craft.  We love simple crafts, especially ones that use paper plates.  Bring on the spring weather!

Paper Plate Rainbow Craft ~ Simple Spring Preschool activity

 Paper Plate Rainbow Supplies:

  • Paper plate ~ cut into the shape of a cloud
  • Strips of paper ~ red, orange, yellow, green, blue and violet
  • Cotton Balls
  • Craft Glue
  • Stapler (optional)

Paper Plate Rainbow ~ Simple Spring Preschool craft

Using Glue with Kids

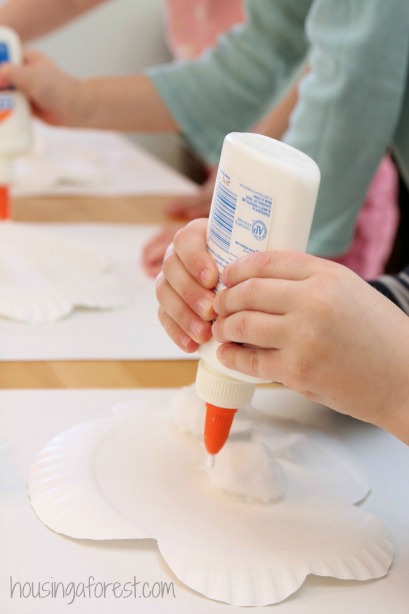
My kids love any project that involves gluing.  Have you seen our simple tutorial on how to make a glue sponge?  It has revolutionized how we use glue for simple projects.  However, squishing glue is a simple way to work on fine motor and eye/hand coordination skills.  We use both methods depending on the project.  For our simple rainbows, glue bottles were the tool of choice.

Paper Plate Rainbow ~ Simple Spring Preschool craft

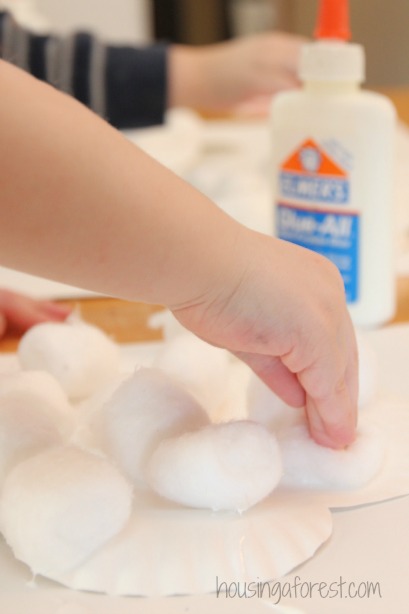
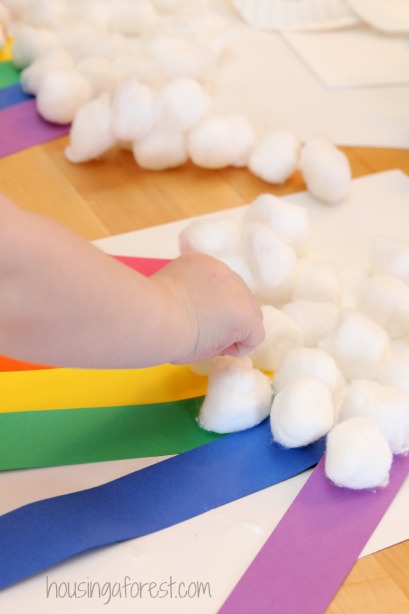
 The kids loved squishing glue all over their paper plate cloud.  Their gluey cloud was then covered in puffy cotton balls.

Paper Plate Rainbow ~ Simple Spring Preschool craft

My kiddos love using a stapler (make sure to talk about how to use one safely).  Glue would work perfectly as well, but the kids requested to use a stapler to attach the rainbow colored paper strips to our puffy clouds.

It may be easier to do staple the rainbow strips on before gluing on the cotton balls, however the kids had already finished gluing.  Oh well, next time;)

Paper Plate Rainbow ~ Simple Spring Preschool craft

The kids decided they needed a few more cotton balls to finish off their clouds.  I love how the little cotton ball clouds are almost tumbling down the rainbow.  So sweet.

Paper Plate Rainbow ~ Housing A Forest

For more creative paper plate crafts, check out our:

Paper Plate Hedgehog

Shredded Paper Snowmen

Paper Plate Pumpkins

Paper Plate Pinterest Board