Shape Hopscotch

Move and Learn ~ Indoor Games for Kids

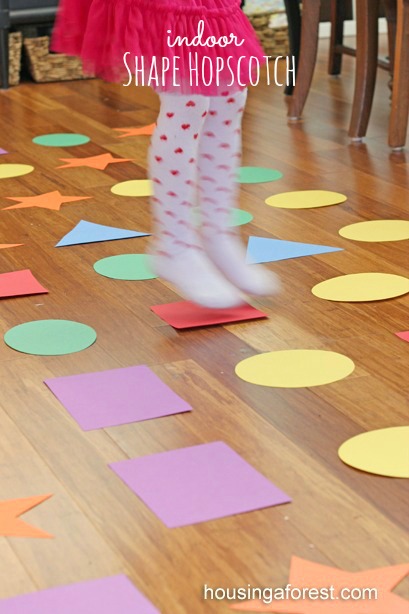
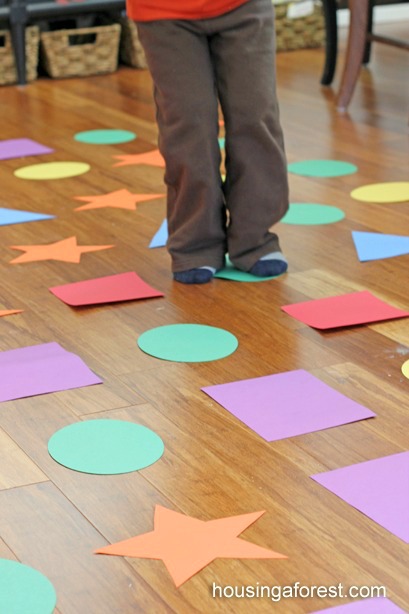
We love active indoor games, especially when the weather is not cooperating to play outside.  The kids loved jumping and running inside.  Our simple shape hopscotch game is a fun way to work on gross motor skills along side color and shape recognition.

Indoor Games for kids ~ Shape Hopscotch is a fun Gross motor game

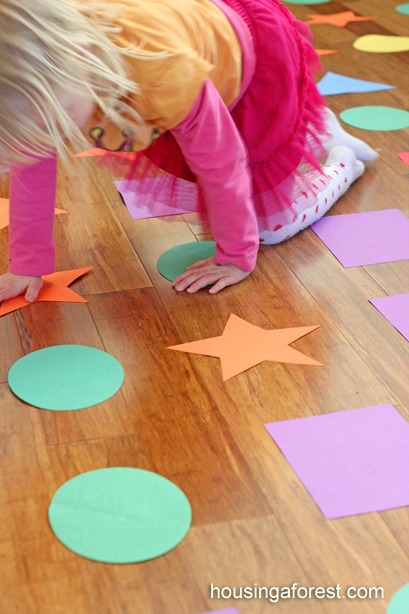
I love this simple Indoor Shape Toss Game from Learn Play Imagine.  Instead of tape for our shapes, we used colored paper.  The kids had so much fun jumping, twirling and hopping through the shape maze!

Indoor Shape Hopscotch ~ Gross motor game

Shape Hopscotch Game:

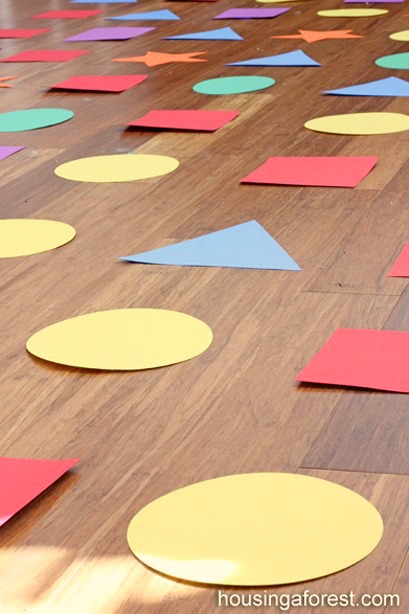
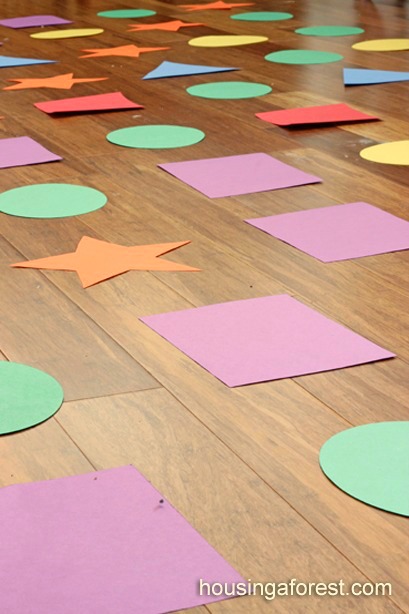
  • I cut 6 different easily recognizable paper shapes ~ Orange stars, yellow circles, red squares, green ovals, purple squares, and blue triangles.
  • Tape the colored shapes to the floor with painters tape.
  • The object of our simple game was move and learn while having lots of fun.  Mission accomplished.  The kids had no idea that they were working on important skills like color and shape recognition.

Indoor Shape Hopscotch ~ Gross motor game

I encouraged the kids jump, wiggle, twirl and hop through the shapes. Here are a few of the kids favorite ways to make it though the shape maze:

  • Hop from one side to the other only touching one color/shape.
  • Have one kids call out colors or shapes that the other kid raced to find.
  • Jump across the shapes following directions like…”jump 2 shapes to the right”

Indoor Shape Hopscotch ~ Gross motor game

 This simple indoor activity was a great way to get the kids moving and learning.

Indoor Shape Hopscotch ~ Gross motor game

For more indoor games for kids, check out our:

Finger Knitted Jump Rope

Cup stacking

Balloon Racing

Elastic Band Launchers


Rainbow Activities for Toddlers

Spring Crafts for Kids ~ Scissor Skill Practice

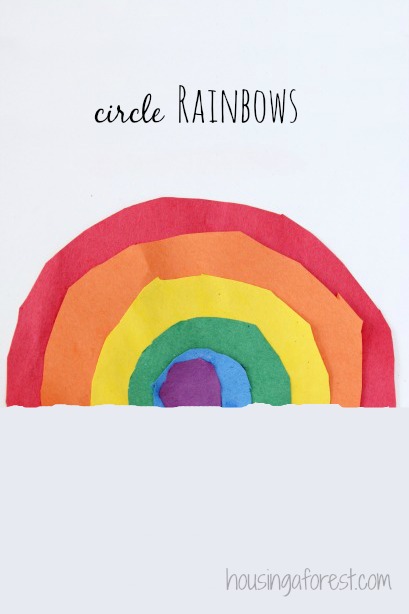
Are looking for simple activities for toddlers?  Since spring is right around the corner, we have been busy creating colorful rainbows.  Your kids will have fun using their scissors to create a beautiful circle rainbow.

Rainbow crafts ~ simple spring activities for Toddlers

Do you ever read a post and go, seriously why didn’t I think of that?  Well that is totally how these little rainbows came about.  I recently came across Happy Hooligans post on how to make a rainbow from a circle.  Such a brilliant idea!  Instead of painting rainbows, we decided to put our scissor skills to work.

Circle Rainbow craft ~ working on scissor skills

Circle Rainbow Supplies:

  • Construction Paper ~ in rainbow colors
  • 6 different sized circles ~ we traced bowls, cups etc.  You could also use a compass
  • Scissors
  • Glue

Circle Rainbow craft ~ arranging the colorful circles by size

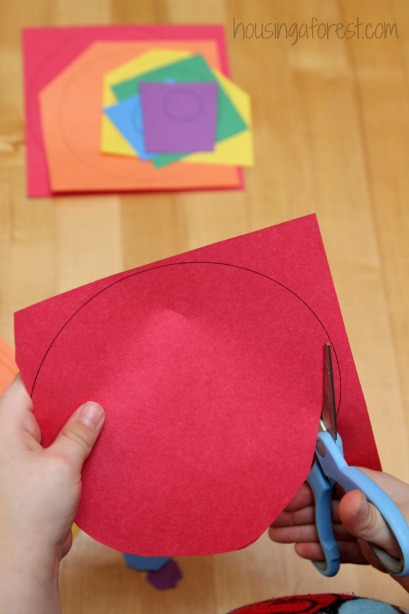
 The kids helped to trace our circles, although this step proved to be a little difficult for little fingers.  No worries, I ended up doing most of the tracing.

The kids then began cutting out their circles.  The larger circles were pretty easy ,but the little purple one proved to be the most difficult.

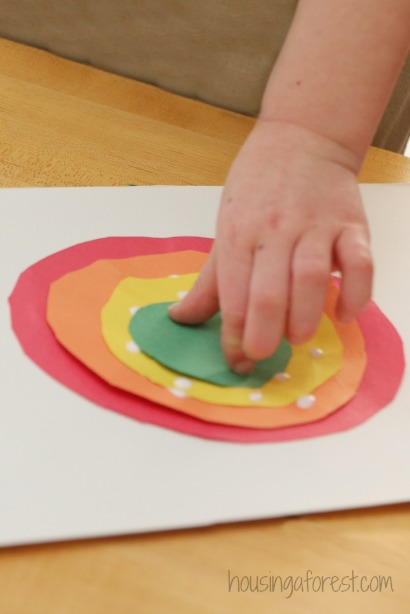
Circle Rainbow craft ~ layering and gluing the rainbow circles

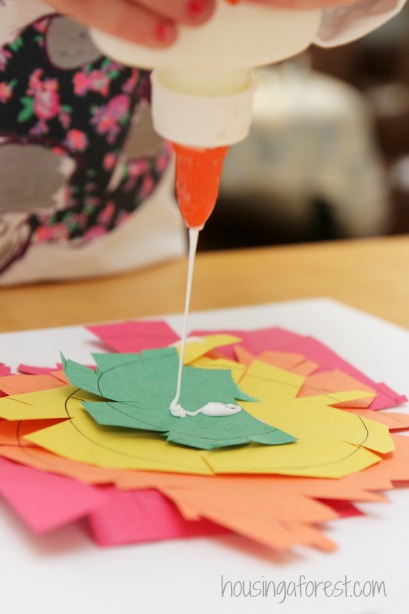
Now to my kiddos favorite part…gluing.  Our homemade glue sponges would have worked perfectly as well.  Working ROYGBV order the kids glued their rainbows.

Rainbow crafts ~ simple spring activities for Toddlers

I love the was they look and could easily be a beginning introduction to Kandinsky.

Rainbow crafts ~ simple spring activities for Toddlers

Trick to making a simple rainbow:

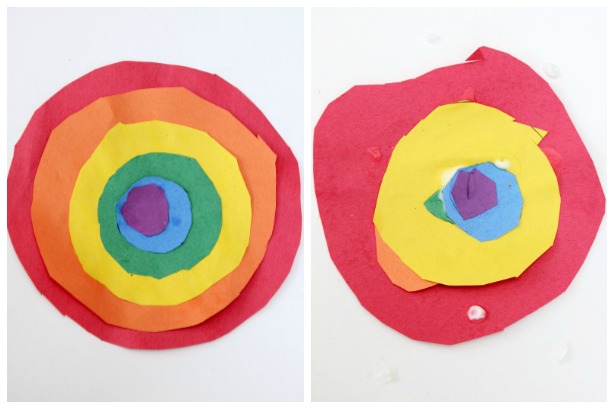
Once the glue dried, simply cut the stack of circles in half.  That’s it.  You now just created 2 beautiful rainbows!

Rainbow crafts ~ simple spring activities for Toddlers

Rainbow Activities for Toddlers

For a couple of my little ones, this was one of the first times using scissors.  It was a fun challenge for them.  They were totally determined to master the skill.  I adore how their little rainbows turned out.

Circle Rainbow ~ simple spring activities for Toddlers.

 For more Rainbow inspiration, check out our:

Rainbow Bubble Snakes

Paper Plate Rainbow

Rainbow Q-tip Painting

Credit Card Art

Art Birthday Party

Wax paper Resist

Art Activities for Kids ~ Wax Paper Resist

We have been exploring a new art technique, and loving it.  I am all about simple art projects for kids, and love finding new ways to encourage kids to be creative!  My kids had fun exploring and creating amazing patterns with our simple wax paper resist!  The results are amazing!
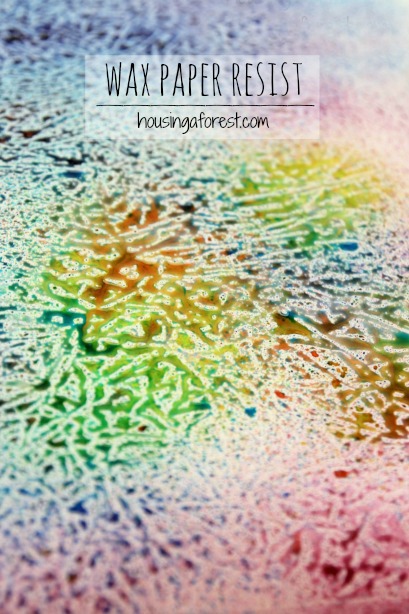
Art Activities for kids ~ simple process art using a fun wax paper resist technique


I am thrilled to be a part of a new art series all about exploring easy art projects for kids.   Did you see all the amazing watercolors posts that were shared last week?  I can’t believe all the talented and creative women in this group.

This week we are focusing on resist art for kids (I’ve included links to all the participating blogs at the end of this post).


Wax Paper Resist Art for Kids

We’ve tried a number of different resist techniques on Housing A Forest and love them all.  Have you tried using oil pastels and watercolors; drizzling or painting with rubber cement or the classic favorite a simple white crayon?  They are all simple techniques that are perfect for little fingers.  However, today we are trying something new, and I have to say it may be my new favorite way to create a resist.
Art Activities for kids ~ simple process art using a fun wax paper resist technique

Wax Paper Resist Supplies:

  • Wax Paper ~ the stuff that is in your kitchen drawer
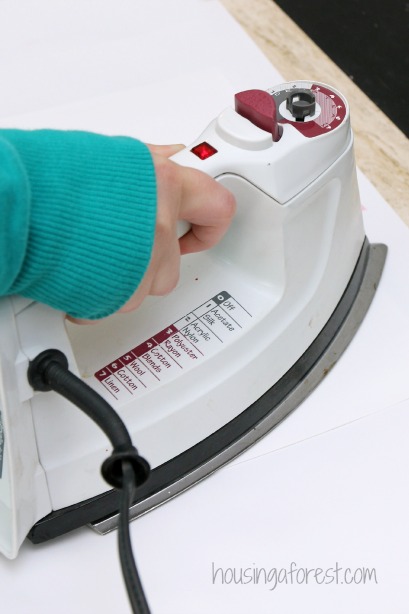
  • Iron ~ set it to a dry setting (NO steam)
  • Ironing board or heat resistant surface
  • Glossy White Paper ~ regular printer paper will work too, but the results will be less vibrant.
  • Spray Bottles filled with Liquid Watercolors or food coloring
  • Shallow plastic bin to contain the mess (optional)

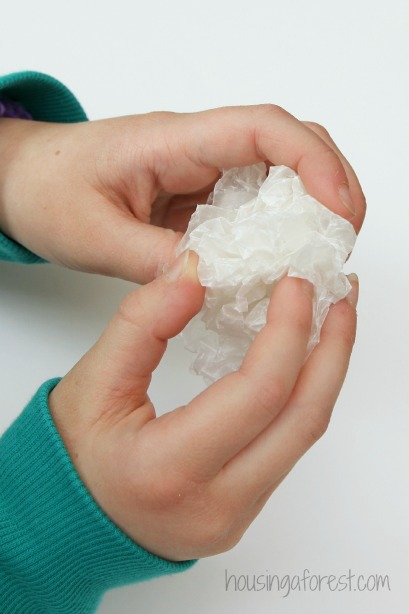
Have the kids crumple the wax paper into a ball and then flatten it out.  We took 2 different approaches to how we crumpled the wax paper.  You can either make a ball, or make calculated folds (like origami).  You will see that both produce beautiful results.
Art Activities for kids ~ simple process art using a fun wax paper resist technique

(Please take precautions when using a hot iron with kids.  You know your kids the best, so use your best judgement and be safe) 

Next, sandwich the piece of wax paper between 2 pieces of glossy white paper.  Make sure the glossy side is facing in.

My kids enjoy using the Iron under close supervision.  For this project, they ironed the paper layers by slowly moving the iron back and forth.  Make sure they keep the iron moving, or you will over melt the wax paper.  We used a similar technique when making our Watercolor Crayon Shavings.
Art Activities for kids ~ simple process art using a fun wax paper resist technique

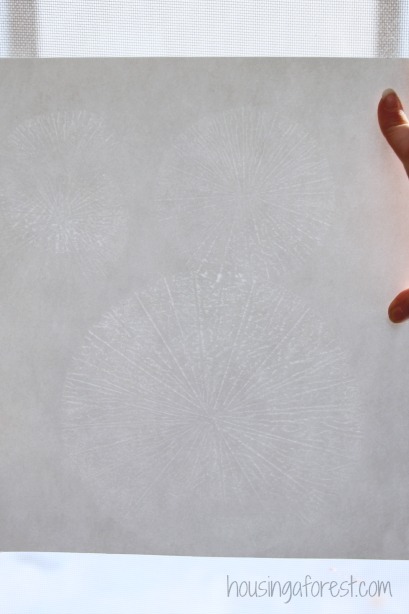
Sorry this is not a great image, but you get the idea.

This is what the paper looks like in the sunlight after it has been ironed.  You can see the faint waxy pattern that was transferred.  Instead of simply crumpling the paper this time, my son cut circles and then made calculated folds.

Art Activities for kids ~ simple process art using a fun wax paper resist technique

Colorful Resist patterns

Ready to make your beautiful resist pattern pop?

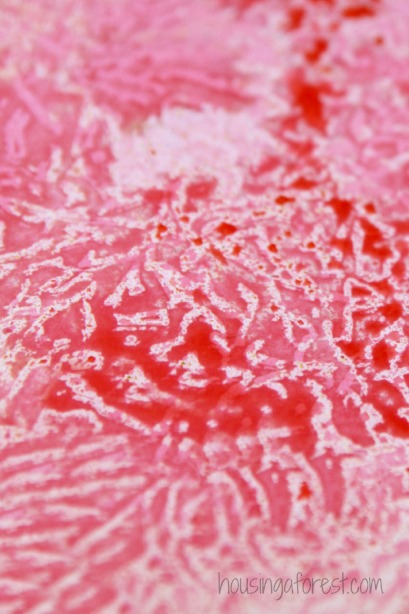
Once the ironing is complete, place it glossy side up in the bin.  This will help contain the colorful spray.  Randomly spray watercolors over the entire paper.  The pattern left behind from the wax paper will begin to emerge as the paper is covered in bright spray.  Magic!
Art Activities for kids ~ simple process art using a fun wax paper resist technique

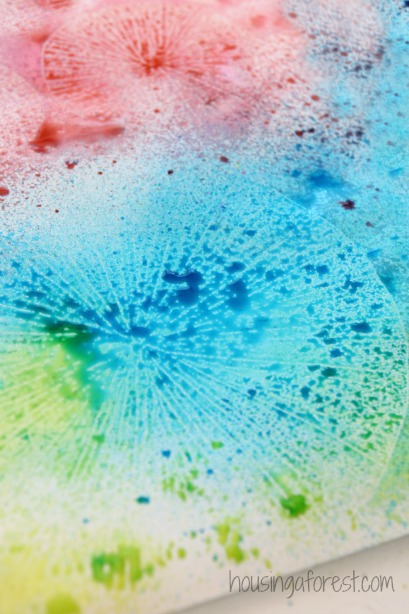
 I love the beautiful organic resist patterns left behind from the wax paper.
Art Activities for kids ~ simple process art using a fun wax paper resist technique

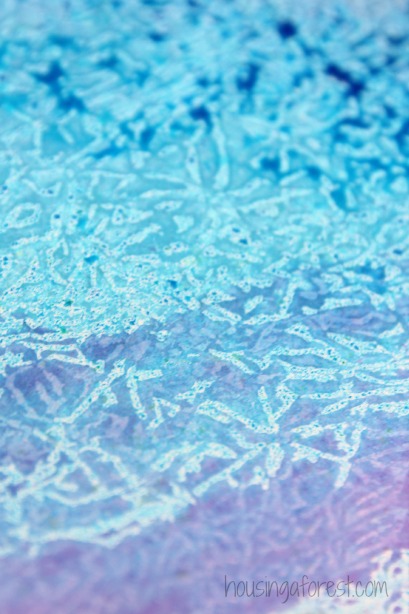
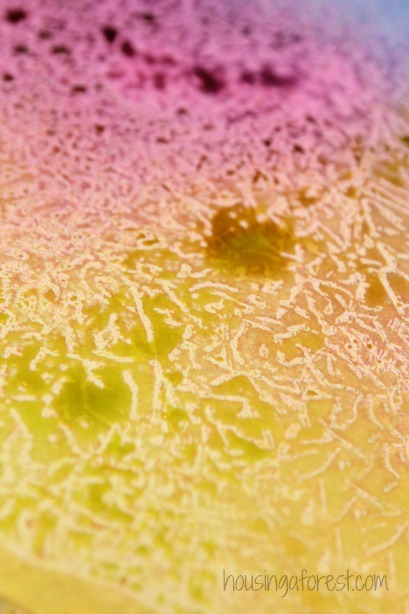
There were lots of giggles as the patterns appeared.  I have to admit, I was giggling right along with them.  The patterns are so beautiful!
Art Activities for kids ~ simple process art using a fun wax paper resist technique

This resist technique is commonly used for making card backgrounds.  I attended a workshop years ago, which is where I first learned about creating a wax paper resist background.  Until then, I had no idea that wax paper could be so beautiful.

Art Activities for kids ~ simple process art using a fun wax paper resist technique

The image below was created using calculated circle folds (like origami).  Amazing!  We will be exploring this technique further.  It was so easy and the kids loved the process.
Art Activities for kids ~ simple process art using a fun wax paper resist technique

Ready to be inspired?  For more Art Activities for Kids, check out:

Tape Resist Art on Foil from Learn Play Imagine

Splatter Paint and Tape Resist from Buggy and Buddy

Watercolor Resist Easter Egg Garland from Fun At Home With Kids

 Clay Resist  from Babble Dabble Do

Resist Art Project: Andy Warhol from Art History Mom

Fabric Resist Art Pillows from Meri Cherry

Resist Art Stepping Stones from Twodaloo

St Patricks Day Playdough

Glittery Play Doh Recipe perfect for St Patricks Day

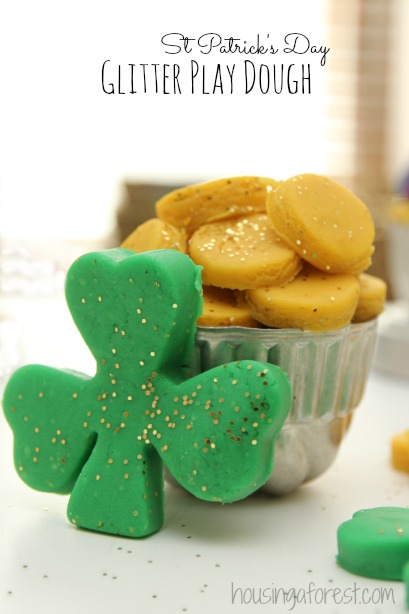
Are you looking for a fun activity fit for a glitter filled Leprechaun party?  We have the perfect recipe for you.  It is so simple and I love that it is made from items in our kitchen pantry.   The kids added lots and lots of glitter, which was perfect for this simple play recipe.
Homemade St Patricks Day playdough.  A glittery activity fit for a Leprechaun party.  I love that it's made from items in our pantry.St Patrick’s Day Playdough

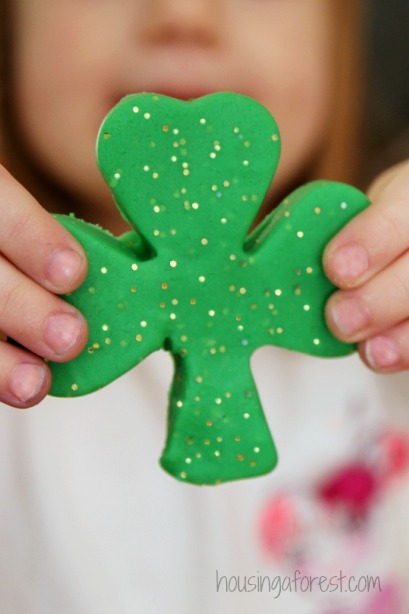
  • We made 2 batches of our Glitter Rainbow Playdough recipe (the link will take you to the recipe).  It is our favorite low salt play recipe.  We added Green food coloring to one batch and Yellow food coloring to the 2nd.
  • Glitter ~ lots of large flaked gold glitter.
  • Circle and Shamrock shaped cookie cutters
  • Tins, rolling pins and playdough utensils.
  • Did I mention glitter;)

Homemade St Patricks Day playdough.  A glittery activity fit for a Leprechaun party.  I love that it's made from items in our pantry.

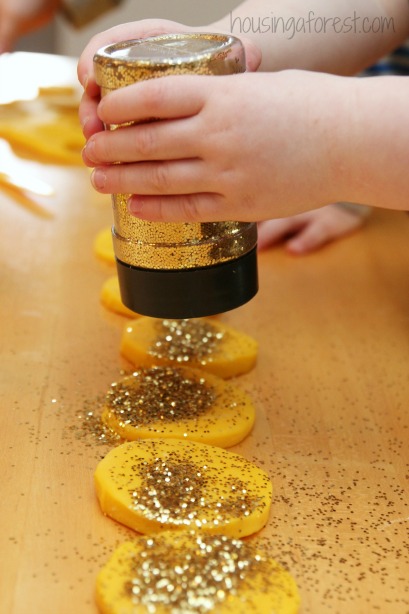
Instead of adding glitter to the dough, I handed over the bottle of glitter to the kids and let them go crazy.  They loved it!
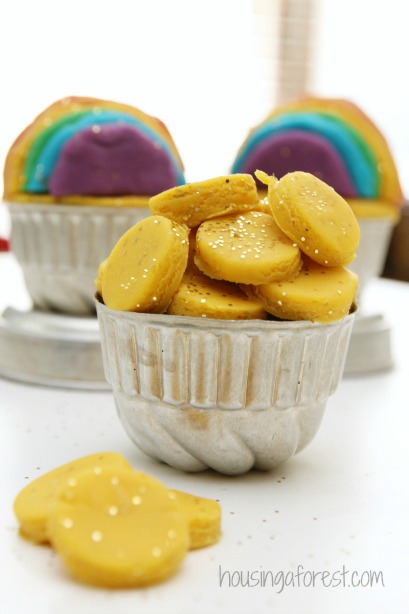
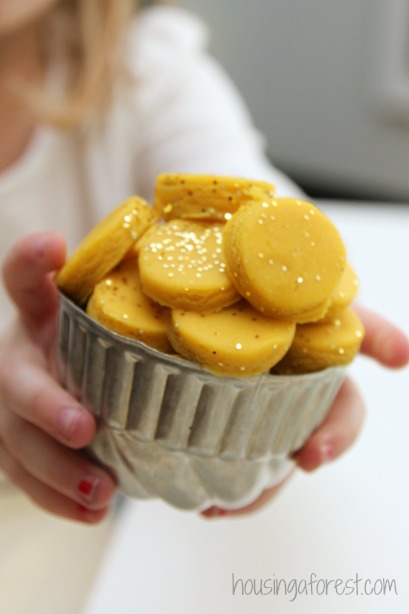
First they used a circle cookie cutter to make a bunch of play dough Leprechaun coins.  Next came their favorite part:  adding glitter; lots and lots of glitter.  Perfect for a little lucky Leprechaun play.  We are making good use of the glitter that Craft Project Ideas supplied us with.  Glitter is one of our current favorite craft supplies.

Homemade St Patricks Day playdough.  A glittery activity fit for a Leprechaun party.  I love that it's made from items in our pantry.

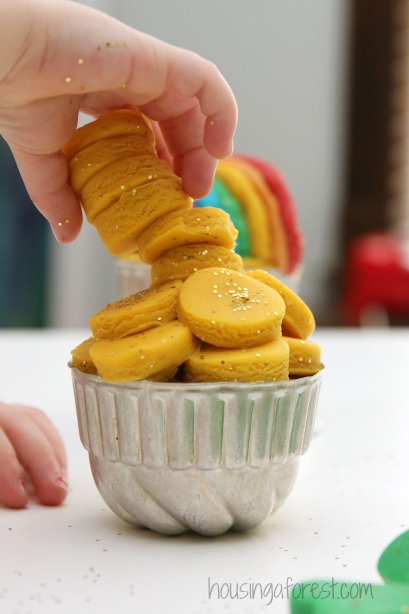
The kids repeatedly stacked their Leprechaun coins as high as they could.  Only just to squish and smash all their hard work.  The simple joys of play dough.  Planning, building, squishing and rebuilding.  Love it!

Homemade St Patricks Day playdough.  A glittery activity fit for a Leprechaun party.  I love that it's made from items in our pantry.

The kids had so much fun filling the pot with glittery gold coins.  This little teetering stack reminds me of something out of a Dr. Seuss book;)

Homemade St Patricks Day playdough.  A glittery activity fit for a Leprechaun party.  I love that it's made from items in our pantry.

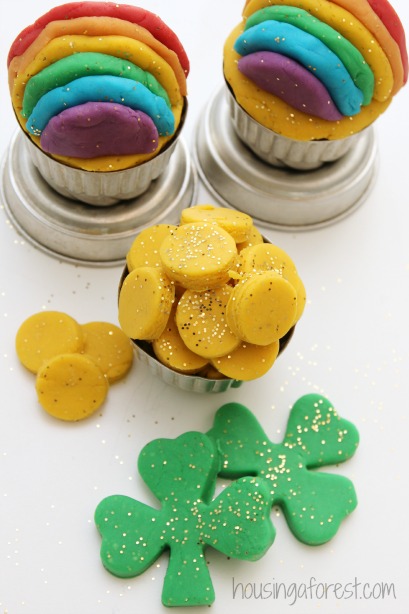
Pot of gold at the end of the rainbow.

Homemade St Patricks Day playdough.  A glittery activity fit for a Leprechaun party.  I love that it's made from items in our pantry.This simple St. Patricks Day activity kept the kids busy creating and building most of the morning.  Play-dough is a classic activity and always a hit.  However, adding glitter was what kept them interested and play for so long.

Homemade St Patricks Day playdough.  A glittery activity fit for a Leprechaun party.  I love that it's made from items in our pantry.

I love our simple Glitter Rainbow Playdough recipe and I am sure you will too.  If you click on the link you will be taken to our favorite play-doh recipe.  It has less salt than most recipes and is oh so soft and mold-able.

Homemade St Patricks Day playdough.  A glittery activity fit for a Leprechaun party.  I love that it's made from items in our pantry.

Looking for more St Patrick’s Day Activities?  Check out our

Leprechaun Craft

Stained Glass Shamrocks

Glitter Rainbow Playdough

Racing Balloon Leprechauns

Shamrock Crystals

St. Patrick’s Day Craft

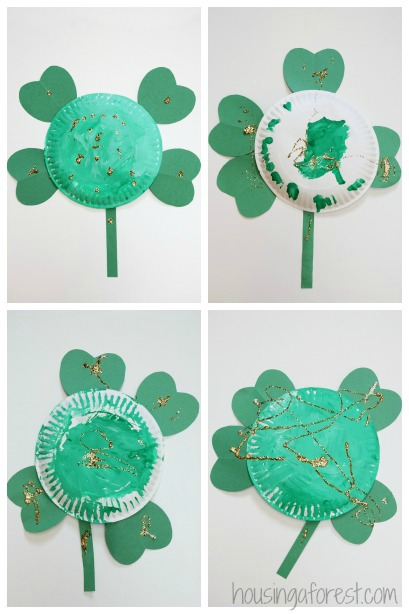
 Simple St Patrick’s Day Craft ~ Paper Plate 4 Leaf Clover

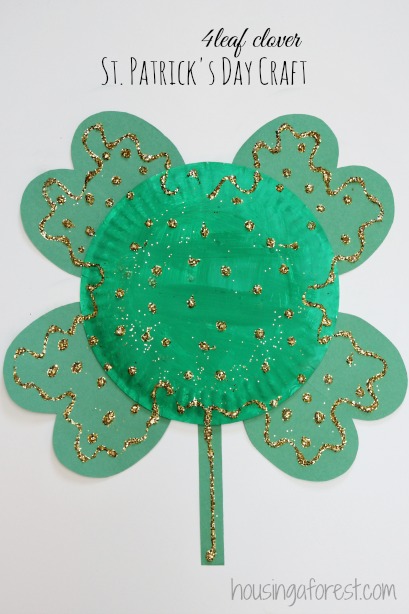
Ready for another simple paper plate craft?  We had so much fun making our little Leprechauns, that I couldn’t resist making another St Patrick’s Day craft.  These little lucky 4 leaf clovers couldn’t be simpler to create.

Simple St Patrick's Day Craft ~ Paper Plate 4 Leaf Clover

 4 Leaf Clover Paper Plate Supplies

  • 1 Paper Plate
  • 4 green paper hearts and a stem
  • Glue
  • Glitter
  • Green and White Paint
  • Tape ~ optional

Simple St Patrick's Day Craft ~ Paper Plate 4 Leaf Clover

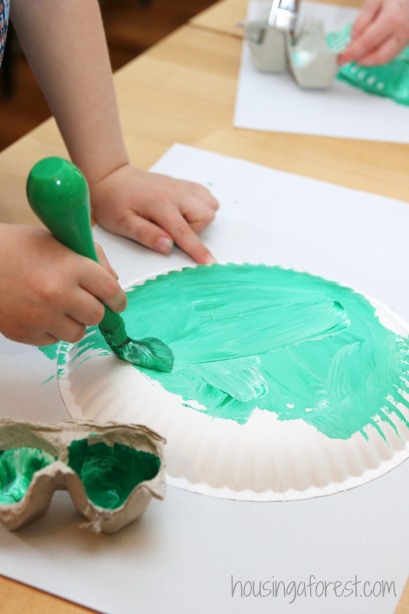
The kids mixed white and green paint right on their paper plate.  I love letting kids mix colors, and our simple egg carton paint pallets work perfectly for that.  They are frugal, and the best part is I can cut them into just the right size for the project.  Love that.

Simple St Patrick's Day Craft ~ Paper Plate 4 Leaf Clover

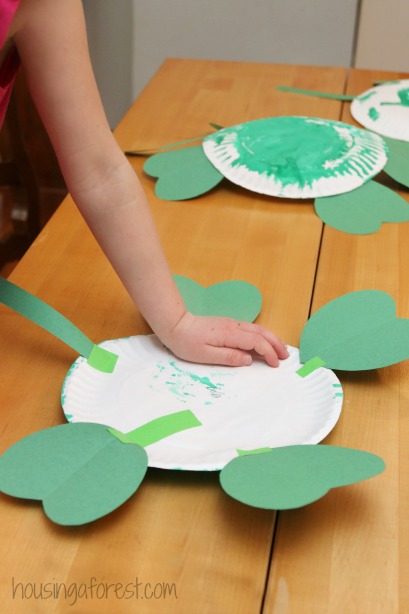
Once their paper plates were dry, the kids taped on the heart leaves and a stem.  You could use glue as well, although the kids love using tape on craft we make.  We squeeze in a little fine motor practice by using scissors to cut the tape into just the right length.

Simple St Patrick's Day Craft ~ Paper Plate 4 Leaf Clover

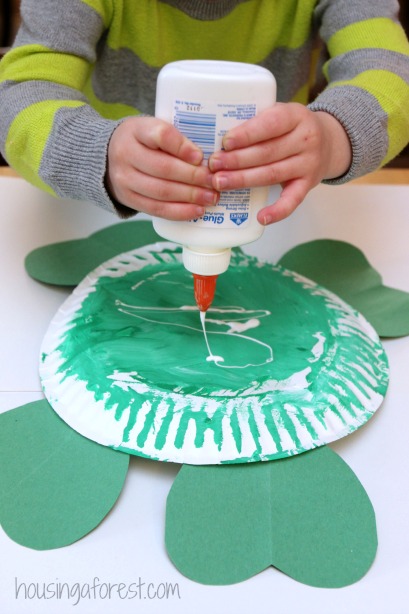
Now comes the fun part.  We had a fun squeezing patterns onto our 4 leaf clover with glue.  The kids created dots, made swirls and formed beautiful free form patterns with the glue.

Simple St Patrick's Day Craft ~ Paper Plate 4 Leaf Clover

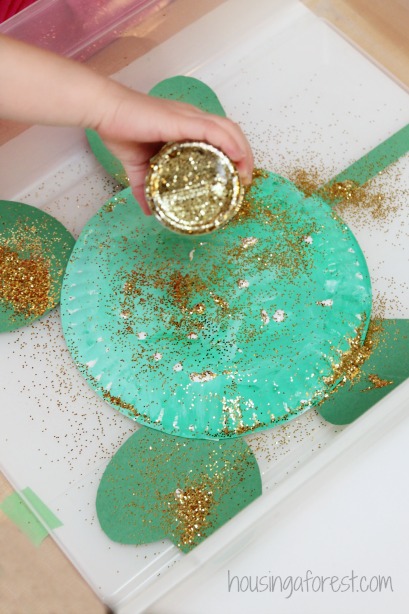
Glitter is always a hit in our house and something that I am sure the kids will never get tired of using.  It is one of those things that the kids beg to add as a finishing touch to just about every project we make.  That is why I am so thankful for the delightful package we received from Craft Project Ideas.  It was packed full of craft supplies, including this glitter.  Once all the glue was covered in gold glitter, the kids carefully tipped their project and tapped off the excess glitter.  I adore how these simple Shamrocks turned out.

Tips for using glitter with kids

  • I use a short tub to contain some of the excess glitter.  This way we can reuse it for another project.
  • Instead of turning the glitter all the way open, I usually only uncover one of the glitter holes.  This way less glitter comes out at a time.  Conserving on glitter.
  • Check out this simple glitter clean-up tip from Learn Play Imagine.  No more wasting spilled glitter.  Love that!

Simple St Patrick's Day Craft ~ Paper Plate 4 Leaf Clover

For more St. Patrick’s Day Crafts, check out our:

Glitter Shamrocks

Rainbow Q-tip Painting

Racing Balloon Leprechauns

Shamrock Sprouts

Credit Card Art