


Please welcome Faigie Kobre from Edu Art 4 Kids who is guest posting on Housing A Forest today. She is passionate about getting kids excited to create and move beyond cookie cutter crafts. Check out this simple Tray Painting tutorial that Faigie is sharing with us. It is perfect for encouraging creativity within our children.
…………………………………………………………………………………..
Kids love to paint. To encourage kids to paint, most good preschool and kindergarten programs have an easel for the children to take turns painting on. Painting at home may not be as difficult in once sense, since you are doing it with fewer kids but, it is still not for the faint of heart. You have to really believe that it is an activity that is beneficial for your children in order to deal with the mess. (even if its not so messy, its not as mess free as coloring)

When I was in graduate school I learned a method of painting in my art for teacher class, that I brought into my classroom and then when I was raising my children, I brought it into my home.
This type of painting is called “tray painting”. The reason it is so called is because it was originally done using a cookie tray (sheet) as the palette to mix the colors.
I discovered after doing that for a while, when I was unable to find good old fashioned cookie sheets that were not non stick, that aluminum foil works just as well.Not only does aluminum foil allow the children to mix colors easily but, you can throw it out at the end, allowing for less wash up. ( and when the foil gets too full, they can just take a new piece).
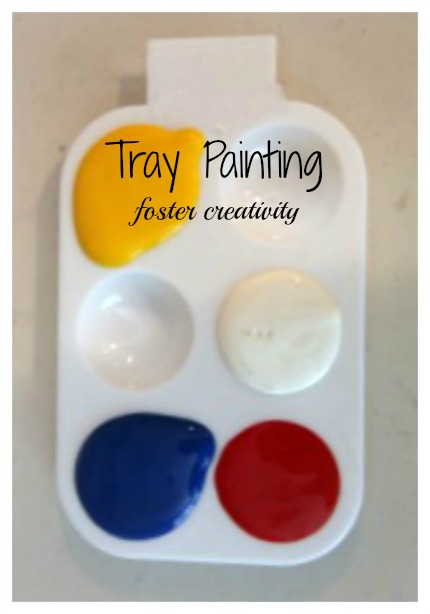
The idea of tray painting is to use only the 3 primary colors plus white to be able to mix and create any color they want. (When they are very proficient in this method they get black also. If they get black before they really know what they are doing, their whole picture will be black)
This way they
- Learn that you can get all the colors from the colors they have
- They learn to really follow directions
- They learn about shades and hues and values
The basic setup includes
- 1 piece of paper to paint on (I like to use the ones about 11×18)
- 1 piece of aluminum foil
- 1 cup of water
- 1 paintbrush
- One sponge (to dry the paintbrush, but if there are none then we used wadded up paper towels)
- Tempera paint in either tops of baby food jars, empty egg cartons or like something I found online seen below.
This was the setup I used back when I used to use tops of baby food jars.

When we were getting ready to do this in our summer art camp again one summer, we discovered these wells below.

You can see how much easier it was to prepare these then it would have been to use so many tops of baby food jars. (which we did used to use)

It is also much better to use a dry sponge as it will absorb the wet paintbrush better, but we have definitely resorted to using folded up paper towels as well.
To begin we usually give them a nice size piece of aluminum foil and place the water, paints and sponge on the foil.

If you have more space you can move it off of the foil. (the original setup had all the items inside the tray)
The painting procedure
The instructions we give to the children are as follows.
Dip the paintbrush in the paint color of choice, paint, wash brush in cup of water, dry on sponge, dip in different color.
Then, if they do not want to put their color on the paper but, want to mix colors then the directions are the same. Put paintbrush in color, then put it on foil, wash brush, dry brush, dip in second color and then put it on top of first color to mix.
The biggest job the parent or teacher has is to be there to get the children used to washing their brushes before they put them into another color. Drying them is also important so that the brush will pick up more paint easily.
The point of this is that the children can then create lots of different colors that they need for their pictures.

There are a few different things that happen with this activity that you should be prepared for.
Some children just end up mixing the colors on their foil and never end up putting it on their papers.
Others just end up mixing colors onto their papers trying different color combinations without using the foil to mix.

Some may get the idea of the different shades they can get with their colors and will use those shades on their paintings.

Some may actually choose not to mix any colors and just will use the primary colors that they have.

The most important to know is that the more experience the children have with this kind of painting the more adept they will get at it and the more sophisticated their pictures will be.
Little ones will of course, not make anything representational but, if you let them do it for a few yeas, wow, what amazing paintings they will make.
Also remember that you are using very little bits of paint so if the paint colors get mixed up, you can easily wash it out and refill it.
Whenever I speak with someone about the detrimental effects of cookie cutter crafts their standard line is always “Yes, but, where will they learn to follow directions”? and my response…”Give them tray painting”.

Follow along and join in the fun at:
…………………………………………………………………………………..
Thanks so much for sharing Faigie. I love your simple tray painting technique. We all love comments, so why not pop over and visit Edu Art 4 Kids and tell her how much you enjoyed her post on Housing A Forest.
Here are a few of my favorite posts from Edu Art 4 Kids to get you started:


