Compass Painting

It is time for another Paint and Play challenge.  If this is your first time joining us,  the focus for our weekly series is all about the process, having fun and getting kids excited to create art with fun and unique mediums!  Our challenge this week was to get creative with School Supplies.  While Growing A Jeweled Rose is outside to creating Solar Crayon Art, we dusted up on our math skills by creating a Concentric Compass Painting. 
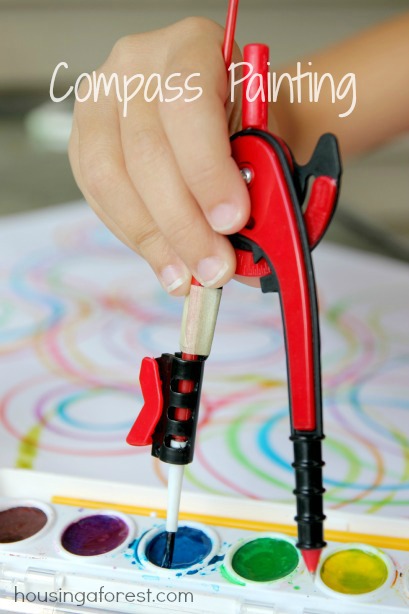
Compass Painting ~ Fun back to school art!

……………………………………………………………………………

Its almost time for my kids to go back to school and our summer break is coming to a close.  I will miss having a crazy busy house, but the kids can’t wait to see all their friends.  I am thankful that they still love school, it makes this process so much easier.

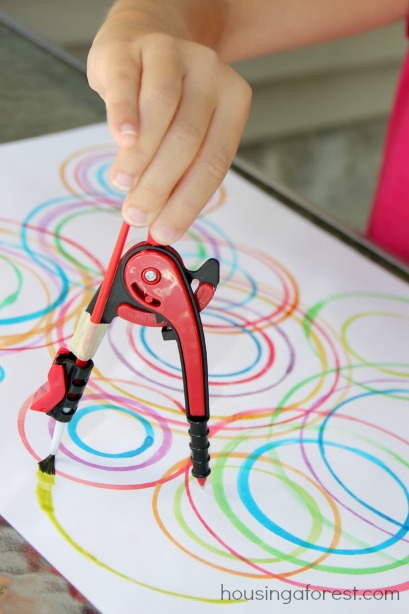
In order to get everyone back in the school groove, we are attempting to organize our school supplies.  As we were sorting all the pencils, rulers and notebooks, we came across a compass and a paint set.  After a little fiddling, we came up with a fun solution that allowed us to paint with our compass.  Look out beautiful circles, here we come!
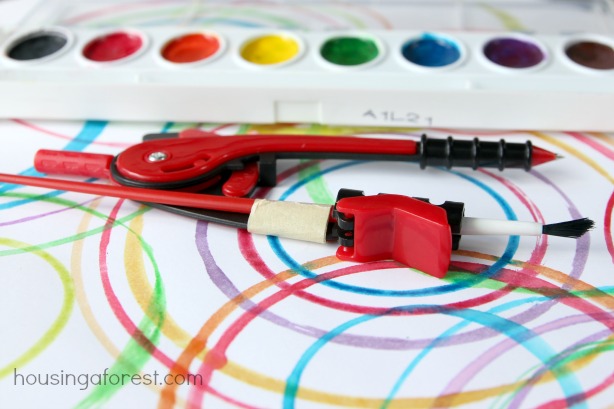
Compass Painting ~ Fun back to school art!

 Compass Painting: 

  • Compass
  • Paint brush ~ with a skinny handle
  • Masking Tape
  • Watercolor Paint
  • White Paper

Compass Painting ~ Fun back to school art!

Our paintbrush was a little skinny to fit exactly into our compass.  To keep it from sliding around, we taped it with a little masking tape.
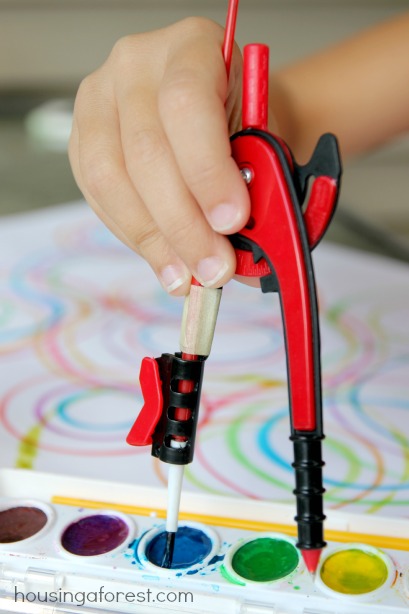
Compass Painting ~ Fun back to school art!

To begin creating, simply load your paint brush as you would normally, leaving it attached to the compass.  The kids found this a bit awkward at first, but the quickly got the hang of it.  We also found that a wet paint-filled brush worked better that a slightly dry brush.
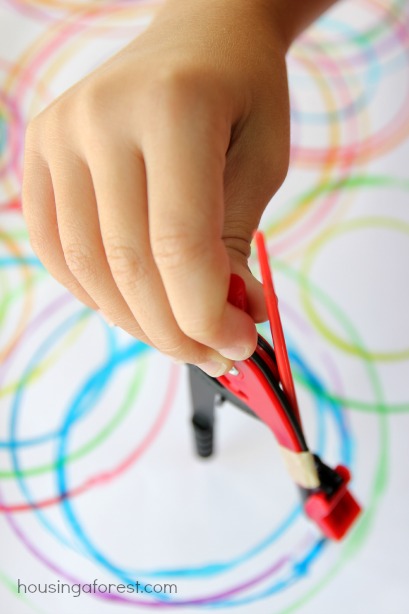
Compass Painting ~ Fun back to school art!

I love all the beautiful overlapping circles.
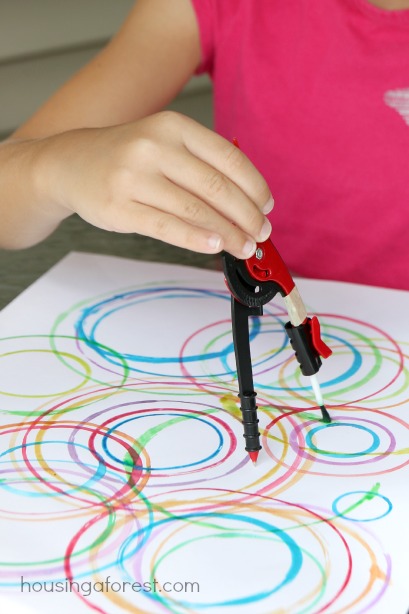
Compass Painting ~ Fun back to school art!

We had so much fun covering the paper in as many circles as we could manage.
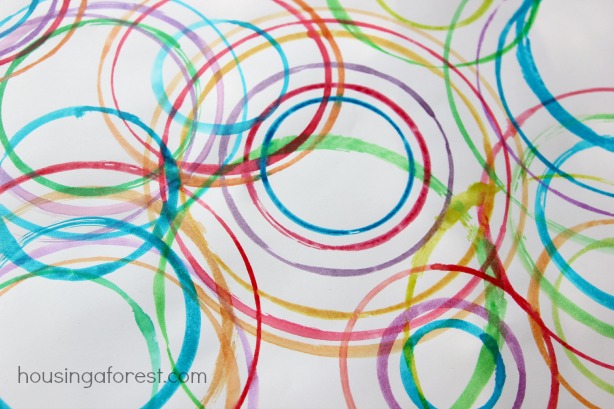
Compass Painting ~ Fun back to school art!

The kids soon discovered if they placed the point of the compass in the same spot and widened or narrowed the hinge of the compass, they were able to create a beautiful concentric circle pattern.  They were so excited by this simple discovery!
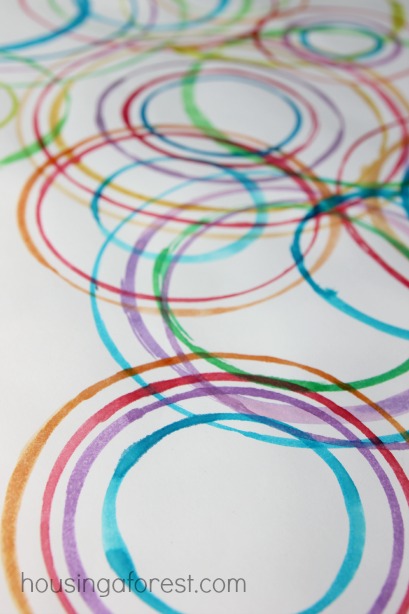
Compass Painting ~ Fun back to school art!

I have to admit, I brain starts to hurt when I hear mathematical words, and the thought of using a compass to create something playful and fun sounds like a total contradiction to me.  However, this simple project was so delightful and it a great introduction for kids to learn how a compass works.  We will be trying this again soon.  Compass Painting is such a fun and playful way to combine math and art!

……………………………………………………………………………

Make sure to stop by Growing A Jeweled Rose and see how they created Solar Crayon Art!
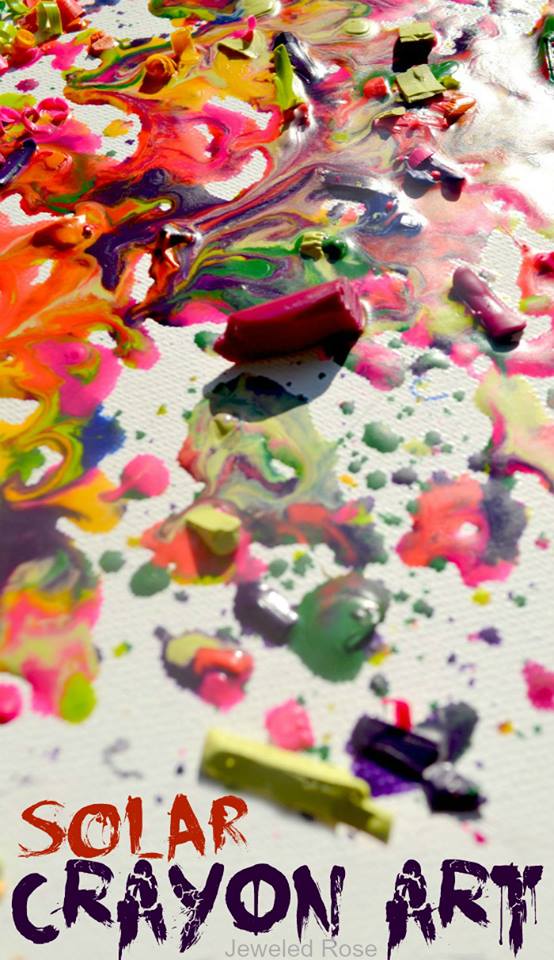
Solar Crayon Art

……………………………………………………………………………

Don’t miss out on any of our Paint and Play series:

Balloon Painting 5 Ways and Super Creative Balloon Painting

Homemade Spin Art Machine and A Spin on Spin Art

Tire Swing Pendulum Painting and Glowing Pendulum Painting 

Painting with Candy and Painting with Candy

Glowing Ice Painting and Summer SCENTsory Ice Paints

Marble Maze Painting and  Ice Marble Painting Activity

Touch Painting and Touch Painting

Soap Free Bubble Prints and  Glowing Bubbles

Make sure you stop back in next week for more Paint and Play!

……………………………………………………………………………
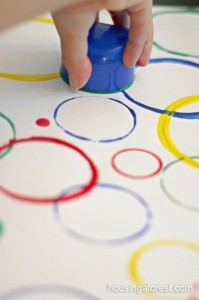
Circle Painting made easy ~ simple preschool art

These simple Circle Prints are perfect for creating with your toddler.

If you love process art like us, then check out my Painting Without Brushes Pinterest board.  It is packed full of fun ideas.
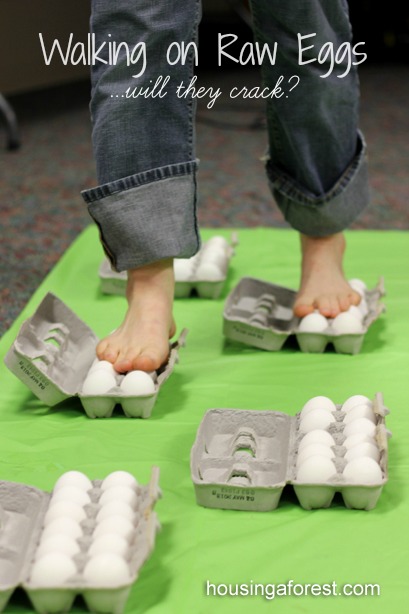
Walking on Raw Eggs

Easy Science Experiments for Kids

We are always looking for new science experiments for kids to try.  I have seen this one done a few times and every time I am amazed!  Who knew that that the simple egg was so strong.  I took these pictures while helping out with a kids program where this simple yet amazing experiment was demonstrated.  Let me tell you, the looks on the kids faces were simply hilarious!

Have you tried Walking on Raw Eggs before?

Easy Science Experiments for Kids ~ Walking on Raw Eggs Science...will they crack?

Walking on Raw Eggs:

  • A Dozen Raw Eggs in their carton ~ We used 5 dozen.
  • Plastic to cover the floor ~ just in case:)
  • A few volunteers to join in on this fun learning experiment.

Start by having the kids make a few predictions as to what will happen when they walk across the raw eggs.  Some of my favorite, and very scientific predictions included…

“The eggs will crack and break!”

“Your feet will be covered in scrambled eggs!”

“You will have egg guts all over your feet!”

Easy Science Experiments for Kids ~ Walking on Raw Eggs Science...will they crack?

Make sure to remove your socks and shoes.  This is one experiment that will only work if you are barefoot.

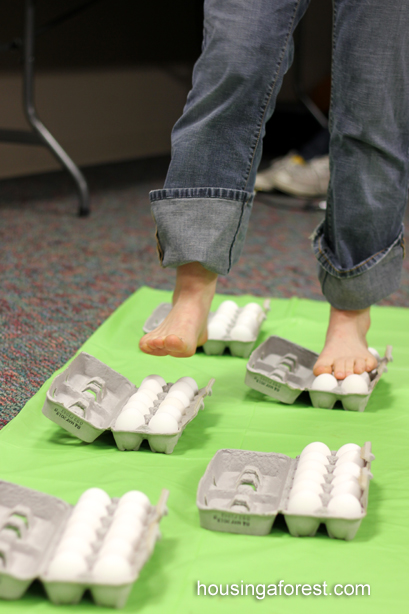
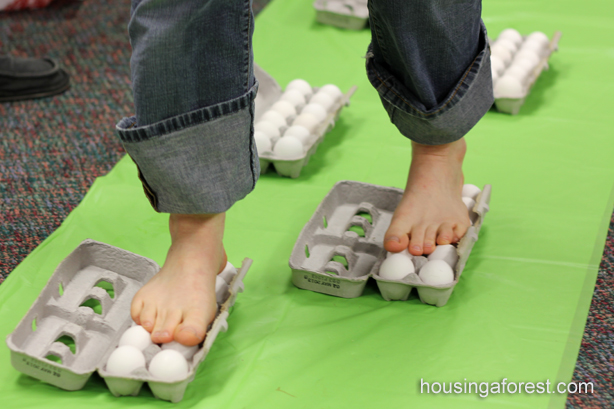
Lay out the plastic to protect the floor.  Have the kids help arrange the egg cartons in a staggered pattern just like stepping stones.  It will make it easier to step from one carton to the next.

Easy Science Experiments for Kids ~ Walking on Raw Eggs Science...will they crack?

The first carton of eggs is the hardest to step onto, you may want a friend to assist you.  Try to disperse your weight onto as many eggs as possible and move slowly from carton to carton.

I loved listening to all the amazed oooo’s, ahhhhh’s, giggles and cheers.  There is nothing like kids encouragement and amazement!

Easy Science Experiments for Kids ~ Walking on Raw Eggs Science...will they crack?

After the cheers settled, the kids wanted to see what would happen when you stood on only one egg.  Splat!  It just goes to prove that the little mighty egg is way stronger when in a group of its friends.  This was the only egg that cracked during the experiment, the rest were still good to use as you would regularly.  

If you are looking for the science explanation behind this fun experiment, make sure to check out Steve Spangler Science.  It is my go to site for all things science.

Looking for more simple science experiments for kids? Check out our:

Exploding soap experiment

Packing Peanut Experiments

Exploding Peep Geysers

Shooting Water Experiment

Glow Stick Ice Painting

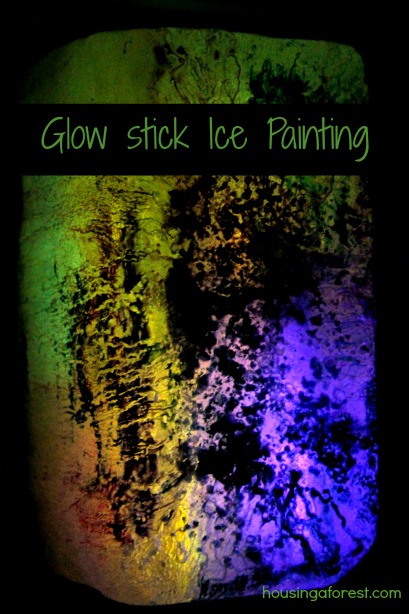
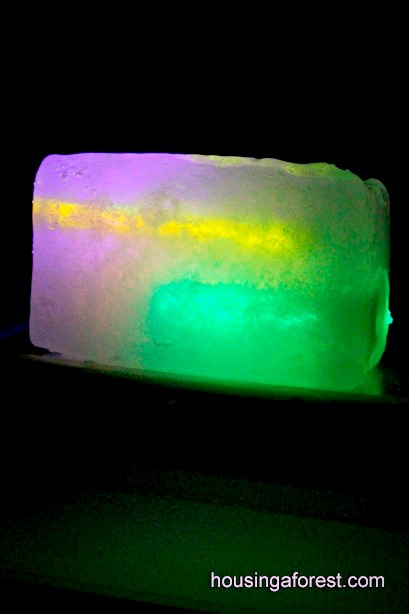
We are finding lots of fun ways to stay cool this summer and beat the heat. However this might be one of the kids favorite ice activities so far. It combines 2 of my kids favorite things…ice and glow sticks. As we were setting up this activity, it looked like something my kids would totally get into. I was right, the kids absolutely loved this simple Glow Stick Ice Painting.

Glow Stick  Ice Painting ~ explore paint and ice at night Materials needed to make a Glow Stick Ice Painting:

  • Glow Sticks – we used both the skinny bracelets and the thicker glow sticks. Both worked great
  • Thick Ice Block – thick enough to make sure that it won’t crack when you drill holes in it.
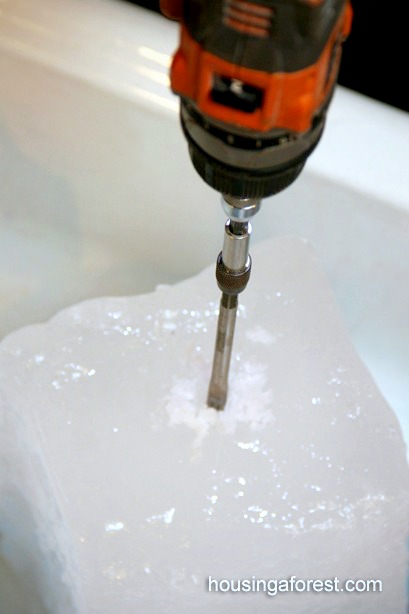
  • Electric Drill – please take precautions when using power tools
  • Drill Bits – find one that is just larger than the glow stick. We also used a drill bit extender.
  • Water Color paints
  • Paint Brushes
  • Course Salt
  • Tray to catch any of the drips

Glow Stick  Ice Painting ~ explore paint and ice at night

We drilled about 4 holes into our ice block deep enough to hide a Glow stick in. One of the things that we found out the hard way was to keep the drill moving. If you let the drill sit in the ice it will freeze there. Oops. The ice eventually melts so you will get it back, it might just take a while;)

Glow Stick  Ice Painting ~ explore paint and ice at night

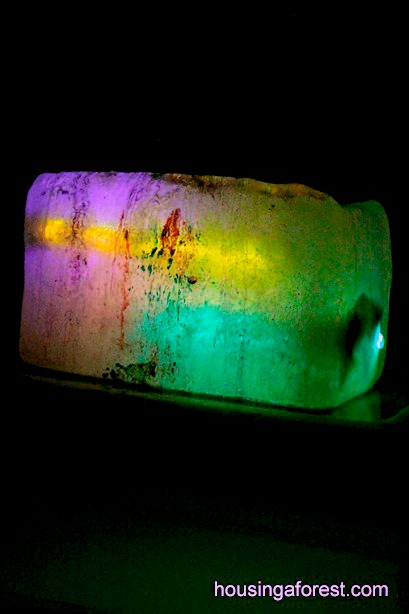
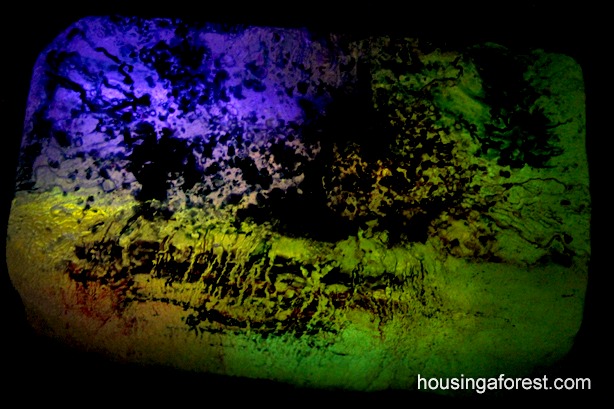
Place a glow stick into each of the drilled holes and set the glowing ice block on a tray. Set out the water colors, brushes and salt beside the ice and invite the kids to start creating.

Glow Stick  Ice Painting ~ explore paint and ice at night

We had so much fun with this activity that I forgot to take photos. I guess that us a sign that it was a hit;)

Glow Stick  Ice Painting ~ explore paint and ice at night

Next time I will make more ice blocks. They were so fun to paint on and my back yard looked great!

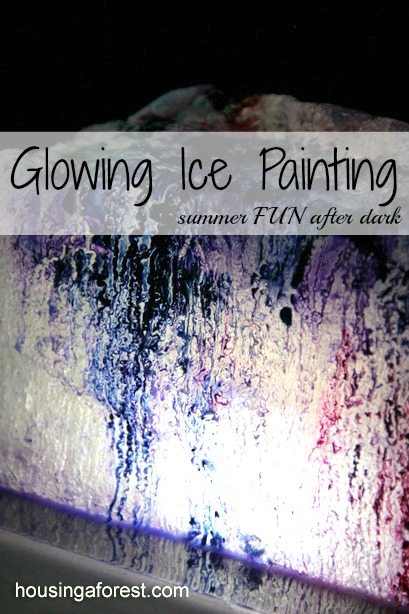
Glowing Ice Painting

Here is another great way to create a Glowing Ice Painting! The set up is super simple and your kids will love it! You might be surprised by how we managed to make the ice glow!

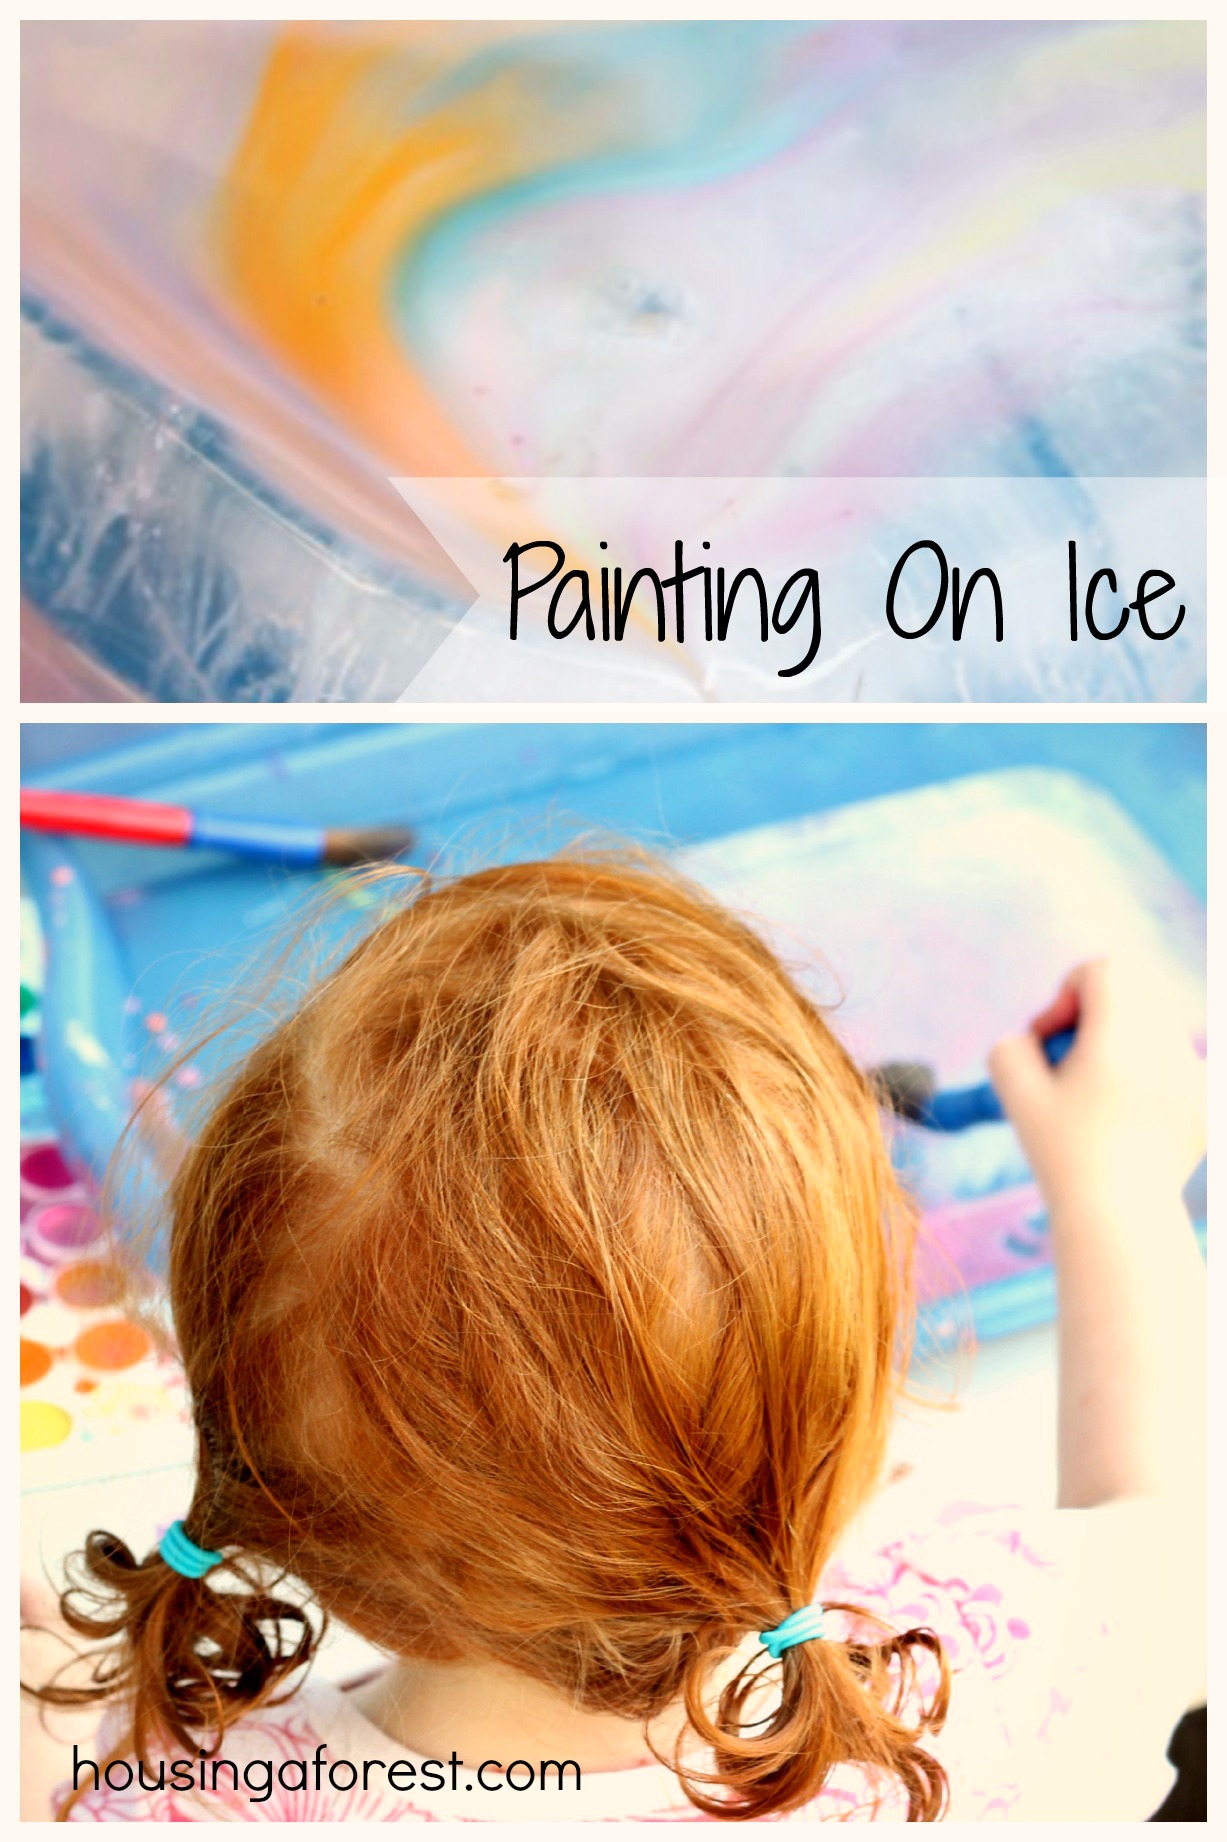
Painting On Ice ~ Perfect for Summer

We also enjoyed this simple Ice Painting Activity.  It was so simple and the kids LOVED it!

If you are still looking for more glowing art, check out this fun Glowing Ice painting from Growing a Jeweled Rose.  Another great way to use glow sticks and Ice to create art!

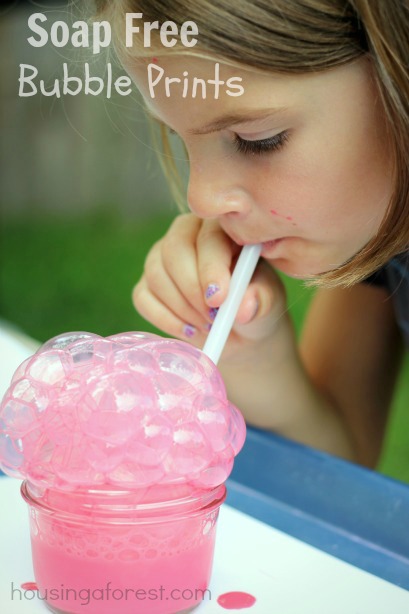
Soap Free Bubble Prints

I am loving our weekly Paint and Play challenge with Growing A Jeweled Rose.  If this is your first time joining us,  the focus for our series is all about the process, having fun and getting kids excited to create art with fun and unique mediums!  Our challenge this week was to create and play with Bubbles.  Crystal create super fun glowing bubbles, while my kids created Soap Free Bubble Prints.  Read on to find out what our secret ingredient is!   

soap free bubble prints ~ no more sucking in soap bubbles!

……………………………………………………………………………

Bubbles are always a hit!  My kids love blowing long squiggly Bubble Snakes (which are amazing!), making bubbles with their hands and creating Bubble Prints.  I can’t count the number of times someone has commented  that their little one inhaled or accidentally drank the bubble solution.  We have all unfortunately tasted bubbles at one time or another, and can attest to the fact that it is no fun.  In hopes to avoid any further mishaps, especially with the little ones, we are playing with bubbles in a whole new way.

soap free bubble prints ~ no more sucking in soap bubbles!

My kids came up with a simple solution, that is perfect for even the youngest of bubble blower.  Are you curious yet?  Let me give you a hint…It is something that you find in the refrigerator section of the grocery store.

Have you guessed what we are using to make our Soap Free Bubble Prints with yet?

soap free bubble prints ~ no more sucking in soap bubbles!

 Soap Free Bubble Recipe:

  • Shallow Containers ~ we used shallow mason jars
  • Food Coloring
  • Straws
  • White Paper
  • Trays ~ to contain the drips
  • Milk ~ yep you read right…plain old milk!

soap free bubble prints ~ no more sucking in soap bubbles!

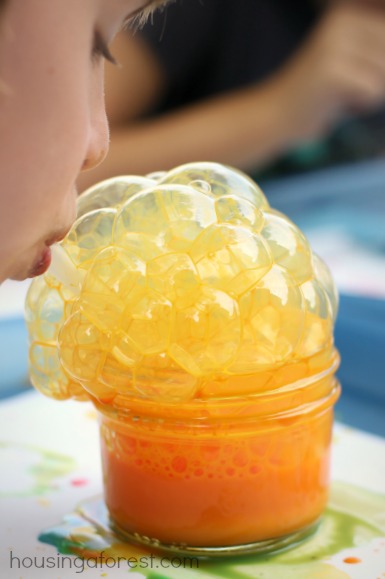
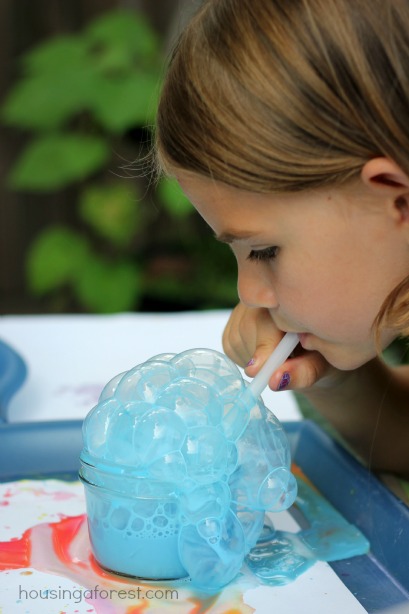
Kids love blowing frothy, noisy bubbles in their milk.

I find it to be too much at our dinner table, but at the art table I am all for it!  

I love that this simple recipe only uses milk and food coloring.  No icky soap taste, just good old fashioned fun!  Totally a win, especially if you have toddlers.

soap free bubble prints ~ no more sucking in soap bubbles!

All you need to do is add a little food coloring to the milk and blow bubbles until your hearts content.  I love the cotton candy color that the milk gives the bubbles.

Milk bubbles are heavier than soap bubbles, so be prepared for drips and splashes of colorful milk.  A simple tray works perfect for containing all the milky spills.

soap-free-bubble-prints ~ No icky taste and  safe for little ones!

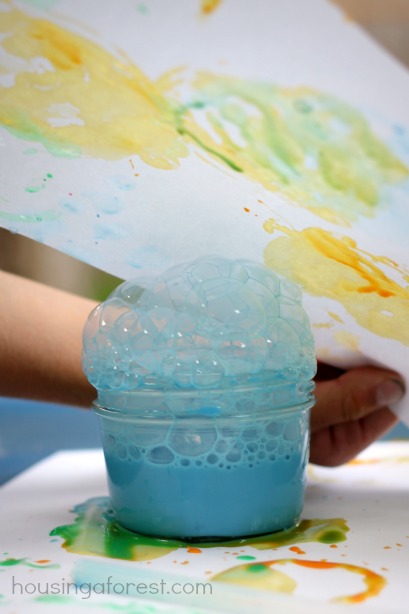
Once there is a huge pile of bubbles, quickly lay your paper on top of the bubbles.  We found it worked best to use a light hand and gently press the paper into the bubbles.  The milk bubbles will pop right on your paper leaving behind unique designs.

soap free bubble prints ~ no more sucking in soap bubbles!

Our prints were not as crisp as the prints made with soap, but the process is just as fun!  Plus it is safe for little ones.  No more drinking yucky soap!  If your child accidentally takes a sip of the colorful milk, no harm done.  Love that!

……………………………………………………………………………

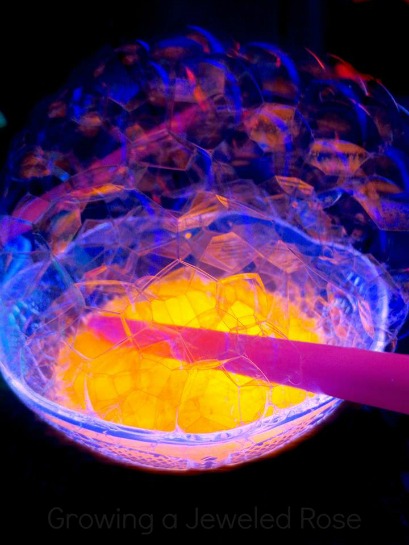
Make sure to stop by Growing A Jeweled Rose to check out their Glowing Bubbles!  Doesn’t that just look like a blast.  GAJR has lots of cool Glow-In-The-Dark posts that are on my kids must do list.

Glowing Bubbles ~ Growing a Jeweled Rose

……………………………………………………………………………

Don’t miss out on any of our Paint and Play series:

Balloon Painting 5 Ways and Super Creative Balloon Painting

Homemade Spin Art Machine and A Spin on Spin Art

Tire Swing Pendulum Painting and Glowing Pendulum Painting 

Painting with Candy and Painting with Candy

Glowing Ice Painting and Summer SCENTsory Ice Paints

Marble Maze Painting and  Ice Marble Painting Activity

Touch Painting and Touch Painting

Make sure you stop back in next week for more Paint and Play!

……………………………………………………………………………

If you love process art like us, then check out my Painting Without Brushes Pinterest board.  It is packed full of fun ideas


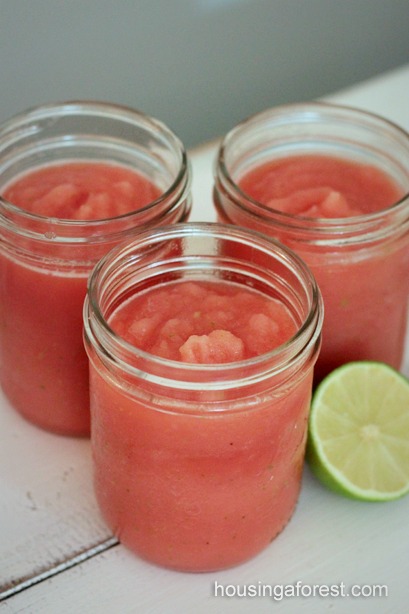
Watermelon and Lime Smoothie Recipe

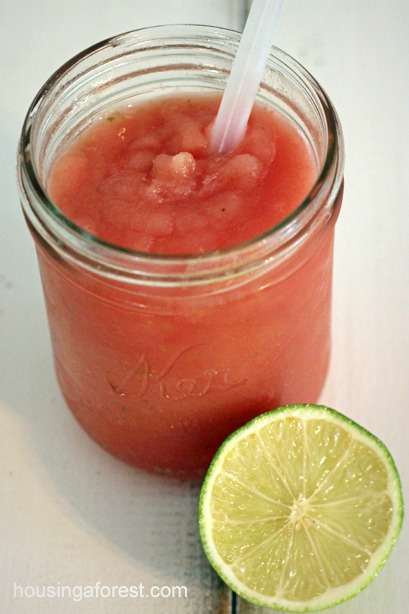
Are you looking for a simple drink that is easy to make and tastes refreshing?  Check out our super simple Watermelon and Lime Smoothie Recipe.  My family loves both Watermelon and smoothies, so we combined the two into one amazing healthy treat!  This simple summer recipe is so refreshing and your whole family will love it!

Watermelon and Lime Smoothie Recipe

Watermelon and Lime Smoothie Recipe: 

  • 4 cups Watermelon ~ Cubed and Frozen
  • 1 ripe Banana ~ Peeled and Frozen
  • 2 tablespoons of one of the following ~ Agave Nectar, Honey or Maple Syrup.
  • Zest from 2 Limes
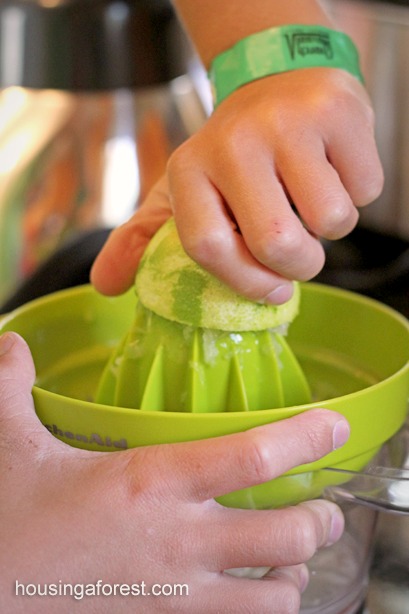
  • 4 tablespoons of fresh squeezed Lime Juice
  • 1/4 cup plain yogurt
  • 1/4 cup of water ~ use as little water as possible to keep the smoothie thick and yummy!

Watermelon and Lime Smoothie Recipe

Directions:

Line a cookie sheet with wax paper and cut up watermelon.  Freeze the watermelon for about 1 hour.  You can place unused frozen watermelon into a zip-loc to use later.

Place the frozen watermelon into the blender, add the rest of the ingredients slowly and blend until smooth.

Watermelon and Lime Smoothie Recipe

Serve immediately and enjoy!

Watermelon and Lime Smoothie Recipe

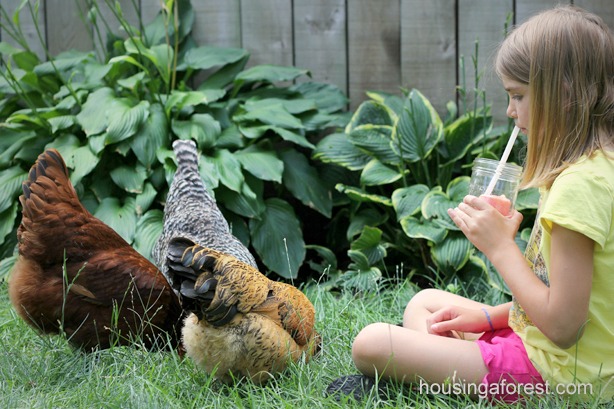
My kids love sitting in the backyard with their feathered friends enjoying a yummy summer treat.  We love our sweet little Urban chickens.

What is your favorite way to enjoy Watermelon?