Paint Chip Notebook

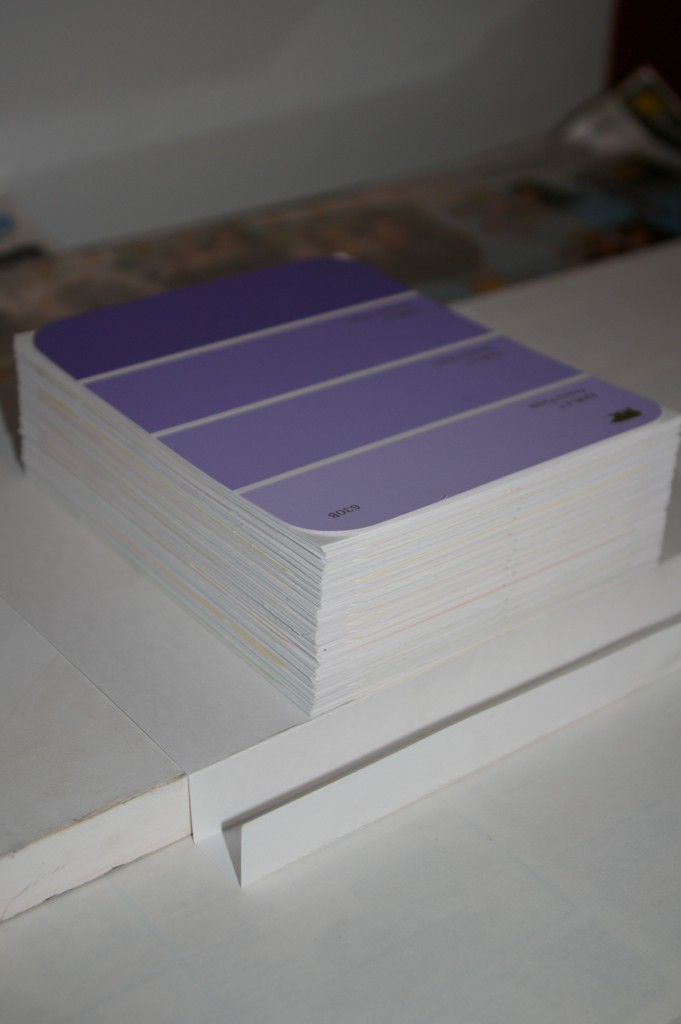
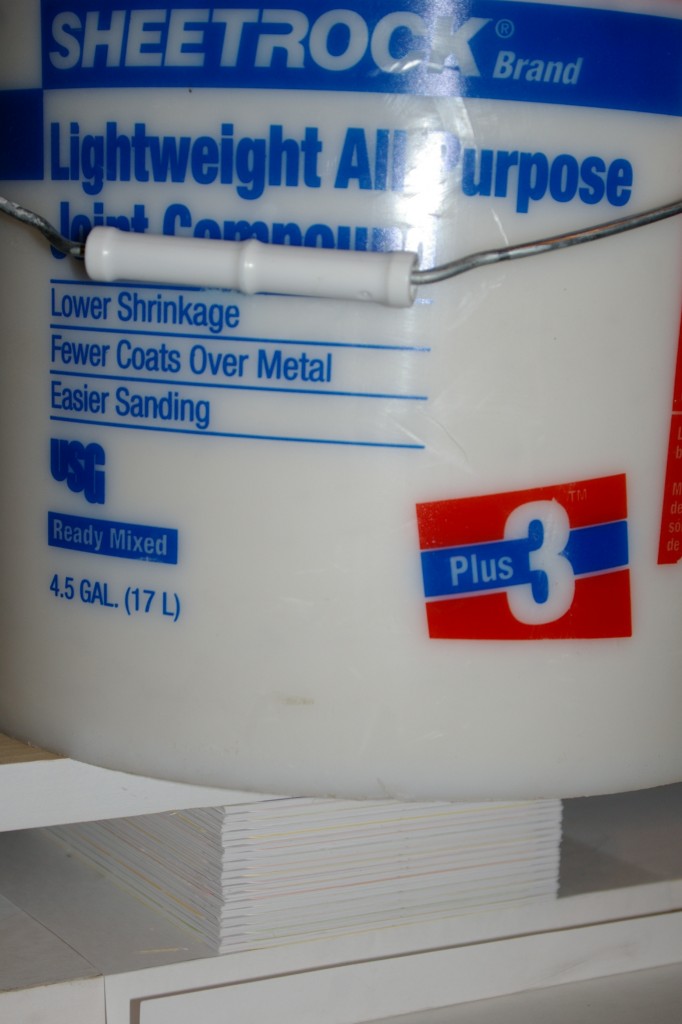
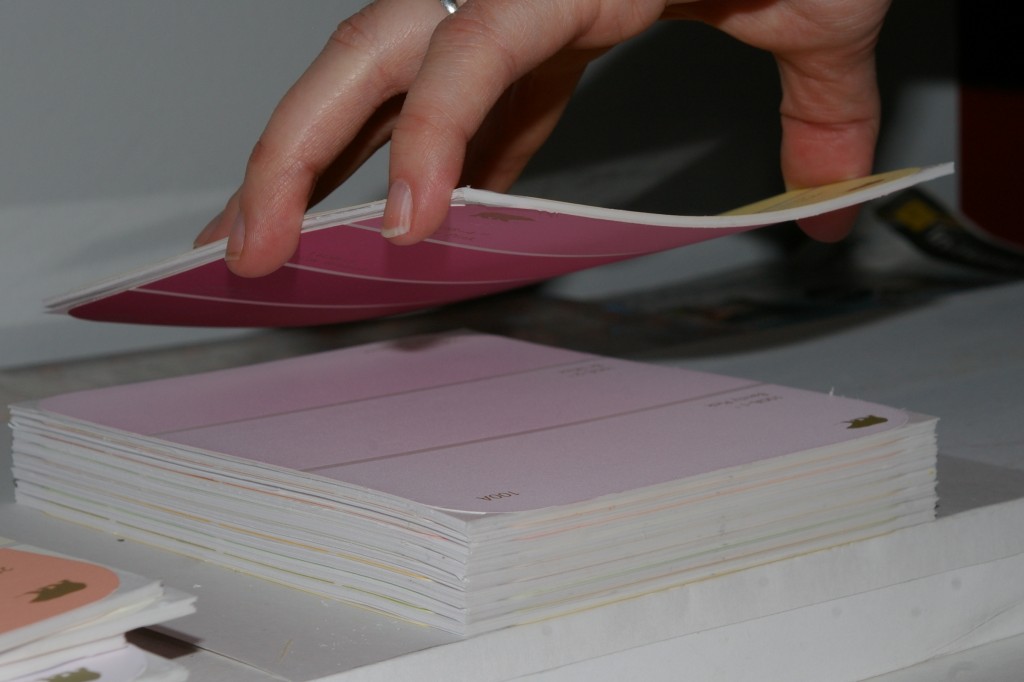
Cute note books have been popping up all over and I just had to make some as party favors for Annika’s Art Party.  Here is how we made our Paint chip notebooks.  It was so simple.  You will need 2 large paint chips (for the front and back covers), paper cut to the size of the paint chip, padding paste and clamps (which we could not find so a bucket of Sheetrock mud works too!).

Stack all the notebooks on top of each other.  The cover of one notebook will be touching the back of the next.  Make sure that all the edges are straight, you will want a cute little stack.

Sandwich the little notebooks with a piece of wood.  It should line up with the front edge of the notebooks.  Normally you would clamp them all together, but our clamps were no where to be found so we grabbed the next best thing.

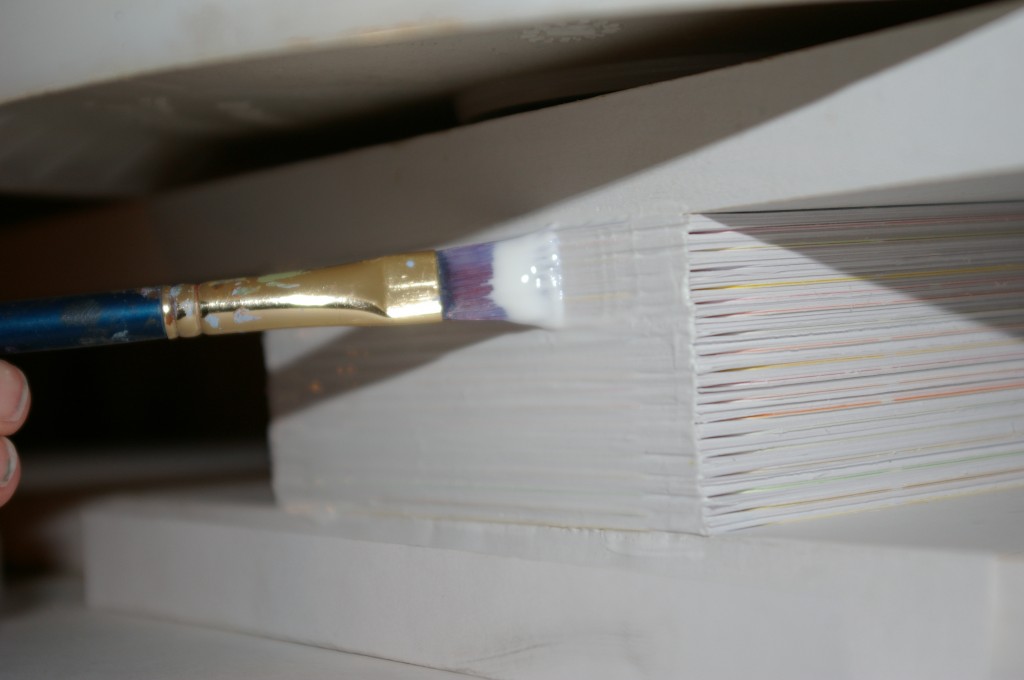
Apply a thick layer of padding paste with a brush, only one layer is needed.  Make sure that you get full coverage.  Be careful not to get the padding paste on the side of your notebooks.  The padding past should dry quickly, ours was ready in about 10 minuets.

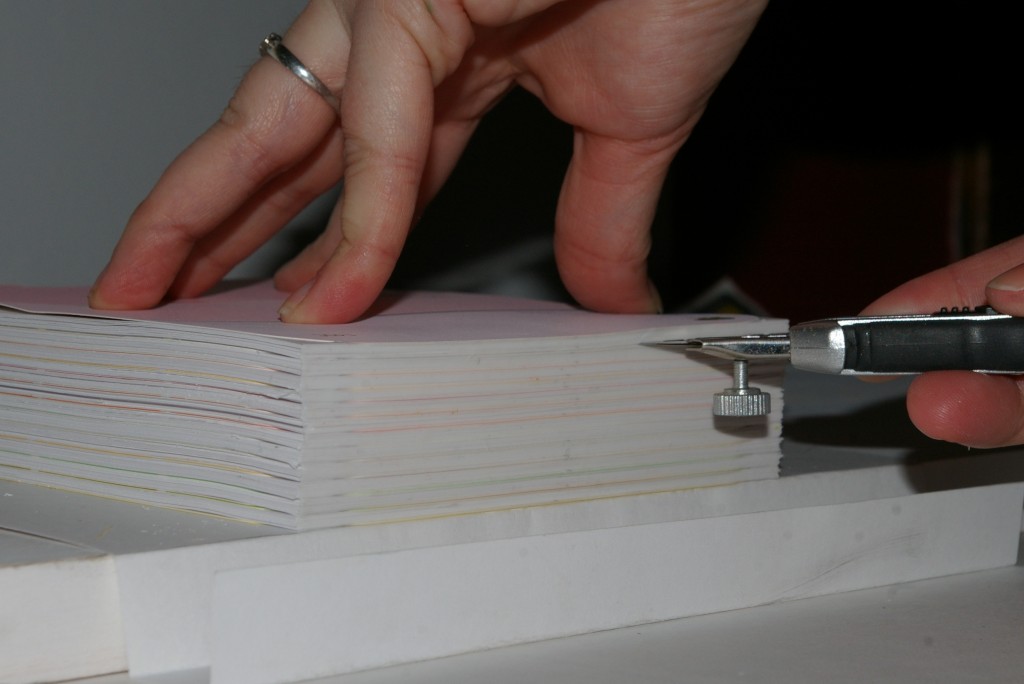
Once the padding paste is dry, slip a sharp knife between front and back covers.  Gently cutting each book apart.

The notebooks should separate from the stack easily.
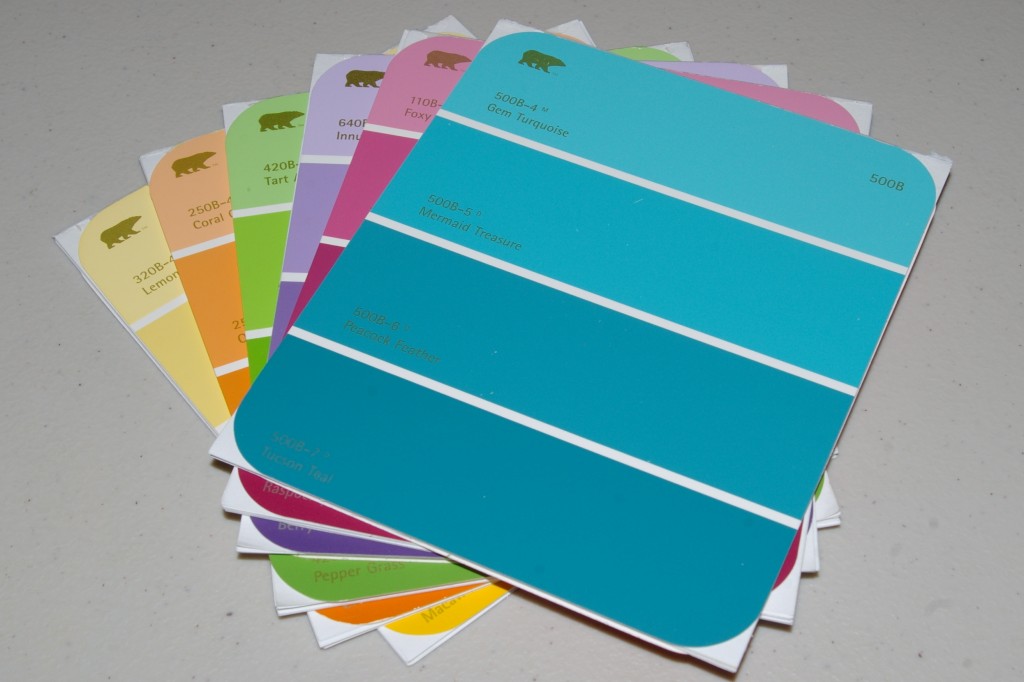
They turned out so cute.  Each notebook favor was tied with a cute ribbon and a glitter pencil and a few gel pens.  This simple technique can be translated into so many different styles of notebooks.  I can’t wait to make more sets of cute little books.


Marble Painting

Marble painting is so easy.  There are many different ways that your kiddos can marble paint.  We have used acorns in the fall, fun holiday shaped paper like shamrocks, hearts and easter eggs, different shaped boxes and pans to roll the marbles in, and experimented with different types of paint.

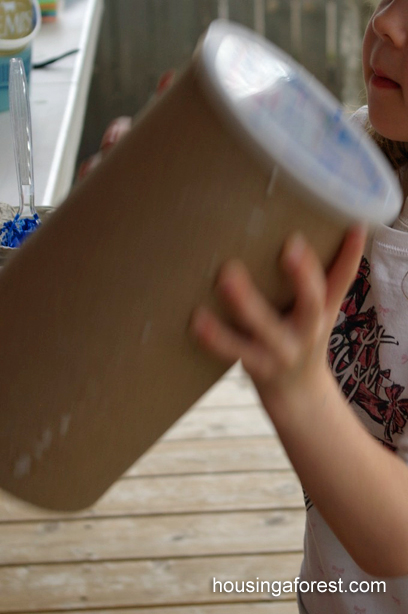
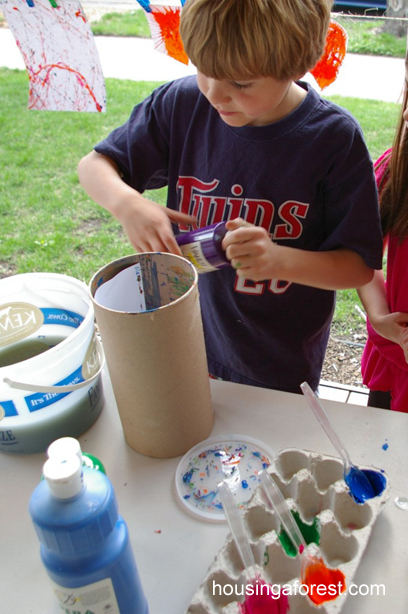
For Annika’s Art party we chose to have the kids shake the marbles inside an oatmeal container.  My 8 year old son was in charge of this station, and I needed a way for him to manage all the kiddos without a large mess.  He did an amazing job and he was so proud of himself!  If he can handle a group of 12 kiddos marble painting then it really has to be a success.

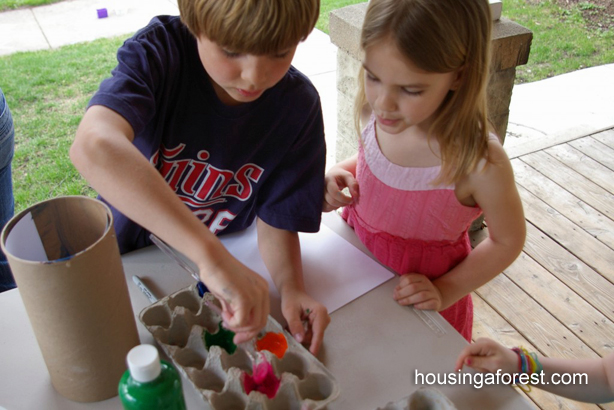
Slip a sheet of card stock inside the oatmeal container.  The oatmeal container was the perfect size so we did not even have to trim the paper.  Egg cartons were used to hold the tempera paint.  The kids dropped a marble in the paint, rolled it around with a spoon to make sure that it was fully covered, then dropped the paint covered marble into the oatmeal container.  Drop the painted marbles into the oatmeal container, seal the lid and shake.

Different patterns can be created depending on how you shake the container.  We had a bucket of water close by so that once the painting is done the marbles can be dumped into the water and cleaned for the next kiddo.

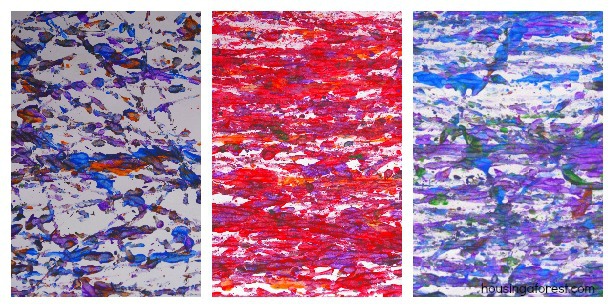
So simple and easy.  I love how the colors mix as the marbles as roll around inside the container.

Marble Painting

Bubble Painting

Bubble painting is not a new idea, but kids LOVE it.  This was one of the stations at Annika’s Art party and it was a huge hit.

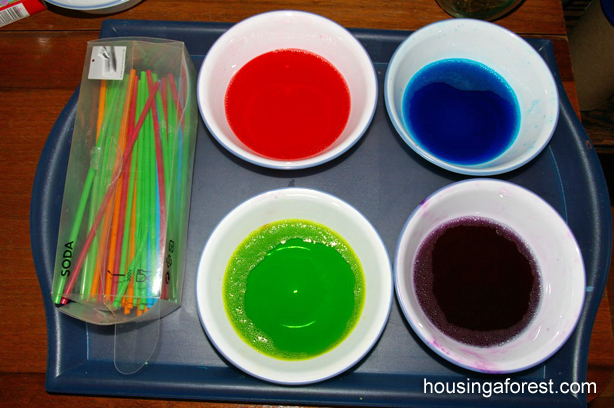
You will need to mix:

  • A squirt of dish soap
  • 15 drops drops of neon food coloring
  • 1/2 cup of Water

I tested each color before the kiddos arrived, just to make sure it was bright.  You will also need a lot of straws, one for each kid.  I gave them a new straw each time they came back to this station.

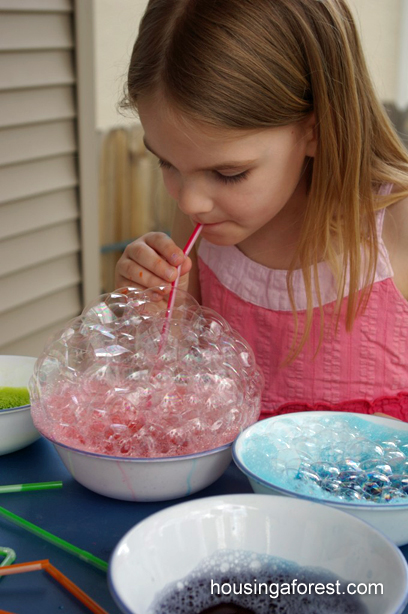
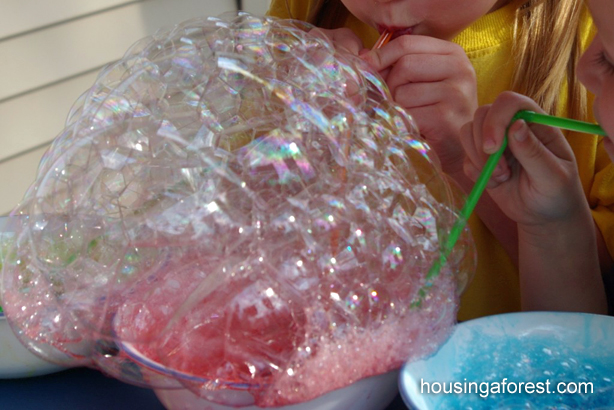
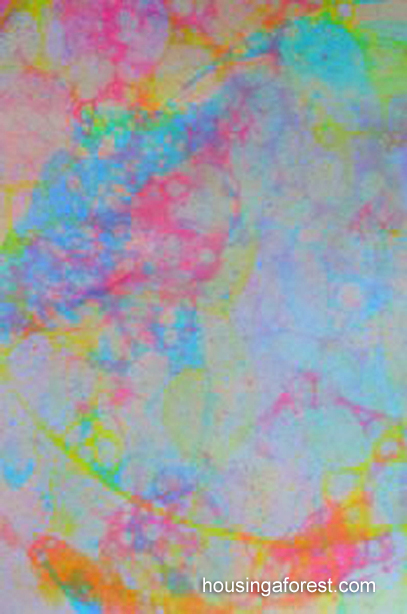
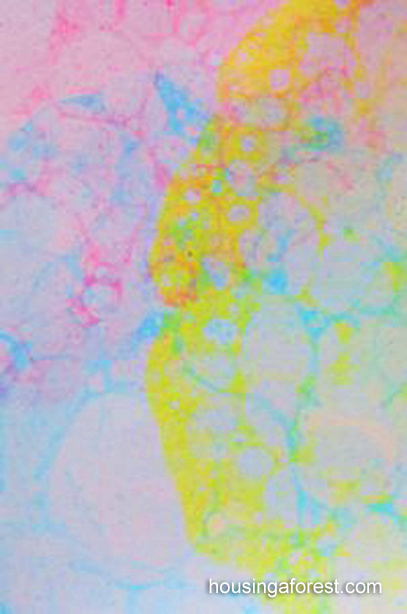
Simply have the kiddos blow, and blow and blow until they have a huge pile of bubbles.  Next press the paper gently into the bubbles allowing them to pop on the paper.  Repeat the process with as many colors as the kids want.  The end result is amazing.  If you have not tried this with your kiddos yet you need to.

My sister in-law teaches preschool and mentioned that if you poke a hole in the straw near the top it will prevent the kids from sucking up the bubble solution.  We did not have a problem with any kids accidently drinking the solution, but if you have younger kiddos it might be a good idea.

For more fun ways to play with bubbles, check out our:

Rainbow Bubble Snakes

How to Blow a Bubble with your Hands

Soap Free Bubbles

How to make Frozen Bubbles

Spin Art

Fun Art for Kids

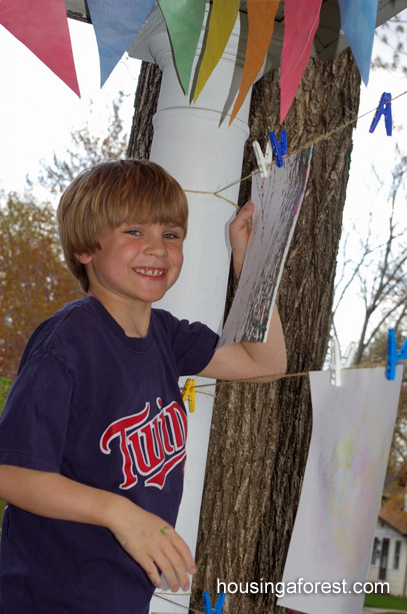
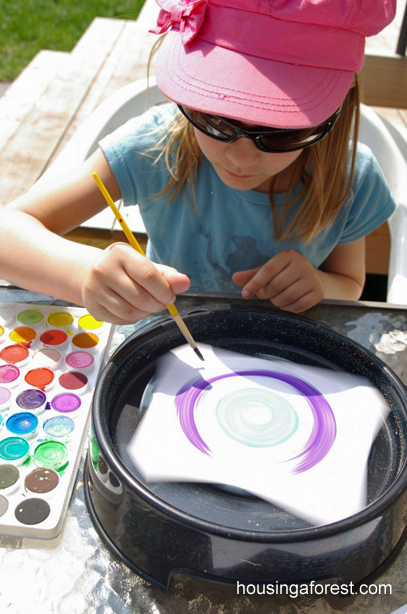
Who does not love the psychedelic patterns that spin art creates.  Plus spin art machines are really easy to find at thrift stores, we actually just bought a second one today for $1.99.  I love that!  The kids are often found cuddled on the kitchen floor over the spin art machine creating wonderful patterns.  It is mesmerizing to watch and each one turns out differently.

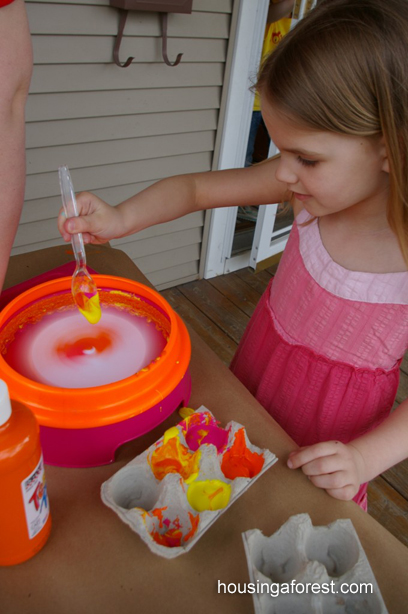
This weekend was Annika’s art party and one of the stations that she asked for was spin art.  This is a really easy station to do in a large group.  This time we used tempera paint that was spooned directly onto the spinning machine.  However, squeeze bottles filled with paint is sometimes easier for little hands.  The kids loved watching the colors swirl.  You can also use a salad spinner, but in my experience they usually cost the same at thrift stores.  Even my 2 year old daycare kiddos can operate the spin art machine with very little help.  I love that.

Fun ways to use the Spin Art Machine

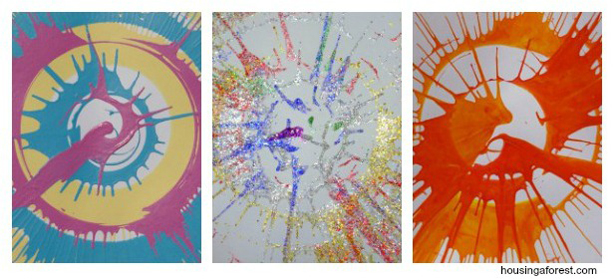
There are so many fun ways to use the spin art machine.  We have used all different paints including craft acrylics, house paint water colors and tempera paint.  They all work great.  We have also used markers, glitter, and glitter glue all with fantastic results.  Since it is so quick and easy the stacks of wonderful pieces of art work pile up quickly.  They make the perfect birthday card, or front of a homemade note pad.

Spin Art ~ lot of different paint mediums to try spinning!


Spring Tree

Spring Art for Kids ~ Fingerprint Cherry Tree

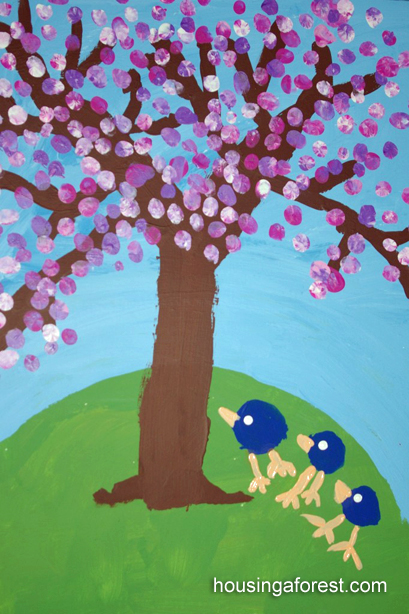
Kid art and party decorations has become the focus of our last few days in preparation for Annika’s Art Party.  There will be a mini gallery of Annika’s master pieces, so she has been busy adding to her collection.  Her little finger print cherry tree is a simple way to make spring art for kids.

Spring Art for Kids ~ Fingerprint Cherry Tree

Annika started by mixing a few shades of blue for the sky and a few shades of green for the hill.  Mixing colors is a great skill for kiddos to learn and it is so much fun discovering what the new color will be.  When we are creating specific colors like sky or grass, I only offer varying shades of one color.  That way regardless of of the amount of each paint that is added, the color will be in the right family.  No muddy colors!

Spring Art for Kids ~ Fingerprint Cherry Tree

Spring Art for Kids ~ Fingerprint Cherry Tree

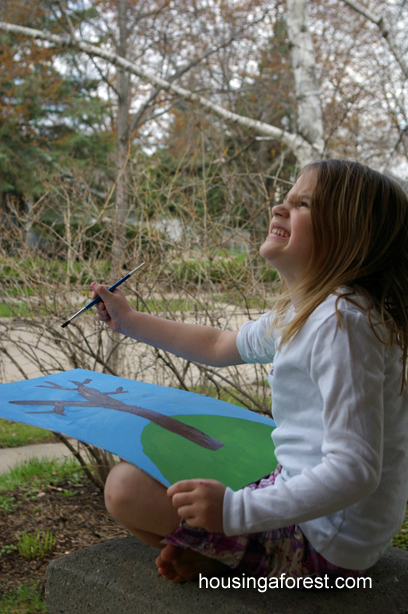
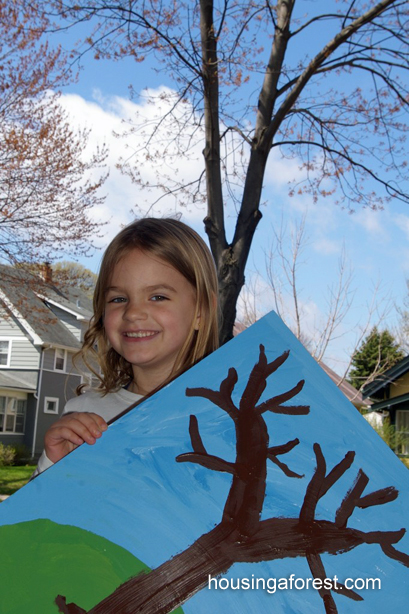
After the sky and grass dried, we moved the painting outside.  She used the tree in front of our house as her inspiration.  You can see the inspiration tree in the background of the above photo.   I love how her tree turned out.

Spring Art for Kids ~ Fingerprint Cherry Tree

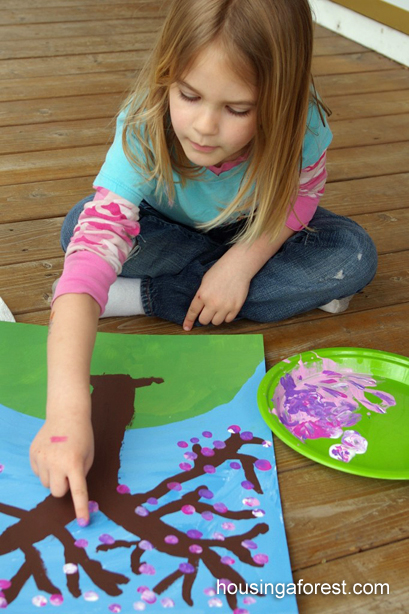
The flowers were created using her finger.  She simply dipped it into a pallet of white, pink and purple and stamped it on the tree.  Since the paint was mixed with her finger, she was able to create beautiful depth and variation of each flower.

Spring Art for Kids ~ Fingerprint Cherry Tree

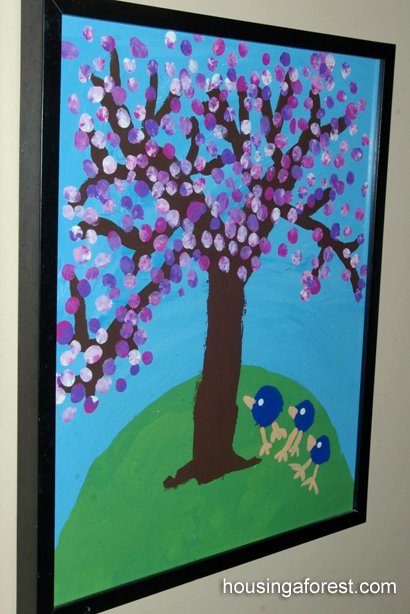
Next came the sweet birds.  I love this little addition.  They look perfect climbing the hill, looking up at the tree.  I love the simplicity of kid animals, they make them look so easy.  This piece took a few steps to complete, but with a bit of guidance it turned out beautifully.  This is something that will be treasured.

For more Spring Art for Kids inspiration, check out our:

 Spring Cherry Tree

Spring Oil Pastel and Watercolor Resist

Carrot Handprint Art

Rainbow Marble Painting

Georgia O’Keeffe Flowers