


Kaleb learned how to make this Tin Can Howler last year in school. He loves to tinker and build things. His projects often start with something from the recycling cupboard. He remembered the sound project and couldn’t wait to show us his howling creation. I love when kids are excited about what they are learning.
To make your own Tin Can Howler, you will need:
- Tin can (opened on one end with a clean edge can opener not one that will leave sharp edges.)
- String (about 2 feet long)
- Hammer
- Nail
- Water and a rag to wet the string.
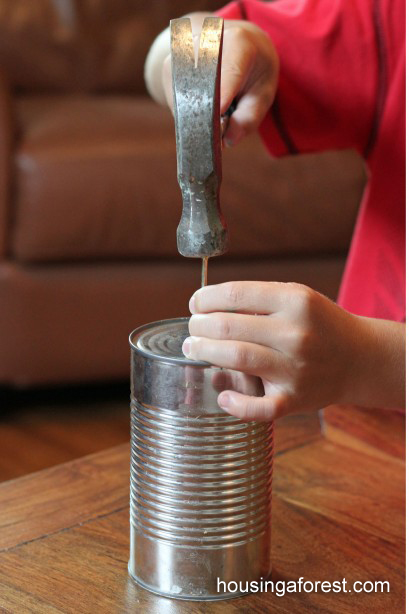
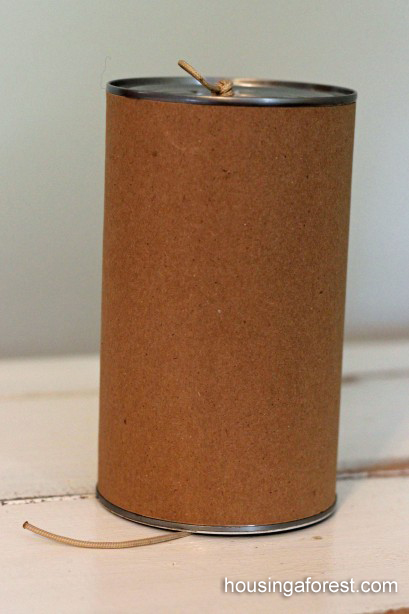
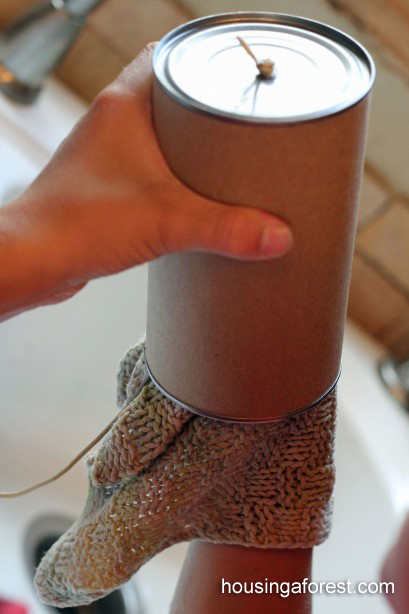
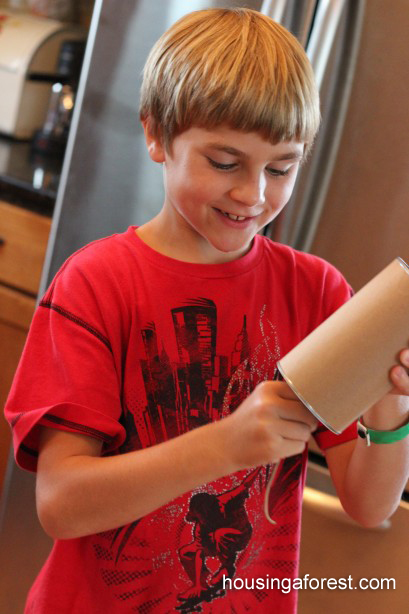
Now that your sting is wet; hold the tin can in one hand and pinch the string in the other. Pull the string tight and pull your hand down the string to make interesting sounds! Try pulling and pinching the string in different ways to make unique noises. Try rubbing the string with your thumb or thumbnail.
Have fun and enjoy your new tin can howler toy.
Here is a link to a fun list of great experiments that my kids love.

That was a good demonstration, Kaleb. Thank you. I think my grandsons would like to make one of those.
Pingback: The ABC's of Crafting on a Budget - Letters A-E - Housing a ForestHousing a Forest
Great – Thanks! My daughter and I tried it with a string and then a thin ribbon – the ribbon worked great because it was sort of ribbed and she got to hear the difference.
Sarah, I love that you used a ribbon. We will have to try that. Thanks for sharing:)
I like this experiment! I am in a Early Learning Childcare Center, I teach the enrichment programs including Science. Can you describe further “why” it creates the sound it does. In our experiments, we implement the Scientific process we create, explore, make our hypothesis and discuss our results. I always include explanation of why things happen as they do…whether the experiment includes physics, force, chemical reaction, sound waves, etc. Thank you!
Rubbing down a wet string creates a vibration. The tin can provides an amplification system. Another way to do this experiment is to use yarn and a red solo cup. Cut up a sponge into little squares and let them use a wet sponge instead of a washcloth. They can compare the differences between a tin cup and a plastic cup.
That was great, cant wait to try it with my grandkids. Funny story, the video made both my dogs sit up and look for the noise.
That made me smile. Thanks for sharing Cathy:)
Here in Sweden we make a craft at Easter that uses this same idea. We decorate a white plastic cup to look like a hen (the cup is used upside down). Then poke a small hole in the bottom of the cup, thread a string through, tie a knot and also tape it. Then just pull on the string in short little bursts and it makes a “bok, bok, bok” sound kind of like a chicken. hehe
So fun! I love the idea of making it into a chicken. We may have to try that next:)
Your son gives a wonderful description and demonstration. What a great idea, I’m sure my boys will love it.
We have lots of squeaking and squeaking at our house:) The kids are having so much fun. I would love to hear how it goes.
This is very cool. I have been looking for a fun craft idea for the kids at our “Parent’s Night Out” event to make while their parents are out having fun. My question is, does it matter what kind of string you use; cotton, nylon etc? I love the cut up sponges idea for wetting the string. I also loved the chicken cup idea! 🙂 Thanks!