Easter and Spring Activities

Easter Activities for kids

Spring is on its way, and I can’t wait!  I decided to put together a fun round-up of including our favorite Spring Time and Easter Activities   Click on either the red links or the images to take you to the full post.

Spring and Easter Activities for kids

Sharpie Tie Dyed Eggs ~ A  fun Easter version of a Sharpie Tie Dyed T-Shirt.  My kids had so much fun creating these beautiful eggs.  I love how the colors run and pool together in unique patterns.

Sharpie Tie Dye Easter Eggs

Melted Crayon Easter Eggs ~ Unique way to color Easter eggs, and a fun way to use up all those broken crayons.

Melted Crayon Easter Eggs

Volcano Easter Egg Experiment ~ Why not mix science and egg dyeing!  Amaze your kids with this simple experiment.  We had a line of kids waiting to explode their eggs at the Easter party!

Volcano Easter Egg Experiment

 Natural Easter Egg Dye ~ Create simple understated Easter eggs with these natural dyes.  A little more Martha Stewart than the eggs your kids are used to making, but beautiful none the less.  Your kids will have fun learning how to create the dyes.Naturally Dyed Eggs

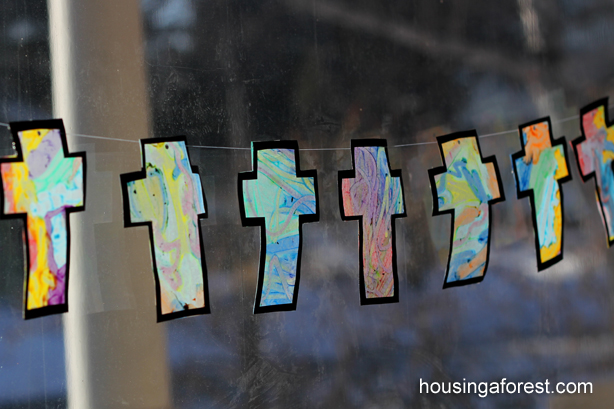
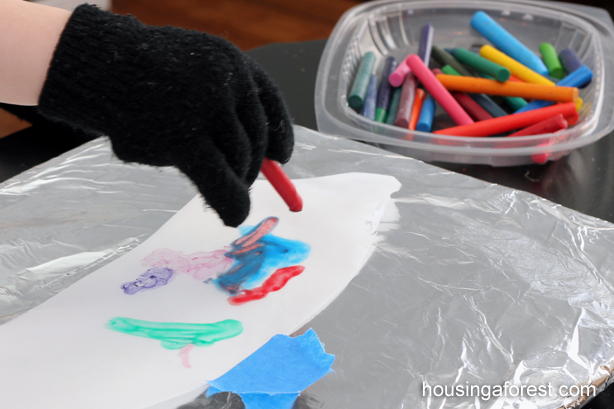
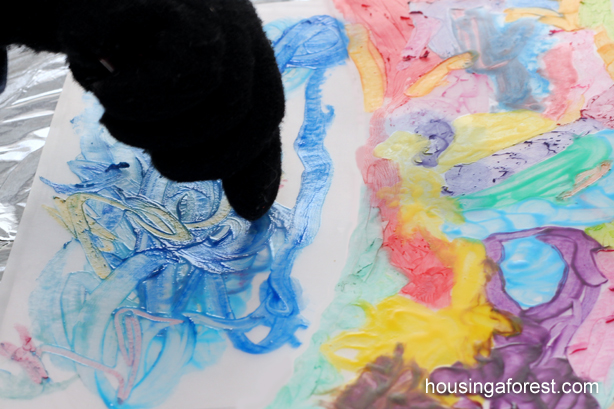
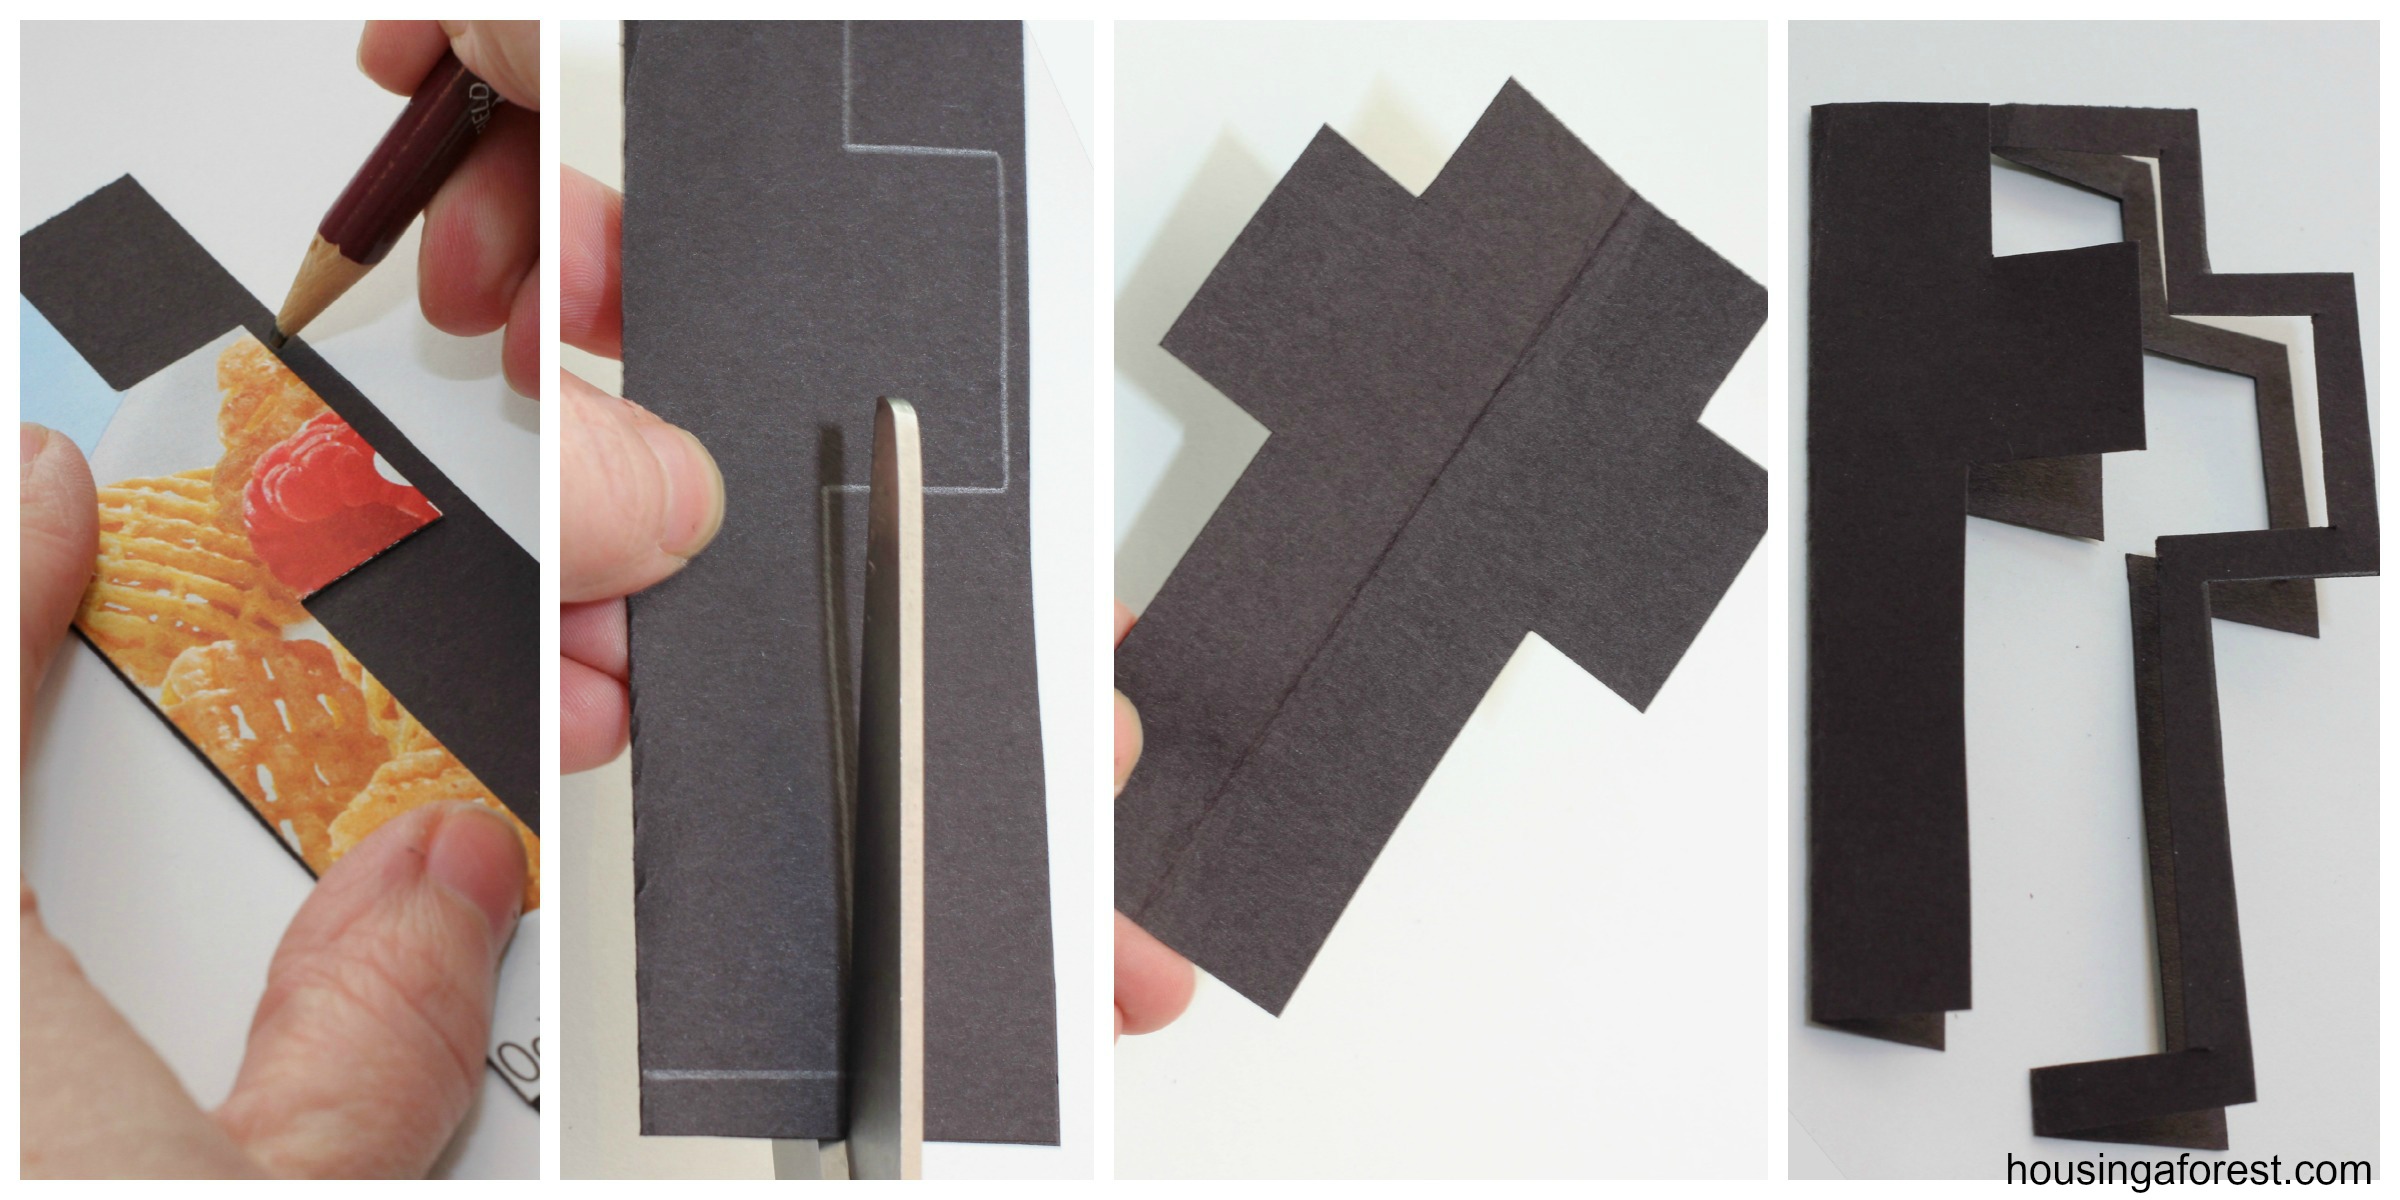
Melted Crayon Cross ~ Dress up your window with these simple sun-catchers.  We love the process of melting crayon art at our house.  These are a beautiful reminder of the reason our family celebrates Easter.
Melted Crayon Cross
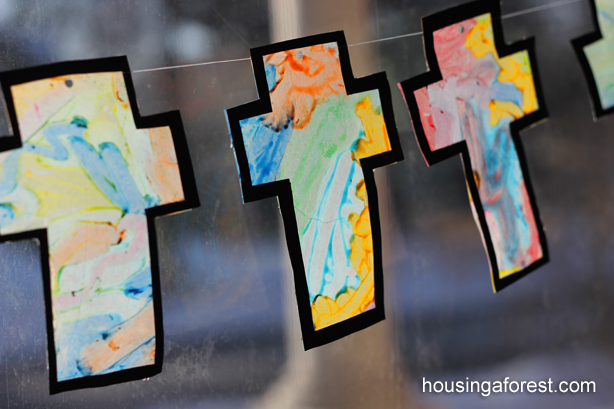
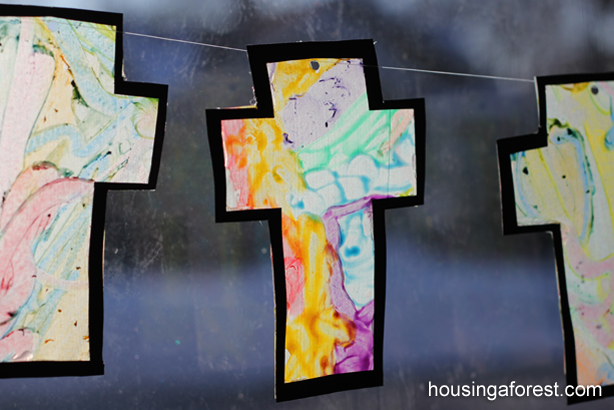
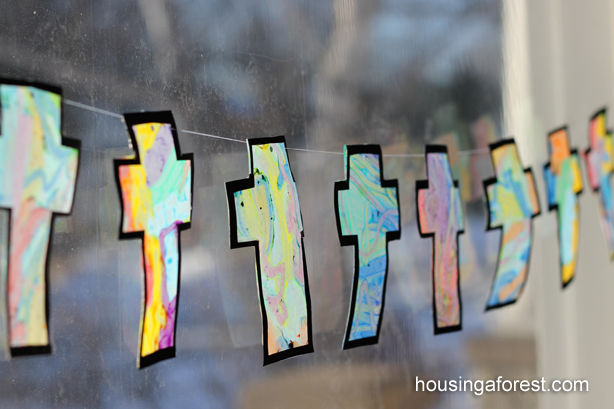
Colorful Light Ray Cross ~ Colorful, beautiful cross that is perfect for Easter.  I love the color burst effect the pastels create!

Light Ray Cross

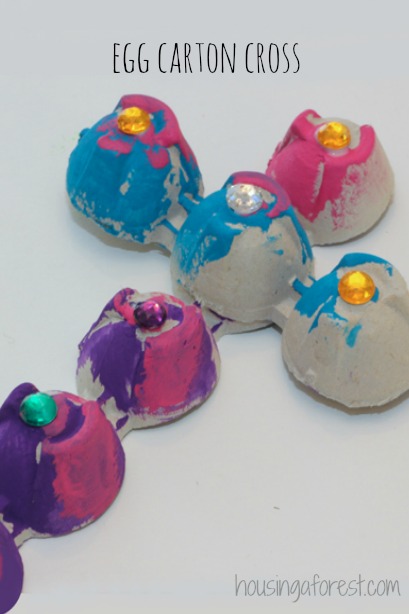
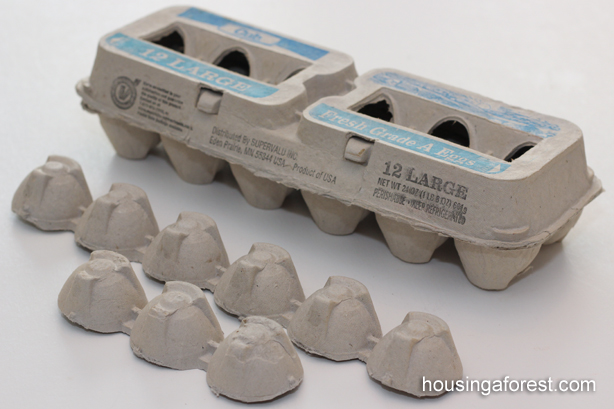
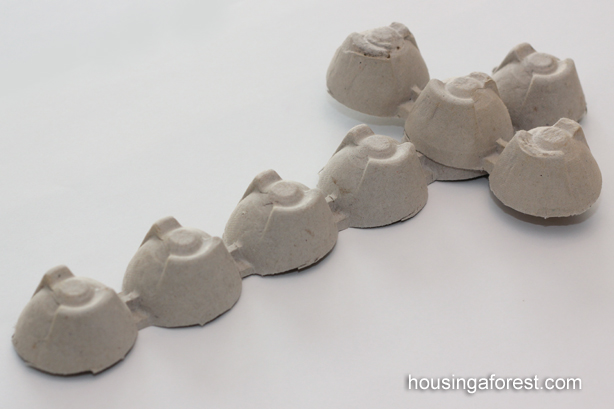
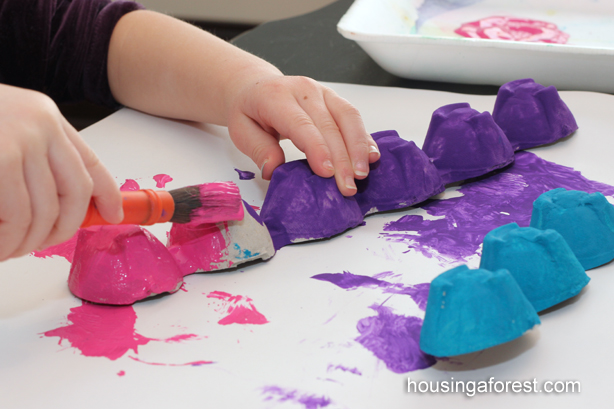
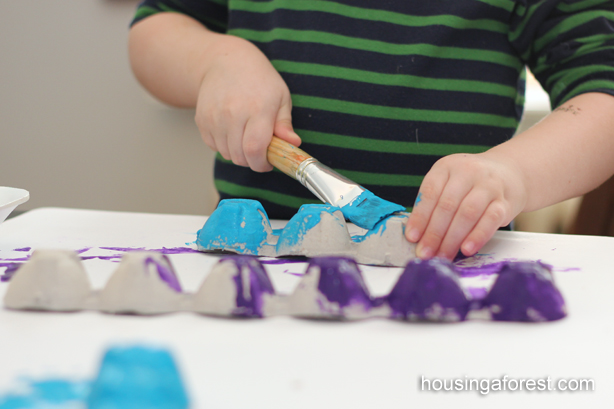
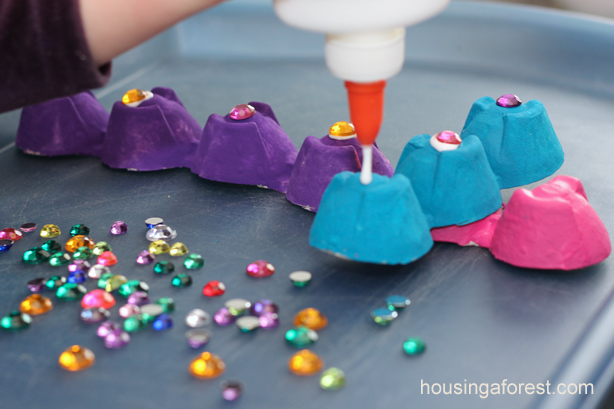
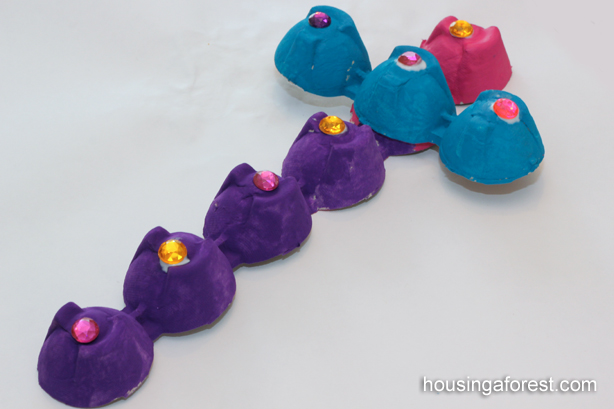
Egg Carton Cross ~ Create a beautiful cross straight from your recycle bin.  Easy Toddler Easter craft.
Egg Carton Cross

Easter Borax Crystals ~ I love how these borax crystal shine in the window.  I have a crystal obsessed daughter and these are some of the simplest crystals to make.  The best part is they can create any shape that they want.

Easter Borax Crystals

Observing and Painting Frogs ~ Nature is amazing.  We found these amazing color changing frogs at the cabin and had so much fun learning and observing them.  I love the simple Eric Carl inspired frog craft that we created!

Observing and Painting Frogs

Spring Photo Hunt ~ Get your kids excited about the little signs of spring.  We love going on a simple spring photo hunt to celebrate new growth and watch spring emerge!

Spring Photo Hunt

Painting with Jelly Beans ~ The perfect craft to do with all your left over Jelly Beans after Easter.  I love the bright pools of color that the jelly beans leave behind.

Painting with Jelly Beans

Easter Decoration Revamp ~ Want to update your Easter eggs decorations.  Turn your simple plastic Easter eggs into beautiful decorations that you will want to display.

Easter Decoration Revamp

Recycled Bug House ~ Discover what is living in your back yard.  This simple bug house is created from things you have around the house.  It is virtually indestructible unlike the store bought versions.

Recycled Bug House

Regrowing Celery ~ This is a simple experiment that is easy to get your kids involved in gardening.  All it takes is the end of your celery your would normally discard.  Amaze your kids and yourself with this simple experiment. 

Regrowing Celery

Starting Seeds ~ Encourage your kids to get excited about gardening and learning how seeds grow.  This is a fun opportunity to teach your kids the value of money as well.  You will never guess what my kids were able to purchase by selling plants.

Starting Seeds

Repurposed Garden Stakes ~ No need to purchase expensive garden stakes, make your own.  I love that these little garden stakes were once part of our dinning room.

Repurposed Garden Stakes

Sprouting Seed Activity ~ Teach your kids about germination.  Each seed starts to sprout and grow on its own timing.  This is a fun was to get kids excited about gardening and digging in the dirt.

Seed Sprout Prediction

Growing Sprouts on a Sponge ~ Fun way to sprout seeds without soil.  Yep you heard right, no soil:)  Cut your sponge into any shape you choose.

Sprouting Seeds on a Sponge

Spring Oil Pastel and Watercolor Resist ~ I love this simple painting technique.  I love the texture and interest that the oil pastel adds to the painting.  The bright colors make me smile, not to mention the adorable chicks:)

Spring Oil Pastel and Watercolor Resist

Rubber Cement Resist ~ Rubber cement is a glue that has unique qualities.  One of which is that it works wonderful as a simple mask.  Your kids will love drizzling the glue and them later rubbing it off.

Rubber Cememt Resist

Funny Bunny Faces Game ~ This silly Easter game is a huge hit in our house.  Each time you roll the dice you add a new feature to your bunny.  Your kids will be giggling as they create their silly bunnies.

Funny Bunny Faces Game

Spring Tree ~ This is one of my favorite painting that my kids have made.  The bright colors and variegated flowers captivate me.  Learn a simple technique that will have your kids creating beautiful flowers as well.

Spring Tree Painting

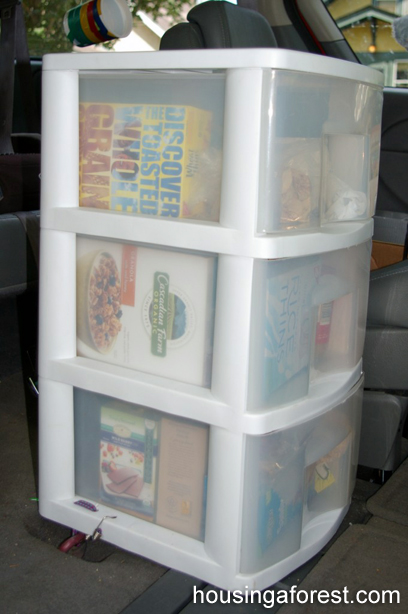
Building with Egg Cartons ~ Egg cartons are the perfect free building material.  We love creating crafts, games and activities with this simple recycle material.  However have you ever tried building with them.  The kids had a blast creating simple forts.  I love that it was a free activity!

Building with Egg Cartons

Georgia O’Keeffe Flowers ~ Celebrate spring with these simple flowers created in the style of Georgia O’Keeffe.  Bright bold colors are a must!

Georgia O'Keeffe Flowers

Rainbow Q-Tip Painting ~ Paint a beautiful rainbow with Q-Tips.  Your kids will love switching up their regular brushes for Q-Tips.

Rainbow Q-Tip Painting

Sorting the Rainbow ~ This simple spring rainbow is a fun way to practice fine motor skills.  Your toddler wont even realize that they are working on color recognition and fine motor skills.  Love!

Sorting the Rainbow

Credit Card Art ~ Scraping Rainbows Rainbows are a beautiful part of spring.  I love this simple scraping rainbow activity and your kids will too.  Also another wonderful fine motor exercise.

Credit Card Painting

Rainbow Bubble Snakes ~ If you love bubbles, then be ready to be amazed!  These wonderful bubble snakes are fun to play with and your kids will be amazed!  Add a little color and this takes these little snakes to a whole new level of awesome

Rainbow Bubble SnakesI would love to hear how you are ringing in spring!  What are your favorite activities, games, crafts etc.

Melted Crayon Cross

Simple Easter Craft for kids.

My kids love the process of creating melted crayon art.  There is something wonderful about watching a broken crayon pool and melt leaving behind a beautiful design.  Your kids will love making this simple Melted Crayon Cross craft.  It is a beautiful sun-catcher that will dress up your window for Easter.

Melted Crayon Cross ~ Housing A Forest

Melted Crayon Cross ~ Housing A Forest

To make this simple cross, you will need:

  • Broken crayons with out wrappers (scroll down for my easy crayon peeling tip)
  • Baking stone wrapped in tin foil ~ Ours is a pampered chef brand.  We warmed our stone in the oven and wrapped it in a couple layers of tinfoil.  You can also use an Electric Griddleset on warm.  Please be careful, and don’t leave your child unattended. 
  • Cotton gloves ~ to help protect little fingers from hot wax and warm trays.
  • Vellum paper ~ any transparent paper works well.  We have even had good results with regular computer paper, but I prefer to use vellum.
  • Black construction paper
  • White Glue
  • Scissors, hole punch and fishing line (to hang the crosses in your window).

Melted Crayon Cross ~ Housing A Forest

I had the kiddos wear little gloves as an extra precaution against the heat and melting wax. Warm the baking stone or griddle and wrap in tin foil.  Place the vellum onto the warm tin foil and start drawing.  I found that it was easiest if i taped the sheet of paper down so that it did not wiggle and no little fingers had to hold it.

Melting crayons is a wonderful way to play with color!  As the crayons melt, they glide smoothly across the paper and the colors pool together beautifully.  Straight lines, squiggly lines, puddles, and pools all work wonderful for this project.  It is a truly soothing process.  You can draw a picture or just play with a patchwork of color

Melted Crayon Cross ~ Housing A Forest Quick secret to removing crayon wrappers:

Soak the crayons in water and the wrappers will fall right off!  Yep you heard me right, no more wax under your nails as you try to peel off the wrapper.  Just simple place your crayons in a bowl of water, let them soak for around 10 mins and peel.  Easy peasy!  Dry crayons before melting with them!

Melted Crayon Cross ~ Housing A Forest

 To create the black cross silhouette:

  • Fold your black paper in half 
  • Create a simple half cross template on a cereal box.  You will only need half the cross because you are making it on the fold and then opening it up to a full cross.  Think of how you cut out a heart.  You only cut out half a heart and then open it to a full heart.  Same idea.
  • Trace the half cross onto the folded paper and cut out.
  • Leaving the cross folded, simply cut just inside the cross all the way around.  Leaving a skinny outline and a smaller solid cross.

Melted Crayon Cross ~ Housing A Forest

Glue the cross outline onto the cooled melted crayon art.  Once everything is dry, cut the melted crayon art to the same size as the black outline.  Punch a hole in the top of the cross and string on fishing line in your window.

Melted Crayon Cross ~ Housing A Forest

 I love how the melted crayon cross looks just like stained glass.

Melted Crayon Cross ~ Housing A ForestThis is NOT an activity to set up and let your child do on their own.  You know your child and their limits.  Please be careful and take precaution with your kids.

Melted Crayon Cross ~ Housing A ForestI love how this string of colorful Melted Crayon Crosses look hanging in my window.  A fun reminder of why our family celebrates Easter.

For more simple Cross Crafts, check out our:

Light Ray Cross

String Art Cross

Egg Carton Cross

Egg Carton Cross

Recycled Craft ~ Simple Egg Carton Cross

This is a simple Easter craft that is so easy to create.  When I saw this step by step video, I knew my day care kiddos would love making one.  As you may know, I love using things from around the house so this craft is perfect. I love how this simple Egg Carton Cross turned out.

Egg Carton Cross ~ Simple recycled craft for kids perfect for Easter


Egg Carton Cross Materials:

  • 1 Egg Carton for each kid
  • Paint ~ We used washable tempera paint
  • Jewels
  • Glue

Egg Carton Cross ~ Simple recycled craft for kids perfect for EasterI cut apart the egg cartons for the kids, since that part is a little tricky for little fingers.

Egg Carton Cross ~ Simple recycled craft for kids perfect for EasterI love how simple this craft is, and it looks beautiful even unpainted.

Egg Carton Cross ~ Simple recycled craft for kids perfect for EasterI let the kids choose what the colors of paint they wanted.  However, I told them that they could only choose 3 colors between them.  It was fun listening to the toddlers decided what colors were the most important.  Kid rationalization is hilarious!

Limiting the colors was just to see how the kids would solve the problem, not because I really cared how many colors they chose.  It is great to give small situations like this to kids and sit back and let them take the lead.  Sometimes as parents we are too eager to “help” our kids and forget to give them a chance to problem solve on their own.

Egg Carton Cross ~ Simple recycled craft for kids perfect for Easter

I love the kids color choices.  I probably would have set out similar colors if I would have chosen for them.

Egg Carton Cross ~ Simple recycled craft for kids perfect for Easter

The kids added a few jewels to their cross as well.

Egg Carton Cross ~ Simple recycled craft for kids perfect for Easter

I love how they turned out!

Egg Carton Cross ~ Simple recycled craft for kids perfect for Easter


For more simple Cross Crafts, check out our:

Light Ray Cross

String Art Cross

Melted Crayon Cross

Sharpie Tie Dye Easter Eggs

Unique way to Dye Easter Eggs!

Coloring Easter Eggs is one of my favorite Easter activities.  I love discovering new ways to use old products.  A few years ago we tried our hand at sharpie tie dying shirts and fell in love.  This year we combined tie dyed shirts with Easter egg decorating and came up with Sharpie Tie Dyed Easter Eggs.  I love how they turned out.  I have a huge obsession with Sharpie markers.  They come is so many bright colors, it is hard to choose a favorite.

Unique way to Dye Easter Eggs ~ Sharpie Tie Dye

Sharpie Tie Dyed Easter Egg Materials:

  • Eggs ~ Make sure they are room temperature
  • Bright permanent Sharpie markers~ as many colors as you have.
  • Rubbing alcohol
  • Tray to contain the mess
  • Eye dropper
  • A well ventilated area!

Unique way to Dye Easter Eggs ~ Sharpie Tie Dye

Color your design with sharpie marker straight onto your room temp egg.  We found that the more colorful your design the better the end result.  I would suggest fully covering your whole egg in sharpie markers.

Unique way to Dye Easter Eggs ~ Sharpie Tie Dye

After you have your design, slowing drip rubbing alcohol onto the egg.  The colors with mix, blend and drip leaving behind a beautiful pattern.  No two eggs will come out looking the same.

Unique way to Dye Easter Eggs ~ Sharpie Tie Dye

Let your egg dry and it is all ready to display.  Make sure that you don’t eat these eggs, this is for decoration only!

Unique way to Dye Easter Eggs ~ Sharpie Tie Dye

Sharpie Dyeing Tips:

  • Use room temperature eggs ~ Eggs tend to sweat when they are pulled out of the fridge.  Since you won’t be eating these eggs no need to worry about leaving them on the counter for too long.
  • Cover your egg completely with Sharpie marker ~ We found the the more colorful the egg the better the result.
  • Drip the rubbing alcohol very slowly ~ This will allow the alcohol to bleed, blend and create beautiful patterns with the Sharpie marker.
  • Make sure the room is well ventilated!
  •  Metallic Sharpie markers do not bleed, and don’t work for this project.

Unique way to Dye Easter Eggs ~ Sharpie Tie Dye

For more fun ways to dye Easter eggs, check out our:

Sharpie Tie Dye Easter Eggs

Melted Crayon Easter Eggs

Kool-aid Easter Eggs

Naturally Dyed Easter Eggs

Car Organization

While traveling for 20 plus hours with kiddos might not sound like your idea of the perfect way to begin your vacation, it can be a the perfect excuse to spend time together as a family.  I mean really, when else are you all going to be stuck in a 4′ x 8′ room for any length of time with your entire family:)  Ha!  I think the key to any road trip with kids is Car Organization!

I have posted about a some of the things we do in the car before.  I love engaging the kids.  Sure we could pop in a few movies or let them play their game systems, but those things are reserved for “emergencies”.  I love my little “captive” audience. Here are a few of our favorite things to keep kids busy in the car.  Click on the red link to find all our Travel Activities for Kids.

Road Trip Activities great for kids

  1. These simple DIY Dry Erase Tiles are the perfect surface to play all kinds of games like Tic-Tac-Toe, Hangman, or just for doodling
  2. My kids love Finger Knitting.  It is the perfect travel craft since all you need is a ball of yarn.  Have your kids see how long they can get it before you reach your destination:)
  3. Get creative with this simple Doodle Drawing Game.  It is easy to play and will have  your kids giggling in no time.
  4. These little Recycled Animal Houses give your kids stuffed animals a perfect home, plus your kids will be proud that they made them.
  5. These little Flower Sun-catchers are the perfect way to brighten your kids window. Encourage your kids to pick a few flowers while they are out stretching your legs add a little contact paper and you are all set.
  6. Why not sneak in a little math lesson with this simple Mirror Symmetry Game.  Your kids won’t even know they are learning.
  7. We love playing Road Trip BINGO.  It is the perfect game to pass the time.  Follow the like to a PDF of 8 different road trip boards.
  8. Bring a roll of Tin Foil on your next road trip, you will be amazed at how long it will keep them busy sculpting and creating.  If you are traveling with younger kids, hand them a sheet to see what they create.  If your kids are up for a bit of a challenge, turn it into a simple sculpting game.  Ask them to create something specific (an animal, a piece of jewelry, a silly hat, a recreation of their favorite toy, the possibilities are endless).  You may want to bring along tape as well.
  9. This simple Road Trip Time Line creates a wonderful visual road map that is easy for kids to follow.  The best part is that they are the ones that create it!  Possibly the end to all the backseat “how much further” questions.

I have received a few questions about what our car looks like when we travel.  For us me, organization is key.  Our kids are 10, 8 and 6 and each time we travel it gets easier.  Each of the kiddos have a bin with their special toys, books, markers, and coloring/activity books.  The girls ride in the backseat and Kaleb sits in one of the middle seats.  We stow the other middle seat to make room for the cooler and snacks.

We eat most of the meals in the car, so a cooler is essential.  That way while Chuck is filling the car with gas, I can make a quick lunch and we can be back on the road.  A clean milk jug filled with water and frozen doubles as an ice block and drinking water as it thaws.  Bringing along a cooler helps us eat healthier, stay with in the budget and lets face it what is a road trip without eating in the car:)

Road Trip Activities great for kids

This little system is my key to a smooth trip.  It’s secured with bungees at the bottom and around the arm of the seat.  The drawers are filled with healthy snacks, games and art supplies.  Everything is within reach and organized, not flying all over the car for everyone to trip over.  It also doubled as a table for Kaleb.  With non-slip shelf liner added to the top, his tray stayed perfectly on top.  This is definitely one of my favorite travel tools!

Road Trip Activities great for kids

 Kaleb loves his little toy and book organizer.  A couple cardboard boxes, duct tape and a couple of magazine file boxes makes the perfect spot for all his treasures.  The large box stores extra water bottles and caffeinated beverages for the trip.  We don’t use this sliding door when we are traveling, so there is no need to worry about the box and all the toys spilling out of the car.  Love it!

Long road trips go way smoother with a little planning, organization and preparation before be leave.  I would love to hear about the little tricks you use to make your trips go smoother.