Spring Cherry Blossom Tree ~ Beautiful Kids Art
I love cherry trees and any tree that blossoms in the spring. I can’t wait for our street to be lined with beautiful blossoms, but until then the kids made these beautiful Spring Cherry Tree Paintings.

They were so easy to make, and I have to say the kids really enjoyed making them!
To make your own Cherry Blossom Tree, you will need:
- Watercolor paper
- Watercolors, brush and container of water
- Black acrylic paint thinned to a watery consistency
- Eye dropper
- Straw
- Various shades of pink, purple and white acrylic paint.
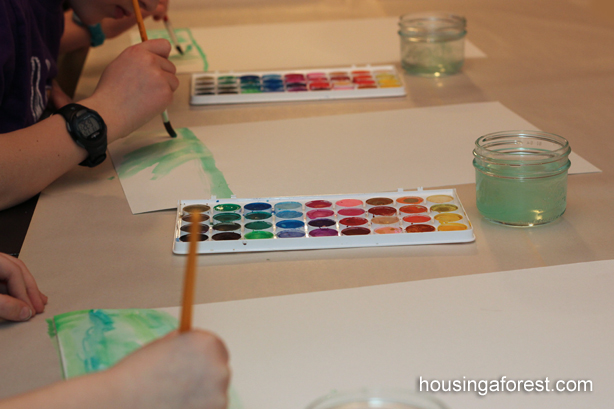
Tips for working with watercolors:
- Start with a wet paper. They can brush their paper with water, spray it or quickly run it under the tap. Either technique works. If you start with a wet paper, the colors will blend easier and go further.
- Load the brush with water before dipping in the paint.
- Keep a spray bottle handy for re-wetting the paper.
- Have fun!
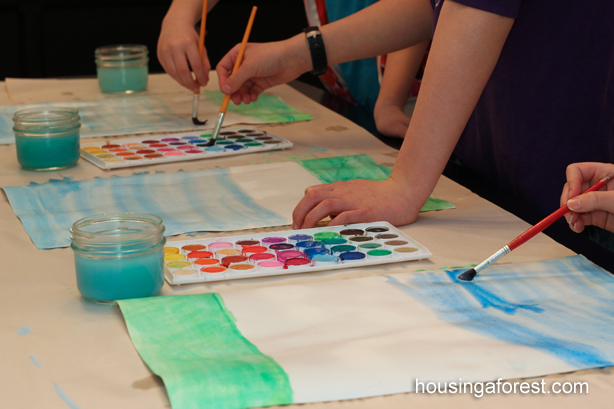
Using different shades of green watercolors to create the grass and varying shades of blue for the sky. Cover the entire background with color and set aside to dry.
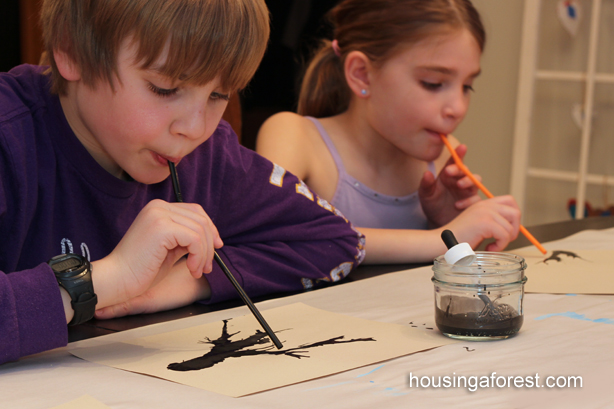
Water down the black paint so it has a more ink like consistency. Using the eye dropper, add a small dab of paint to the paper and then gently blow it with the straw to create your tree and all the branches. Add more paint as needed. We tried it on a practice paper just to get the technique down.
The kids loved this part! Blowing straight down makes a splatter of the paint. If you angle your straw slightly and “chase” the paint up your page it will look more like a branch.
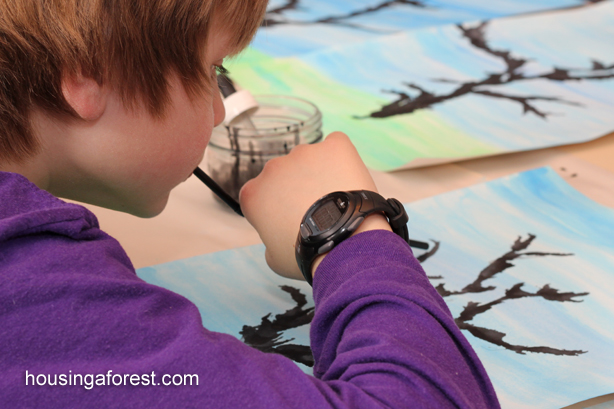
Once they got the technique down, we moved onto their cherry tree. We found that since we were working on watercolor paper, the paint absorbed into the paper quicker than on our practice sheet. They had to work a little quicker to blow the paint into a tree. Set aside to dry.
Squeeze the various shades of paint onto one pallet. Encourage the kids to load their finger with a few different colors and then dab it onto the paper. By using more than one color on their finger at a time you will create more realistic looking flowers.
We used a similar technique to create this simple Spring Tree.

Continue dabbing flowers until your tree is covered.
I love how they turned out! What a fun Mother’s Day gift.

For more Spring Art ideas, check out our:
Spring Oil Pastel and Water Colors
Georgia O’Keeffe Flowers
Spring Fairies
Spring Tree