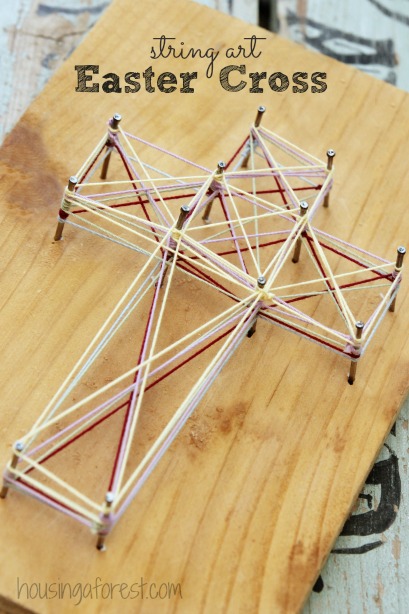
DIY Easter Cross ~ Simple string art for kids
Looking for a simple woodworking project that your kids can make for Easter? I am in love with this simple project, and the kids had so much fun learning new skills. This little String Art Easter Cross could not be simpler to create. Read on to see how we did it.
I am thrilled to be a part of a new art series all about exploring easy art projects for kids. So far we have explored watercolors and ways to create resist art. This week we are focusing on creating and playing with string (I’ve included links to all the participating blogs at the end of this post).
Hammers and kids may seem intimidating. However, it does not have to be. I help do this project with around 50 kids ranging in age from 3 right up to 11. Each of the kids did an amazing job with their project and were so proud of what they created.
String Easter Cross Materials:
- 3/4″ rough cut Cedar board ~ We used 1 x 6 cedar fence pickets and cut the boards into 9″ pieces. Each of our finished cross boards were approx. 5″ x 9″
- Embroidery string
- Small finish nails/trim nails
- Hammer
- Printed Cross template ~ optional
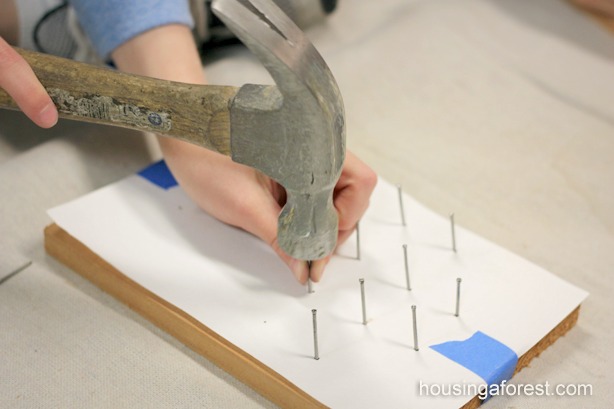
To make things easier for our large group, we had the kids tape a cross template to their board. This served as a guide for their nails, although you could have them trace the template as well.
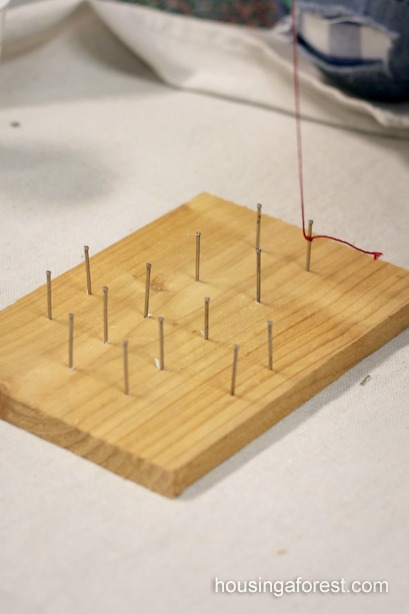
They hammered the nails along the outline of the template. Once all the nails were secure, they tore off the template. Make sure that the nails are pounded in far enough that they don’t wiggle. A few of the younger kiddos needed help with this step. The nails will need to be secure enough to wrap with yarn.
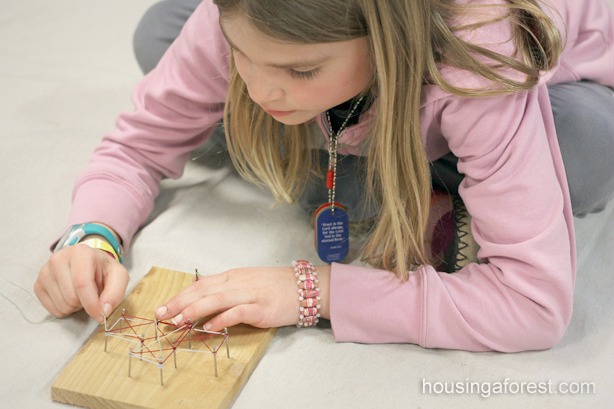
To start the project, the kids tied a double knot in their embroidery floss. They then wrapped the embroidery floss around the nails, going with the shape of the cross. It worked best to keep string taunt as they wrapped the nails.
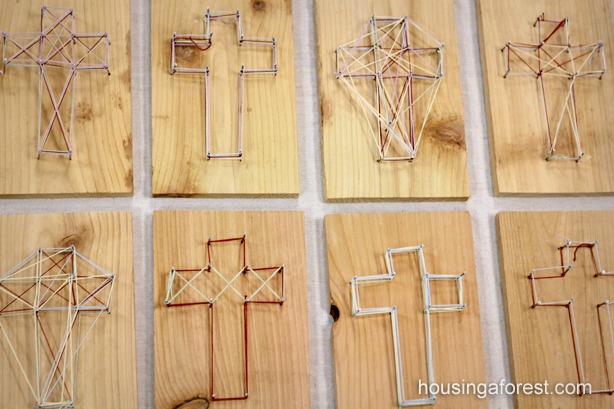
The colors are not showing up here very well. However, most of the kids used multiple colors of floss. I love that each cross is different and has a unique pattern.
 Now I just need to get my set hung before Easter.

We have made a few cross crafts over the years and they are always a hit at easter. A few of my favorites include our simple egg carton cross, melted crayon cross and our light ray cross. Each of them would make a wonderful gift for a grandparent or a special friend.

For more Easy Art Projects for Kids, check out:
String Art for Kids Using Styrofoam and Toothpicks from Buggy and Buddy
Rainbow Yarn Prints from Blog Me Mom
Rubber Band Art from Babble Dabble Do


