Finger Knitted Accessories

Easy Finger Knitting Ideas for Kids

The girls are still enjoying making things from their finger knitting.  Although, now that summer is in full swing the piles of finger knitted “snakes” have slowed down.  They have enjoyed teaching a few of their friends how to knit as well.  Love it.  They are now on a mission to find fun yarn at garage sales.

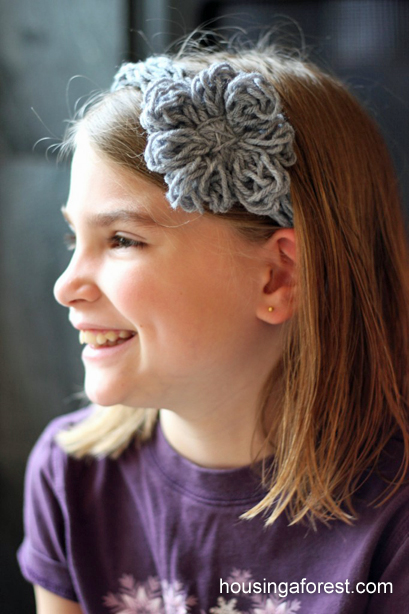
Headband ~ Finger Knitting Project

The girls wanted to turn their piles of knitting into something that they could wear.  This cute little headband turned out so great, now all it needs is a chunky button to the center.  They were so excited to wear a headband they created!  Plus it was so simple to make.

Headband Instructions:

  • Use 1 length of finger knitting that is long enough to be loosely wrapped around the head twice.  You will want it loose so that you have a little room to tie the ends together.  (Sorry for the lack of exact measurements, but each head will be different.)
  • Since the weave of the knitting is very stretchy, make sure when you tie the ends together, it is smaller than your head.  You don’t want it slipping off.

How to make a Finger Knitted Flower:

  • The flower was created by using another length of finger knitting.  We chose to use the same color of yarn, but it would be cute in a contrasting color.
  • Simply form tiny loops with the finger knitting to make the petals.
  • Continue working around in a circle until the flower is filled with loopy pedals.
  • Use a length of yarn to wrap around the center of the flower and tie to secure.
  • The tail of the knitting can be used to tie the flower to the head band.  A simple knot will work.

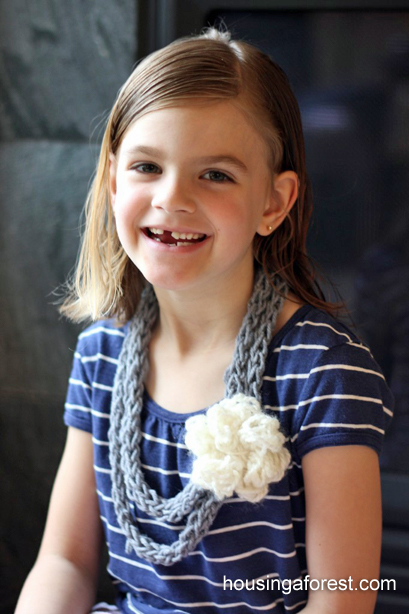
Finger Knitted Necklace:

  • The necklace was created using the same techniques as the headband.
  •  Use 1 length of finger knitting that is long enough to be loosely wrapped around the neck twice.  We chose to have one loop longer than the other.
  • Tie the ends together.
  • Tie on a contrasting flower and your all set!

I love how they turned out and the girls are so proud of their handiwork.

For more Finger Knitting Projects, check out our:

How to Finger Knit

Finger Knitted Ghost Garland

Finger Knitted Valentines Decor

Rainbow Bubble Snakes

A New and colorful way to blow bubbles ~ Rainbow Bubble Snakes

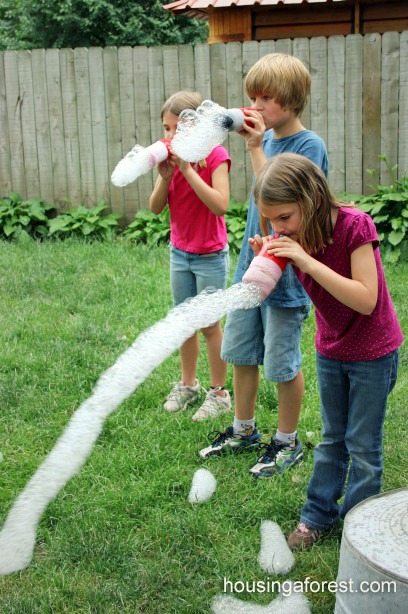
Summer is here and our family is SO excited!  The kids are planning and scheming about what we are going to do this summer.  Love it!  One of the fun activities that they  wanted to try was making bubble snakes that are all over.

Rainbow Bubble Snakes ~ outdoor fun

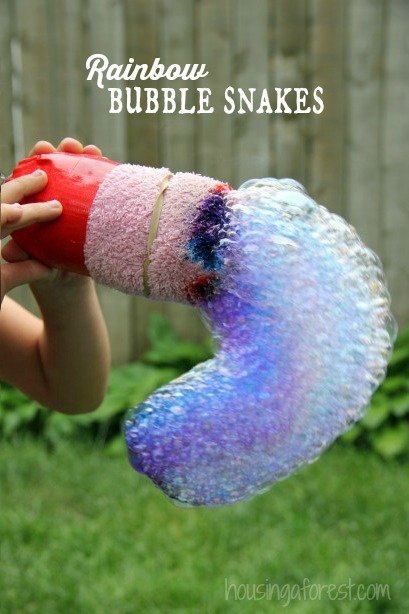
The best part is they are easy to make and use things that I had laying around my house.  Perfect! All you need is an empty water bottle from your recycling, duct tape, a sock that is missing its match (which we seem to have an abundance of), dish soap and some food coloring.

Rainbow Bubble Snakes

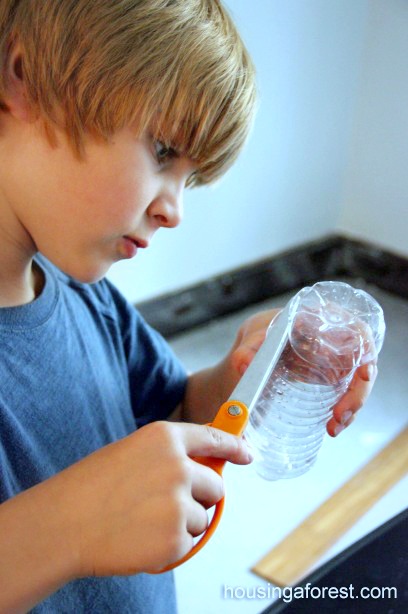
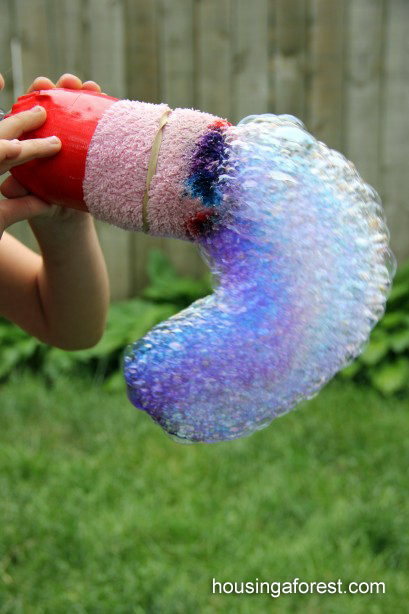
Start by cutting the bottom of the water bottle off.  Next slide the sock over the bottom of the bottle.  We used colorful duct tape to secure our sock, but you could use a rubber band as well.  I love how quick and easy it was to make.  My kids love making things from our recycling.  Last summer they made their own sprinkler using some of the same materials and it is still the sprinkler of choice.

Bubble Snakes

Pour some dish soap into a shallow container with a little bit of water and gently mix.  Dip the sock covered bubble blower into the solution and gently blow.

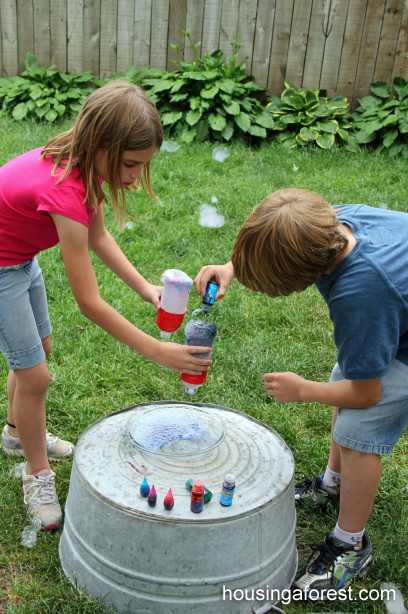
We decided to add some color to the bubble snakes with food coloring.  The kids dropped the food coloring onto the sock covered end.  It was a bit messy, but the kids LOVED it!  Lots of fun giggles.

Annika added a rubber band to hers as well as the tape.  She makes me smile!  I love the blue and purple bubbles.

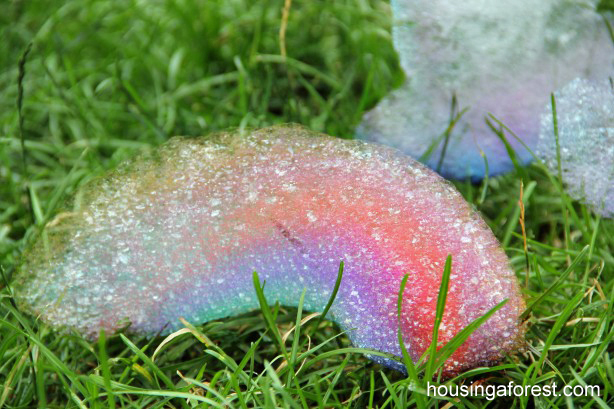
Rainbow snakes were definitely a hit in our house!

Please remind your kids to blow air out not suck air in!  If your child sucks in, they will be eating bubbles.  Please be careful when doing this with your kids.  My kids had a blast playing with these bubble snakes.  We did not have any trouble with the kids inhaling, but I have had a few readers mention that their younger kids needed continual reminders.  The fun will quickly end if the bubbles are inhaled!

For more exciting kid experiments, check out our:

Walking on Eggs

Packing Peanut Experiments

Exploding Peep Geysers

Shooting Water Experiment

Exploding Art


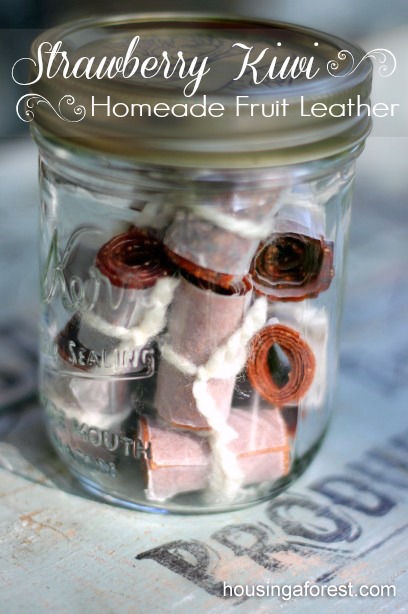
Strawberry Kiwi Fruit Leather

Homemade Fruit Leather ~ Strawberry Kiwi

I love making healthy snacks for my family.  My kids LOVE these simple healthy fruit leather rolls.  They taste great and my favorite part is that they are 100% natural fruit!  The combinations of fruit are endless, however strawberry kiwi is one of the kids favorites.

Homemade Dehydrated  Fruit Leather ~ Strawberry Kiwi


The riper your fruit is, the more flavor it will have and the sweeter your leather will be.  We don’t add any sugar to our fruit leather, but my kids enjoy the tart flavor.  I figure, if they like it without the sugar, why add it!  Plus as the fruit puree dehydrates, it is concentrated and becomes sweeter.

Homemade Dehydrated  Fruit Leather ~ Strawberry Kiwi

Kiwi Strawberry Fruit Leather

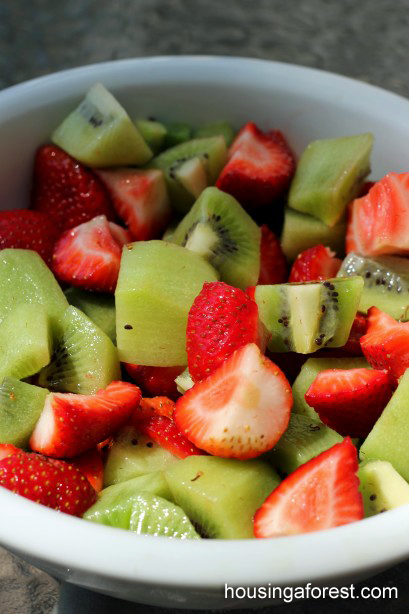
2 cups of cut up Kiwi

2 cups of cut up Strawberries

1 tablespoon of fresh lemon juice (to keep the leather from turning brown, but not necessary)

You can add up to 1/4 cup of sugar or 2 tablespoons of honey.  Make sure to taste the fruit mixture first, you might be surprised at how sweet it is naturally.

Wash your fruit, and cut into large chunks.  Since you are going to be boiling the mixture, you really don’t have to be too careful about the size of fruit pieces you are making.

Place the 4 cups of cut up fruit and the lemon juice into a sauce pan.  You don’t need to add any water, since as the fruit warms it will create its own juice.  It seems like adding water would be a good idea, but remember that in dehydrating you are removing all the water from your food.  If you add water, you will just be prolonging the process.  If I can save a few minutes, it is totally worth it!  Stir the fruit mixture over medium heat for about 5-6 minutes.  Cook until the fruit breaks apart and bubbles.

Transfer the fruit mixture into a blender or food processor.  I’m usually too impatient to let it cool, so usually end up with foggy glasses.  Process until the mixture is completely blended and no fruit chunks remain.  I have a 10 Tray Food Dehydrator and love it!  I have tried a few different dehydrators, but so far this is our favorite.

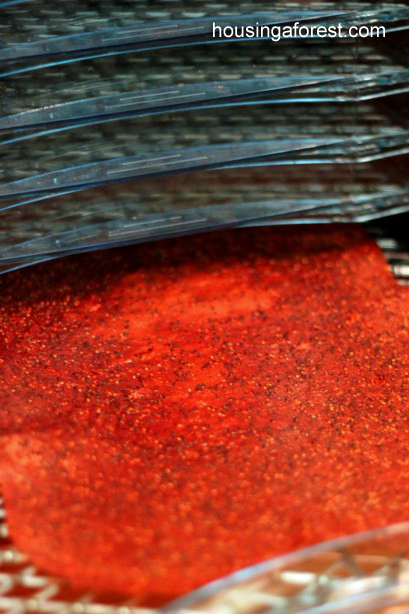
Pour your blended mixture onto a fruit leather sheet(Teflex sheet), on top of a mesh dehydrator screen.  Spread the mixture evenly to about 1/4 inch thickness and slightly thicker at the edges.  Turn your dehydrator to the fruit leather setting about 130 degrees and in about 8-10 hours your leather will be done.  However, start checking the leather after about 4 hours. When top is very firm and edges are easy to lift, carefully peel leather from sheet, flip over and continue drying.

Homemade Dehydrated  Fruit Leather ~ Strawberry Kiwi

I love all the seeds!  Your leather is done when it is evenly firm, with no visible moist spots.  It should still be flexible and not brittle.

If you don’t have a dehydrator, you can also do the same thing in your oven.  Simply line a cookie sheet with a Silpat or parchment paper (DON’T use wax paper).  Preheat your over to the lowest setting that it goes, usually around 150-170 degrees.  Bake for about 8-10 hours.  Check often to make sure that it is not finishing quicker.

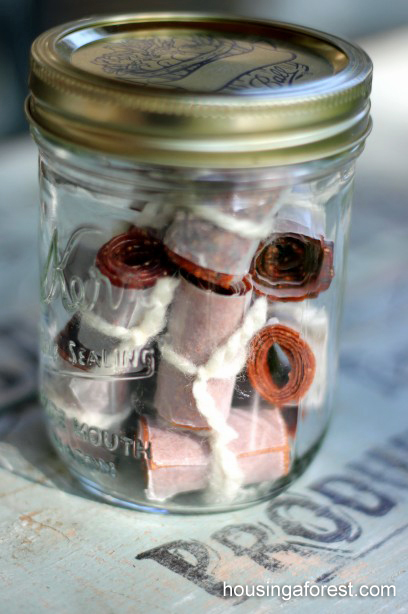
Before your leather is cooled, peel it from the sheet and place on parchment paper.  Cut it into strips and tie with a string.  Store in an airtight container and place in a cool, dry place.  These don’t last that long in our house since my kiddos LOVE them.  Ours our always disappear quickly, but they should last up to 2 – 4 weeks.  If you are looking to keep them longer, then the leather can be stored in the freezer for up to a year.

Oven Dried Fruit Leather:

Place parchment paper (or a Silpat) on a cookie sheet.  Pour the pureed fruit onto your parchment paper and spread evenly.  It should be about a 1/4 of an inch thick.  Dehydrate at the lowest temperature your oven can go (mine goes down to 145 F) for about 4-6 hours.  Depending on the thickness of your fruit puree, it may take a little bit longer.
Dehyrated Healthy Fruit Snacks

These healthy dehydrated fruit snacks are also a favorite for my kids.  Especially the dehydrated kiwi that tastes like sour patch kids!

Homemade Dehydrated  Fruit Leather ~ Strawberry Kiwi


Gourd Surprise

The kids were hiking around the cabin the other day and came across where they had discarded last years pumpkins and decorative gourds.  Every fall, the kids love throwing the pumpkins at a target to see which one smashes the best.  After a quick survey of the area, they came across a few half shells of some of the gourds.  The pumpkins had all decomposed.

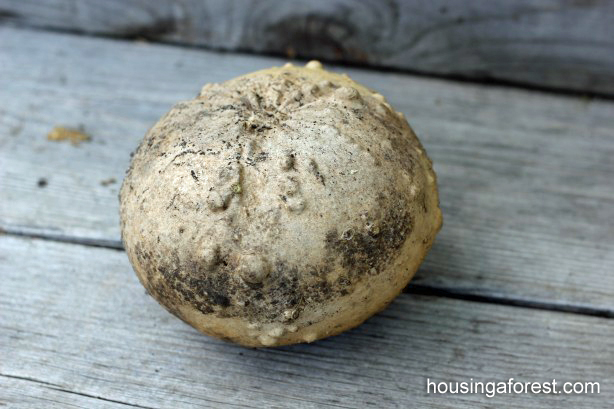
When they came across this little guy, they got really excited.  For some reason it was all intact, and shook like a maraca.  Pretty cool.


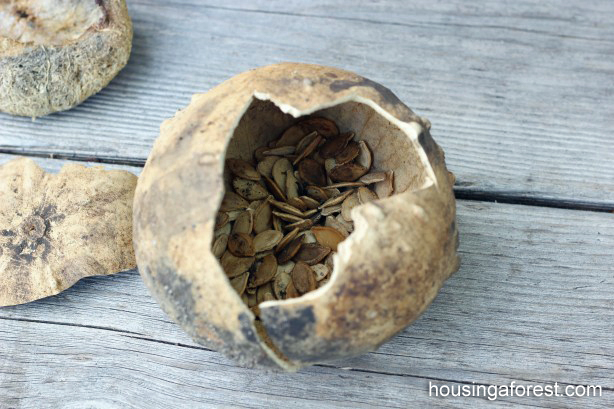
They wanted to see what was inside the gourd and creating the shaking noise.  When we opened it up, they were amazed that the gourd still had all its seeds and was not rotten.  Soon they were asking if we could try to grow a new gourd plant.  We were all a bit skeptical if it would work, but decided to give it a try.


A few weeks later, leaves started poking through the soil.  Since we never saved seeds before, we were all AMAZED!  Not only did this little guy survive the “pumpkin battle” of my kids trying to smash it, but it also survived the harsh weather of a Minnesota winter.  We are all excited to see these little plants form fruit.

For more ways to encourage kids to garden, check out our:

Regrow Lettuce

How to Grow Sprouts on a Sponge

27 DIY Garden Markers

Starting Seeds

Regrow Celery

Garden Stakes

We are in the middle of a remodel project.  We bought an older home a number of years ago, and have slowly been doing renovations on it.  Since my hubby does remodeling construction, there always seems to be a project on the go.  Right now we are in the middle of removing the last of the lath and plaster in our living room and dining room.  I am super excited to have it all finished.


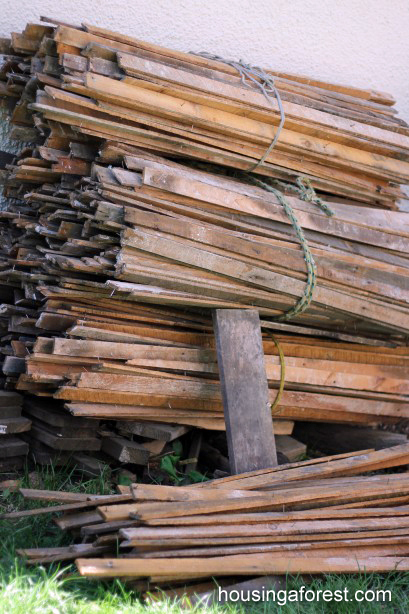
The guys have piled huge bundles of lath right by my garden.  My husband thinks I’m crazy, but I love how the lath looks.  Someday soon I plan to cover our outdoor table with it.  If only there was a few more hours in a day:)


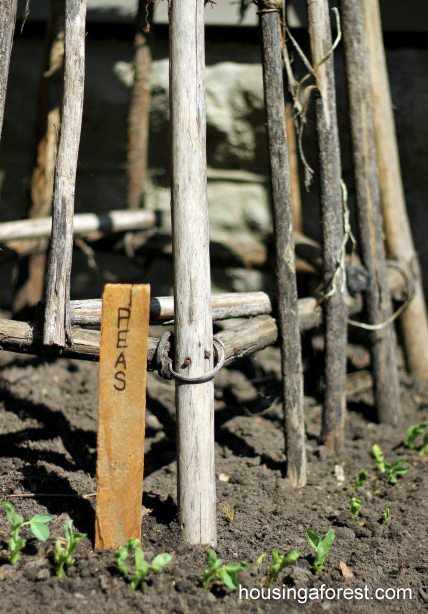
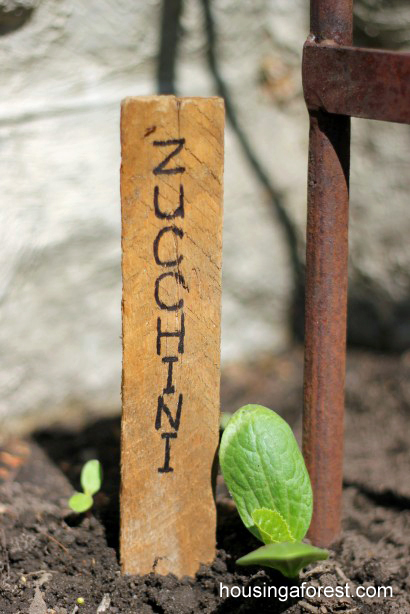
For now I will have to settle for my repurposed lath garden stakes.  I used a black sharpie for the lettering.  I love how wood weathers and ages, so I did not seal them.  You could achieve a similar look by using paint stir sticks.

This was a simple project that only took me a few minutes, but adds lots of charm to the garden.


It seems fitting that my old dining room walls found a new home in my garden.