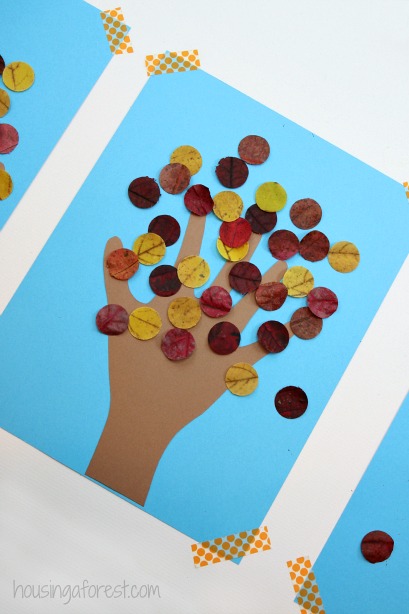
Fall Crafts for kids ~ Handprint Tree Craft Using Real Leaves
I love the changing colors of fall. We did a simple twist on the classic fall handprint tree, by using real leaves instead of paint. Seriously adorable, and punching the leaves is addicting. Plus when the leather turns cold, you will have a pretty reminder of how colorful the trees once were.

This post contains affiliate links for your convenience.
Materials needed to make a fall tree:
- Bright colored Leaves
- Circle Punch
- Glue
- Brown and Blue Paper
- Pencil and Scissors
Take the kids on a nature hike and gather a few leaves. Every year I’m mesmerized by all the colors from yellow and orange to bright red. Amazing!
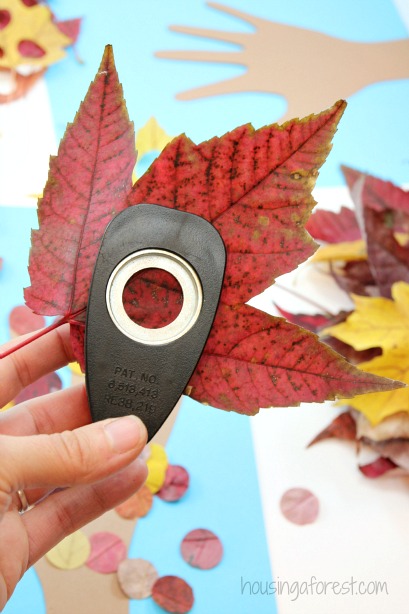
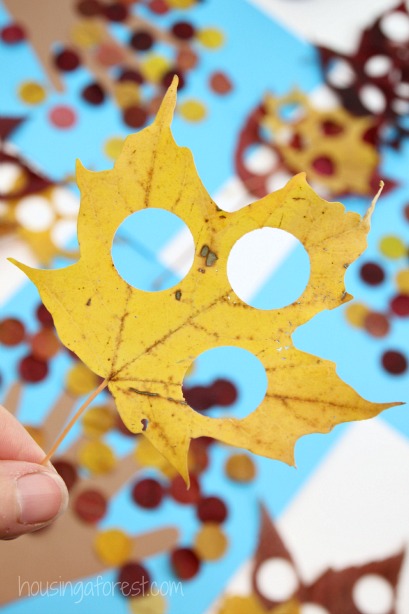
Punch as many circles from each leaf as you can. We found it easiest to turn the punch over when punching. Freshly fallen leaves seem to punch the easiest, although even the crunchy ones worked.

How to make a fall handprint tree:
- Trace your child’s handprint on to the brown paper and cut it out. This will be the trunk of your tree.
- Glue the tree trunk to your paper.
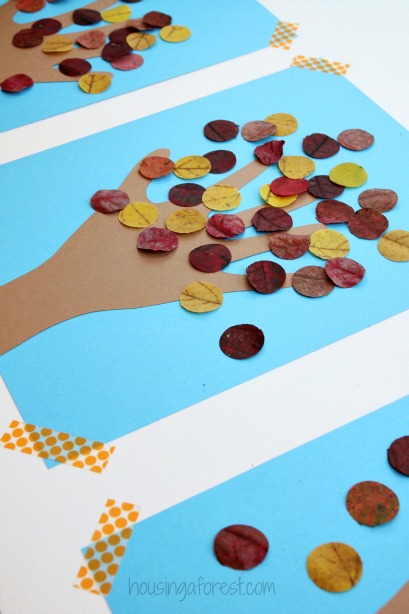
- Punch out a number of leaf circles
- Glue the circles on to mimic falling leaves.
- Hang and enjoy!

Have you tried making leaf glitter? Also perfect for using in fall crafts and its free! We used our leaf glitter make these beautiful fall trees.
It’s so sweet to have your child’s little handprint immortalized in an adorable craft that you can look back on and cherish years from now.

We also made an adorable spring tree. Complete with beautiful cherry blossoms. Its still one of my favorite pieces the kids have made.