


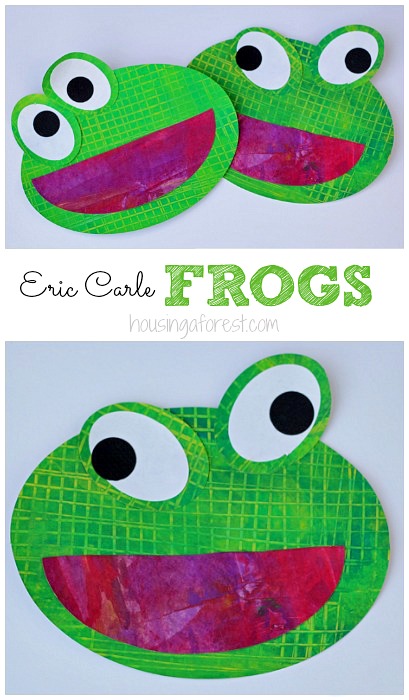
Frog Preschool Craft ~ Eric Carle inspired textured frogs
The kids had a blast observing frogs at the cabin this weekend. Seriously, I’ve never seen so many frogs hopping around in one area. The kids loved every minute of it! Since the kids were so enamored with them, we decided to create these simple Eric Carle inspired textured frogs. Adorable! Over the years we have created a number of animal crafts but this is the first time we have created frogs.
This post contains affiliate links for your convenience.
Materials Needed:
- Paper ~ Any paper works, but I prefer a heavy wight paper
- Tempera Paint
- Old Credit/Gift Card
- Texturing Tools ~ If you dig in your recycling bin/art cupboard you can probably find everything you need. Some of our favorite texturing items are…plastic forks, combs, stiff cardboard, craft sticks, old sponges, and rollers….basically anything that will scratch a texture or design into the paint before it dries.
- Printable Frog Template ~ or have the kids design their own.
- Glue
How to Paint Textured Paper
We used our own texture painted paper to make these cute frogs. Making painted paper is a really simple process.
For these cute frog, we revisited a fun technique of using credit cards as our paint brushes. This technique is really fun, and the kids love how messy it is. Instead of pushing paint around with a paint brush, use a plastic credit/gift card to scrape the paint across your page. Make sure to cover the entire paper with paint. Add depth and interest by scraping multiple colors at once or layering multiple colors.
While the paint is still wet, drag texturing tools through your paper.
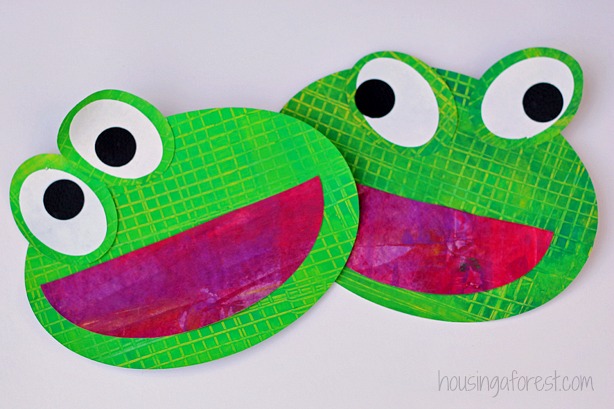
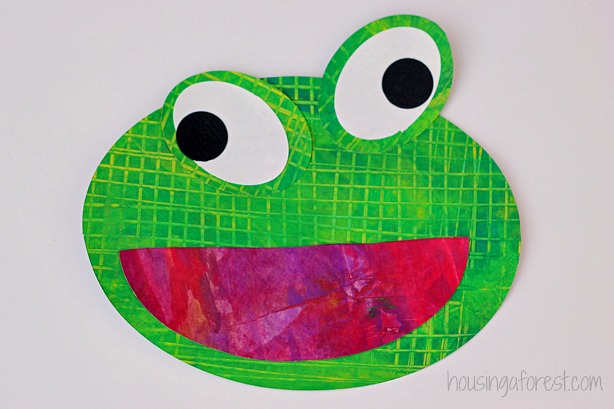
We used a circle/oval cutter to make all the shapes for our frogs. However if you don’t have access to a circle cutter, then print this Frog Template, trace it onto the textured paper, cut out the shapes and glue everything together. I love how these little frogs turned out.
Observing A Grey Tree Frog
My kids love collecting bugs, butterflies, frogs and just about anything else they can find. We observe them for a bit, then turn them back to their natural habitat. Bree is always on the hunt for cool creatures no matter how big or small they are. She has a love for all things living and wants to hold everything.

This weekend at the cabin, Bree found lots of tree frogs. These little guys are really interesting. By accident we found out that they have the ability to change color from grey to green to creamy white. After a bit of research, we found that these amazing frogs are called the Gray Tree Frog.

When we first found this little frog he was hiding in the grill cover. Since he was hiding on black, he camouflaged himself to be a molted grey/black color. Notice his yellow hind legs and little toe pads that enable him to climb walls! A really cool feature that allows them to sit on windows, walls etc to feed on bugs. The same feet that allow these little guys to stick to wall giving them the advantage for finding food, also help these little frogs jump out to scare me! The kids never got tired of my squeals when one jumped off something and surprised me.

Bree made a fun observing habitat out of an ice cream pail. When she came back to check on this little guy, he changed from grey/black to a cool grey/while color. This was the first time we realized that we had a “chameleon” frog. They also thought it was pretty cool that he could stick to the side of the pail.
Below we set the same frog on a green towel, and again were amazed. What a dramatic change!

Observing these little guys was lots of fun. After some research we found their color range is anywhere from a mottled grayish black or solid green to a gray or creamy white color. The inner thighs on the hind legs of all gray tree frogs are yellow. The kids were really excited each time the frog turned a different color. I was surprised how quickly he was able to adapt to a new color. Who know a frog could be so exciting and entertaining!


