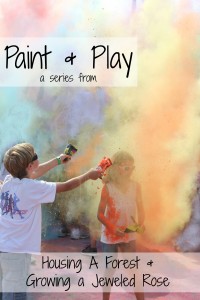
I am so enjoying the Paint and Play series that I am doing with Crystal from Growing A Jeweled Rose. The focus for our series is all about the process, having fun and getting kids excited to create art! This week we challenged each other to find 3 fun ways to Paint with Candy. This is one challenge that I couldn’t wait to do! Growing A Jeweled Rose created art with Pop Rocks, Pixy Stix and Gumballs, while we pulled out our left over Halloween Candy and used Nerds, Laffy Taffy and Pull n Peel Licorice!
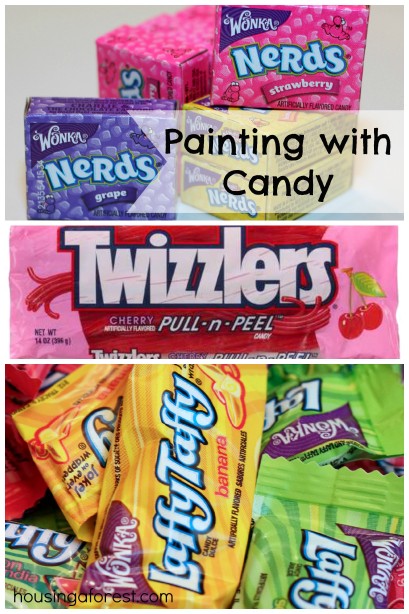
Who can resist a good Candy Challenge? Not my kids! When I told them what we were going to be using to paint with, they squealed with excitement! We still have a huge stash of Halloween candy lurking in the back of our cupboard so this was perfect. I know, Halloween was months ago! Somehow, my kids loose interest in actually eating it after the first few weeks. Bizarre right? Anyway, there it sits in our cupboard just waiting to become paint:) Nothing like a stash of Nerds, Laffy Taffy and pull n peel Twizzlers to get the creative juices flowing:) Read on to see what we came up with.
……………………………………………………………
Nerds Candy Paint
We had a bunch of mini boxes of Nerds in the back of our cupboard. I have been meaning to make them into paint for a while. I know that sounds a little weird, but trust me it was on my to-do list. My kids don’t eat much candy, so we are always looking for fun and creative ideas to use up our stash.
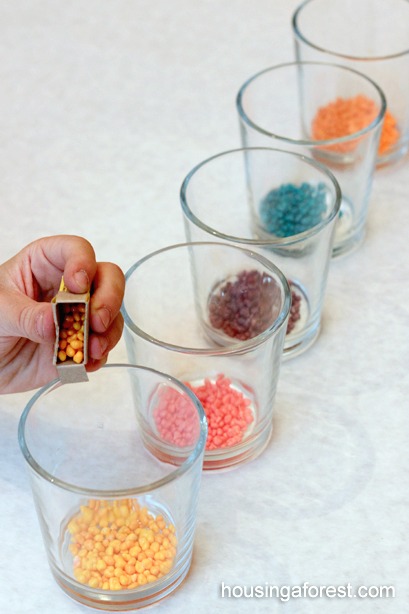
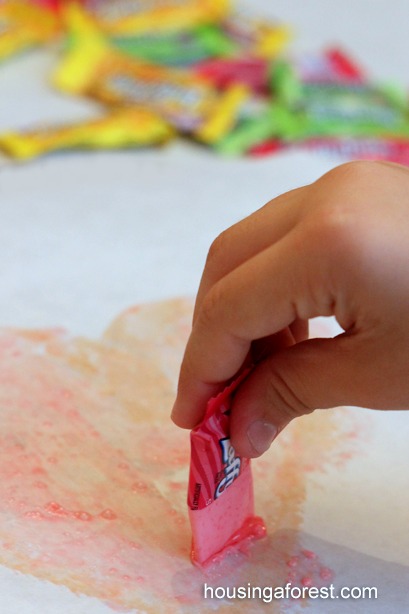
To make our paint, we simply poured one mini box of Nerds into each glass. I love that they come presorted by color, making this step so easy! We then just covered them with water. The more water you use, the lighter your paint will be. The kids were the ones adding the water, so we were not too exact. No need to be fussy, it all worked great!
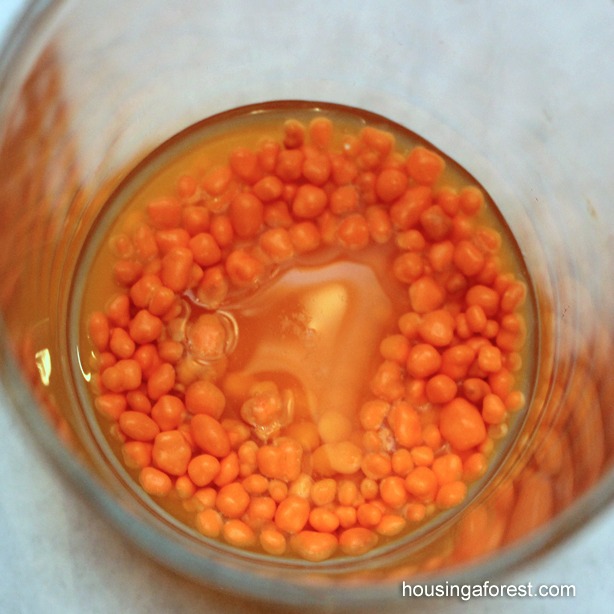
The Nerds will loose there outer coloring as the water dissolves it, and that will create your paint. The kids were surprised to see that the Nerds were white in the middle and not colored all the way though. We used our paint right away, so the white Nerds were still in the bottom of our paint. However, if you leave them sit long enough, the whole Nerd will eventually dissolve.
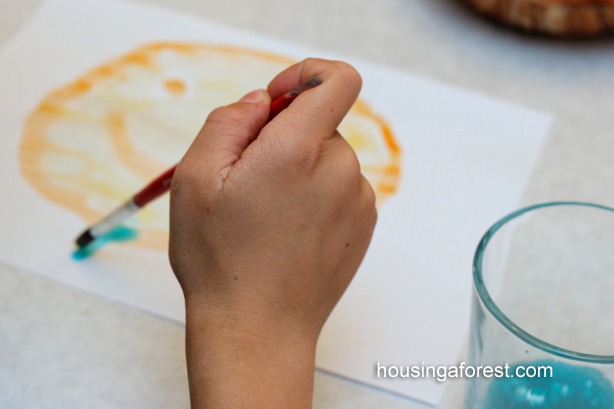
The kids loved this simple painting exercise. We used the paint just like watercolors, and it worked great!

The kids begged to taste their paint. Ha! According to them this was the best tasting paint that they have used.
Melted Laffy Taffy Art
Next we moved onto making melted Laffy Taffy Art. My kids were so excited to give this a go.
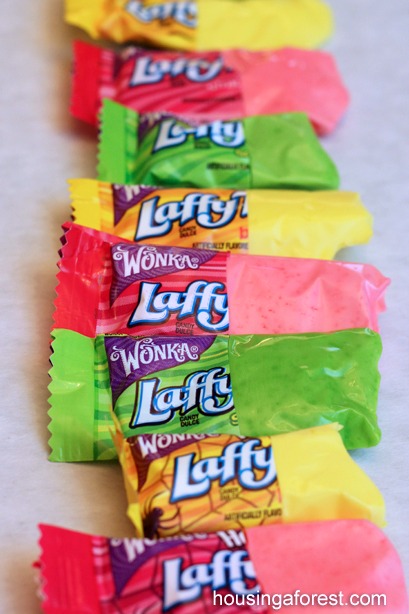
I used an knife to cut off part of the wrapper of our Laffy Taffy so that the kids fingers would not be totally sticky during the process. Not a necessary step, but it worked well for us. Then I warmed our baking stones in the oven, wrapped the stone in tin foil and set our paper right on top. The same as we did for making Melted Crayon Art.
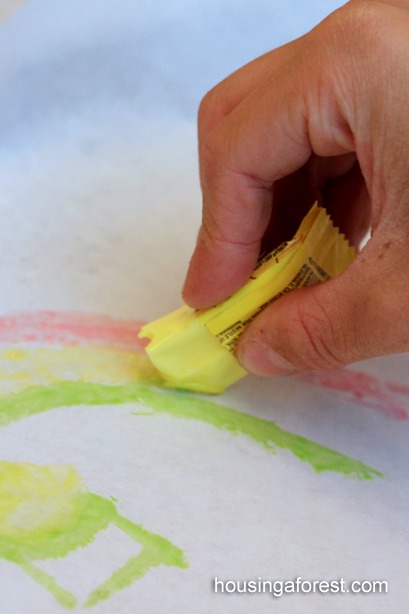
As you press the Laffy Taffy to the hot paper, it will melt leaving behind a trail of color. Make sure to cautious when doing this with your kids. The stone is hot and little fingers could get burned easily.
The sound and smell was wonderful. The Taffy made little popping noises as the kids painted. You can see a few of the bubbles on the paper where the kids got the taffy a little thicker.

As the kids Laffy Taffy art dried, it continued to pop and crack. This was an added bonus to drawing with Laffy Taffy that we did not expect. The finished project was shinny, and still smelled yummy.
Pull n Peel Twizzlers Stamps
For our last candy painting exercise, we created stamps with Pull n Peel Licorice. What a fun and unique way to create a stamp. (Credit for this creative idea needs to go to my hubby)

The kids pulled their licorice apart into little strands and then set to work creating their designs. We used clear plastic stamp bases, and the licorice stuck right pretty easily. The kids did apply pressure when they were creating the stamp, but I was surprised at how well the licorice stayed on. No glue or anything else needed.
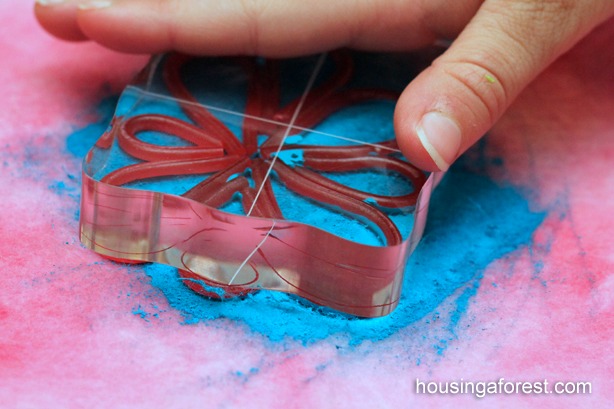
We used our Homemade Stamp Pad with our little licorice stamps and it worked great!

This was our favorite stamp that the kids created. It was simple and beautiful! I actually wish that the licorice was not such a temporary medium. Oh well, we made lots of fun prints while we could:)

I found a few smaller acrylic stamp blocks as well. It was fun seeing each of the prints the kids created.

I love how easy this project was to clean-up. We just scraped everything into the garbage and gave the acrylic bases a quick wash with water. Love that!
After this fun challenge, I am sure that I will never look at candy again the same! The kids will have to guard their treats from me, or I will steal them for another creative project.
……………………………………………………………
I love what Growing A Jeweled Rose created this week! Crystal is my go to girl for creative and messy ideas. Check out all the amazing fun they had, I especially can’t wait to see what they did with Pop Rocks! My kids had so much fun creating our candy art, that I know they will want to try Crystals fun techniques too. We have more than enough Halloween candy left over to keep on painting:)

……………………………………………………………
Make sure you stop back in next week for more Play and Paint!
Don’t miss out on any of our Paint and Play series:
Balloon Painting 5 Ways and Super Creative Balloon Painting
Homemade Spin Art Machine and A Spin on Spin Art
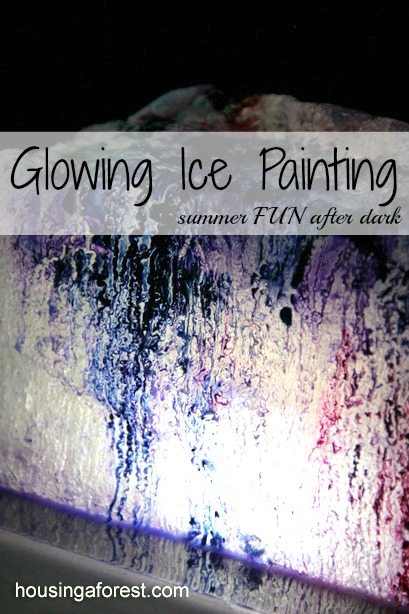
Tire Swing Pendulum Painting and Glowing Pendulum Painting
……………………………………………………………
Check out this amazing list of 35+ Candy Experiments, Learning Activities, Crafts, Recipes and More from Mom to 2 posh Lil Divas! More fun and exciting things you can do with candy!
If you love process art like us, then check out my Painting Without Brushes Pinterest board. It is packed full of fun ideas.